The Exquisite Corpse
Meet The Teacher: Trey Foster
My name is Trey Foster, and I am a ceramics teacher at Salem High School in Salem, Virginia. I also make my own ceramic work and have a passion for teaching anyone that will listen about clay!
Project Description
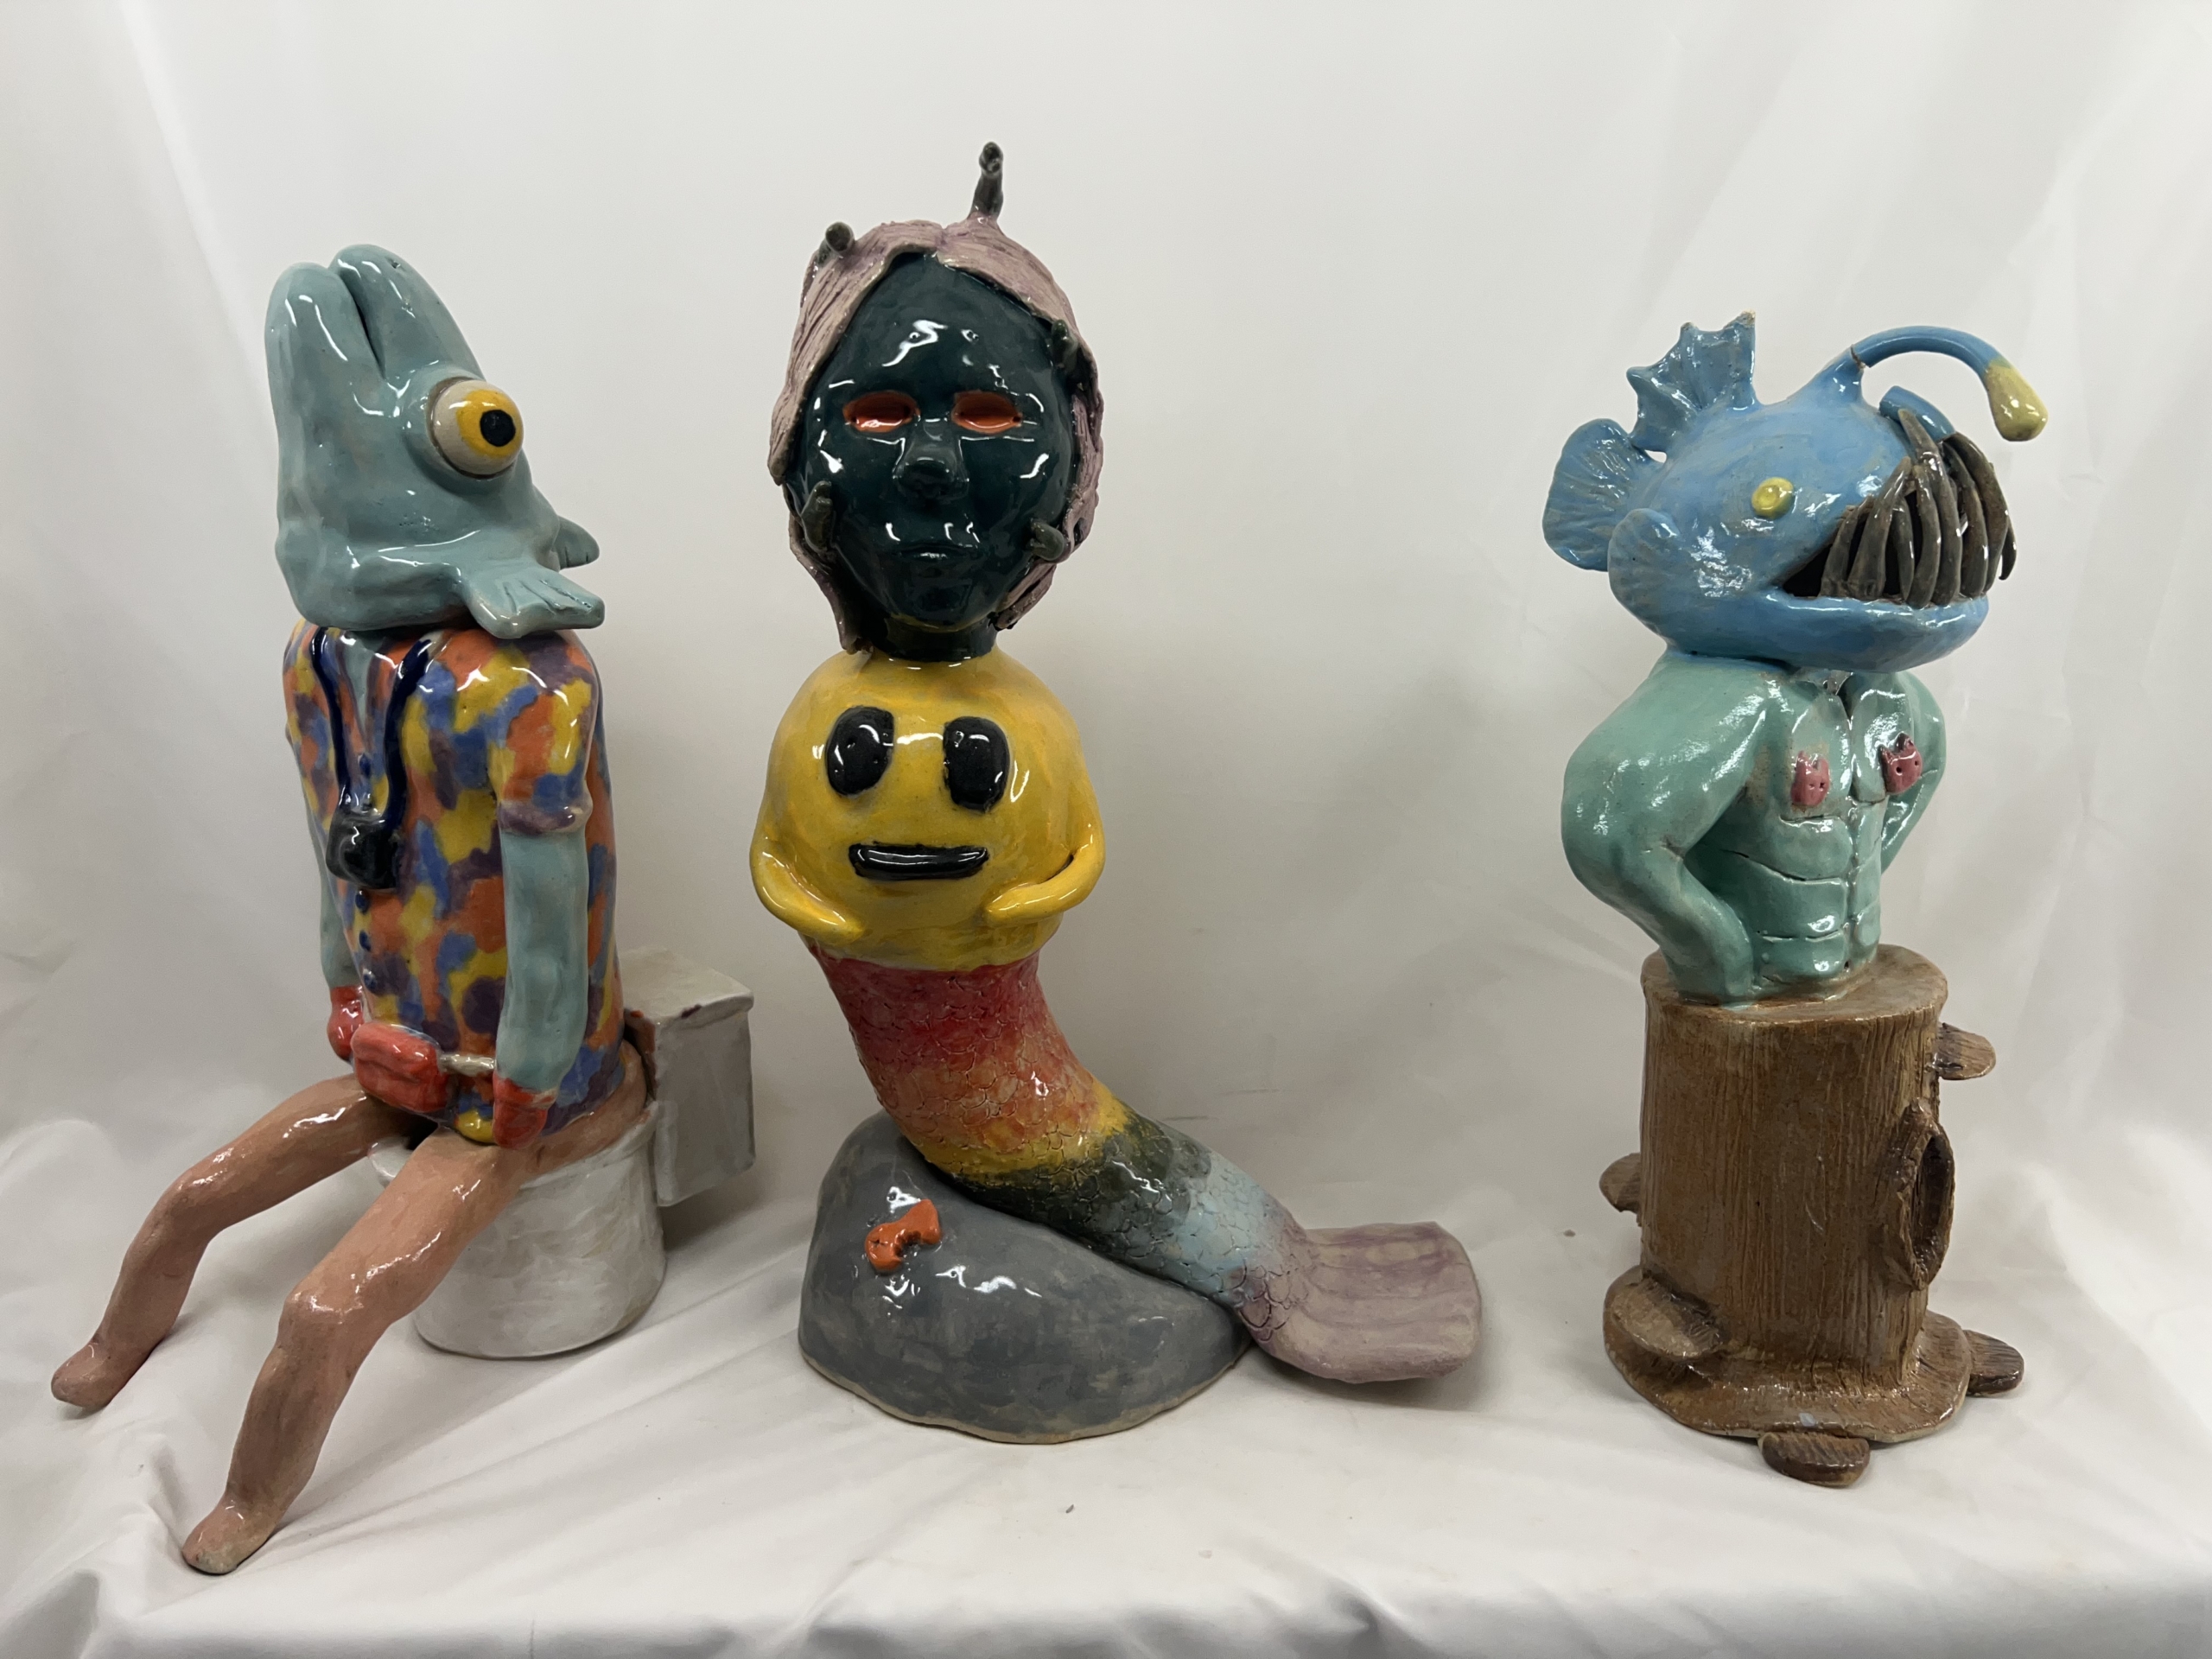
Students are randomly given the assignment of either head, torso, or legs. Then they create any version of that section of the body that they can think of, and at the end of the project they get grouped together to make one cohesive (and usually hilarious) piece.
Grade Level
High School
Difficulty
Intermediate
Student Hands-On Time
5 hours
Teacher Prep Time
20 mins
Project Cost / Cost Per Student
3.00
National Core Arts Standards - Visual Arts
- Creating - Generate and conceptualize artistic ideas.
- Creating - Organize and develop artistic work.
- Creating - Conceiving and developing new artistic ideas and work.
21st Century Skills
- Critical Thinking & Problem-Solving
- Creativity & Innovation
- Communication
- Collaboration
- Flexibility & Adaptability
- Initiative & Self-Direction
- Productivity & Accountability
- Leadership & Responsibility
Differentiations and Accommodations
Differentiation
IEP
Accommodation
I make sure that students that need the accommodation, get the head as their assignment. This lets them focus on the aesthetics and ideas over the structural integrity of the piece. Then I can chunk the assignment for them into manageable tasks.
Learning Objectives: Knowledge
This lesson is all about planning ahead and scale. The project needs to be kept at an early leather hard, or they wont be able to attach it with the rest of their team. If their scale is off, then the piece will be unstable. I use this project as the first project for my ceramics 2 students so they can refresh their skills without the pressure of making something super intricate.
Learning Objectives: Skills
I use this as a review of the rules of clay, like keeping things hollow, providing airholes for even drying, attachments, and using clay at the correct dryness.
Learning Objectives: Attitudes/Values
Because this is a team assignment, I keep the final projects to decorate my room. We talk about what it means to try hard on something even if you don't get to keep it. We also talk about how this project can fail if one member of the group doesn't follow directions. There is accountability in this project and people are depending on you.
Formative Assessment
I check in with students as they begin working to make sure their scale is appropriate, and then do a lap every day to check progress and answer questions.
Summative Assessment
The final eval for this project is super fun because this is when the students attach
Reflection and Discussion
What skills did you have to employ to create your piece?How important was it to stick to the scale guidelines? Why?Where do you think the most imaginative ideas came from?What makes a successful individual piece and what makes a successful team piece?
Lesson Activities
Sketch Variant
The first thing I do, without telling the students what the project is, is to have them play a few rounds of the Exquisite Corpse game on paper. They fold a piece of paper into thirds and start by drawing a head in the top third. They fold it back so it can't be seen, and then pass the paper to someone else. Then they draw a torso, and then on the final round they draw legs of some kind. After the first game I have them look at each others ideas and ask them what they thought was really creative. We discuss how to stretch the limits of the game a bit, and then play another round.
Lecture/Slideshow
I explain the basics of the assignment and show the differences of each portion. I explain things like, why the scale of the legs can be slightly larger, but the head needs to be an appropriate size for the rest of the sculpture. I use a 3x3 inch cube as a reference for scale. Then I assign each student which portion they have by randomly drawing from a hat.
Brainstorm and Sketching
I have students draw out 5 different thumbnail sketches to brainstorm different ideas, and then they do a final sketch of the their choice. This sketch includes a detailed drawing from front and side, annotations about what techniques they will use, and a detailed checklist of how to build their project from start to finish. I approve each sketch before they touch clay.
Build
The meat of this project is making the project out of clay. It is mostly sculpting, but often includes using pinch pots, coils, and slabs.
Combine
On the last day of the assignment I put them in groups and they assemble the final sculpture. They typically just have to slip and score them together, but may need to add an extra coil, or maybe even make some adjustments to the base if it can stand properly.
Step-by-Step Instructions
Step 1
Take notes on the parameters for section of the piece. Important things to note: All pieces should roughly fit inside a 3x3x3 cube and all pieces must not dry passed the leather hard stage of dryness. The head must have a solid connection point that can attach to the torso. It must also be well balanced so it doesn't tip the entire piece over when attached. The torso must support the weight of the head, and have a solid connection point for the head and the legs. Arms must be constructed in a way that they don't interfere with the legs. Legs can be slightly larger and must be able to support and balance the torso and legs.
Step 2
Sketch your chosen portion. Include annotations for the "how to's" of the project and create a numbered checklist to give an instruction manual to follow throughout the process.
Step 3
Construction: Using sculpting, slabs, pinch pots, and coils, the students will build their piece. There is no directed construction, but the sketch needs to be approved by the teacher to show that the student understands the basic rules of clay.
Step 4
Combine: Once the students are put into teams of 3, they must combine their individual projects into a final piece. They may need to make some small alterations or add some supporting coils.

