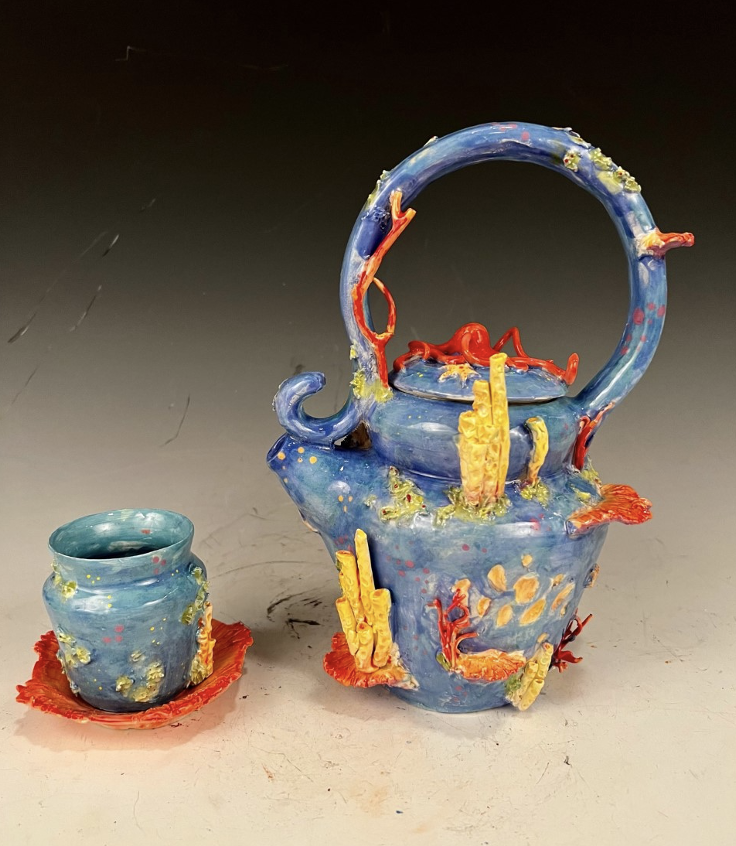
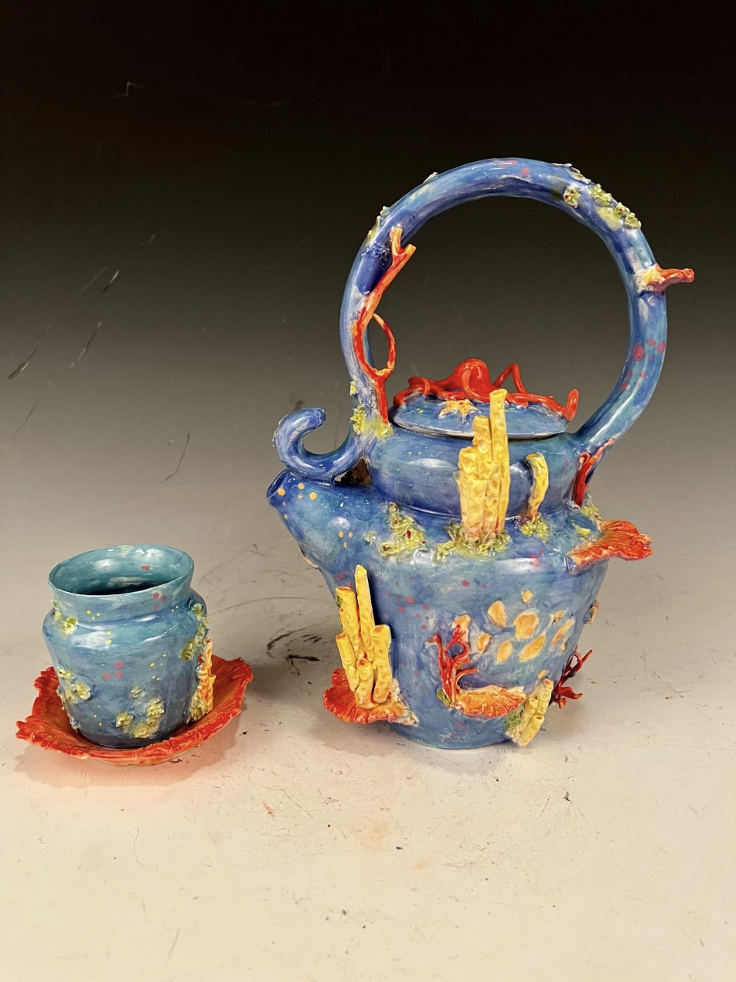
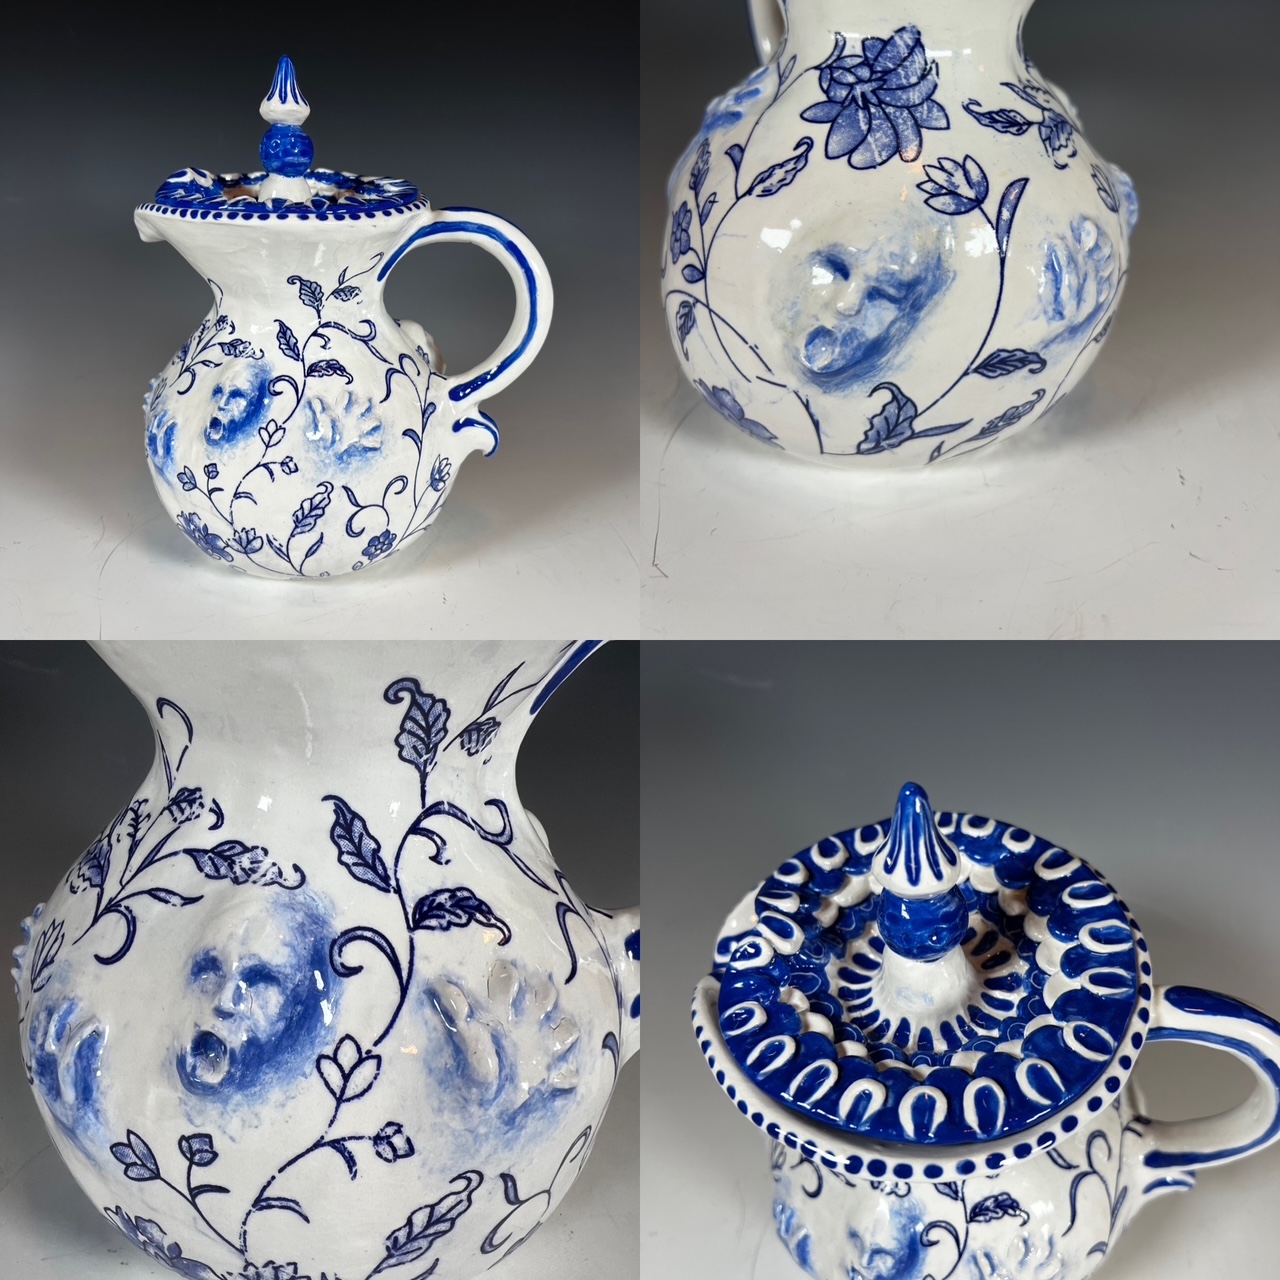
Creative Teapot
Meet The Teacher: Nate Greenwood
I'm a full time high school art teacher and part time professional potter. I have been teaching 27 years and I love every minute of it. I currently teach 3D Studio 1, 3D Studio 2, 3D Honors Portfolio, and 3D AP at East Lake High School in Pinellas County, Florida.
Project Description
This teapot project is designed to challenge students to push their creativity, build or improve upon their ceramic skills, and to enhance their understanding of design, in both form and function. The teapot should be fully functional after glazing.
Grade Level
High School
Difficulty
Advanced
Student Hands-On Time
3-4 weeks
Teacher Prep Time
1 hour
Project Cost / Cost Per Student
5
National Core Arts Standards - Visual Arts
- Creating - Generate and conceptualize artistic ideas.
- Creating - Organize and develop artistic work.
- Creating - Conceiving and developing new artistic ideas and work.
- Responding - Perceive and analyze artistic work.
- Responding - Evaluate and critique based on aesthetic and technical qualities.
- Connecting - Connect personal experiences with artmaking and meaning.
21st Century Skills
- Critical Thinking & Problem-Solving
- Creativity & Innovation
- Communication
- Productivity & Accountability
STEAM Education
- Arts
Learning Objectives: Knowledge
Ceramic and sculpture vocab, four parts of a teapot, history of teapots
Learning Objectives: Skills
Proficiency in construction, time management, different glazing techniques depending on design
Learning Objectives: Attitudes/Values
Positive mindset, self reflection, problem-solving
Formative Assessment
Checking for understanding and skill progression by visiting each student routinely. Group critiques possible.
Summative Assessment
Rubric for the final product
Reflection and Discussion
If you liked the project, why? What new skill did you learn? If you could go back and change or fix something, what would it be and why?
Lesson Activities
Teacher Presentation
Teacher presents the lesson using a PowerPoint and physical examples. 30-45 minutes.
Sketchbook design
Students work in their sketchbook to research, plan and develop drawings. Assign as homework or spend 2-3 days in class.
Teapot Construction
Students build the teapot using clay. 2 weeks.
Glaze Teapot
After bisque fire, students will glaze their teapot. 1 week.
Step-by-Step Instructions
Step 1
Introduce the lesson with a PowerPoint presentation. This project requires pre-knowledge of some ceramic and sculpture terms and some basic ceramic building techniques learned previously. The PowerPoint will highlight the 4 essential parts of a teapot—body, lid, spout and handle.
Step 2
Teacher shows 2-3 physical examples of teapots and talks specifically about the form and function and how to be successful during construction.
Step 3
Students will research ideas, influences and inspiration. They will used multiple pages in their sketchbook to work out their original ideas, plan, problems-solve, write notes and draw with quality a final idea.
Step 4
Students will choose their preferred approach to building (coil, slab or wheel).
Step 5
Students will construct the body of the teapot first, working to ensure there are no cracks or holes (especially if they are doing coil or slab construction).m teacher.
Step 6
The spout and handle are created next. The spout opening should be at or above the lid line and have a tapered opening to help with water drip-back when pouring. The handle should be constructed in a way to ensure the user can easily get two fingers between the handle and teapot body (remind students that the clay shrinkage can be 8%-12% depending on clay body and glaze cone used).
Step 7
The lid is created last. It should sit evenly on top and have a deep enough foot/ring under it that it won’t slide off or fall off when using.
Step 8
At this point, if the student design requires additives, they should work on that aspect.
Step 9
Group critique while the clay is still workable and able to be revised.
Step 10
Allow up to 7 days to dry depending on the humidity in your classroom.
Step 11
Bisque to cone 05-04 depending on what glaze you will use.
Step 12
Have students glaze per the instructions for the manufacturer.
Step 13
When finished, test the teapot out (functionality can be figured into final grade).
Step 14
Written self-reflection based on writing prompts.

