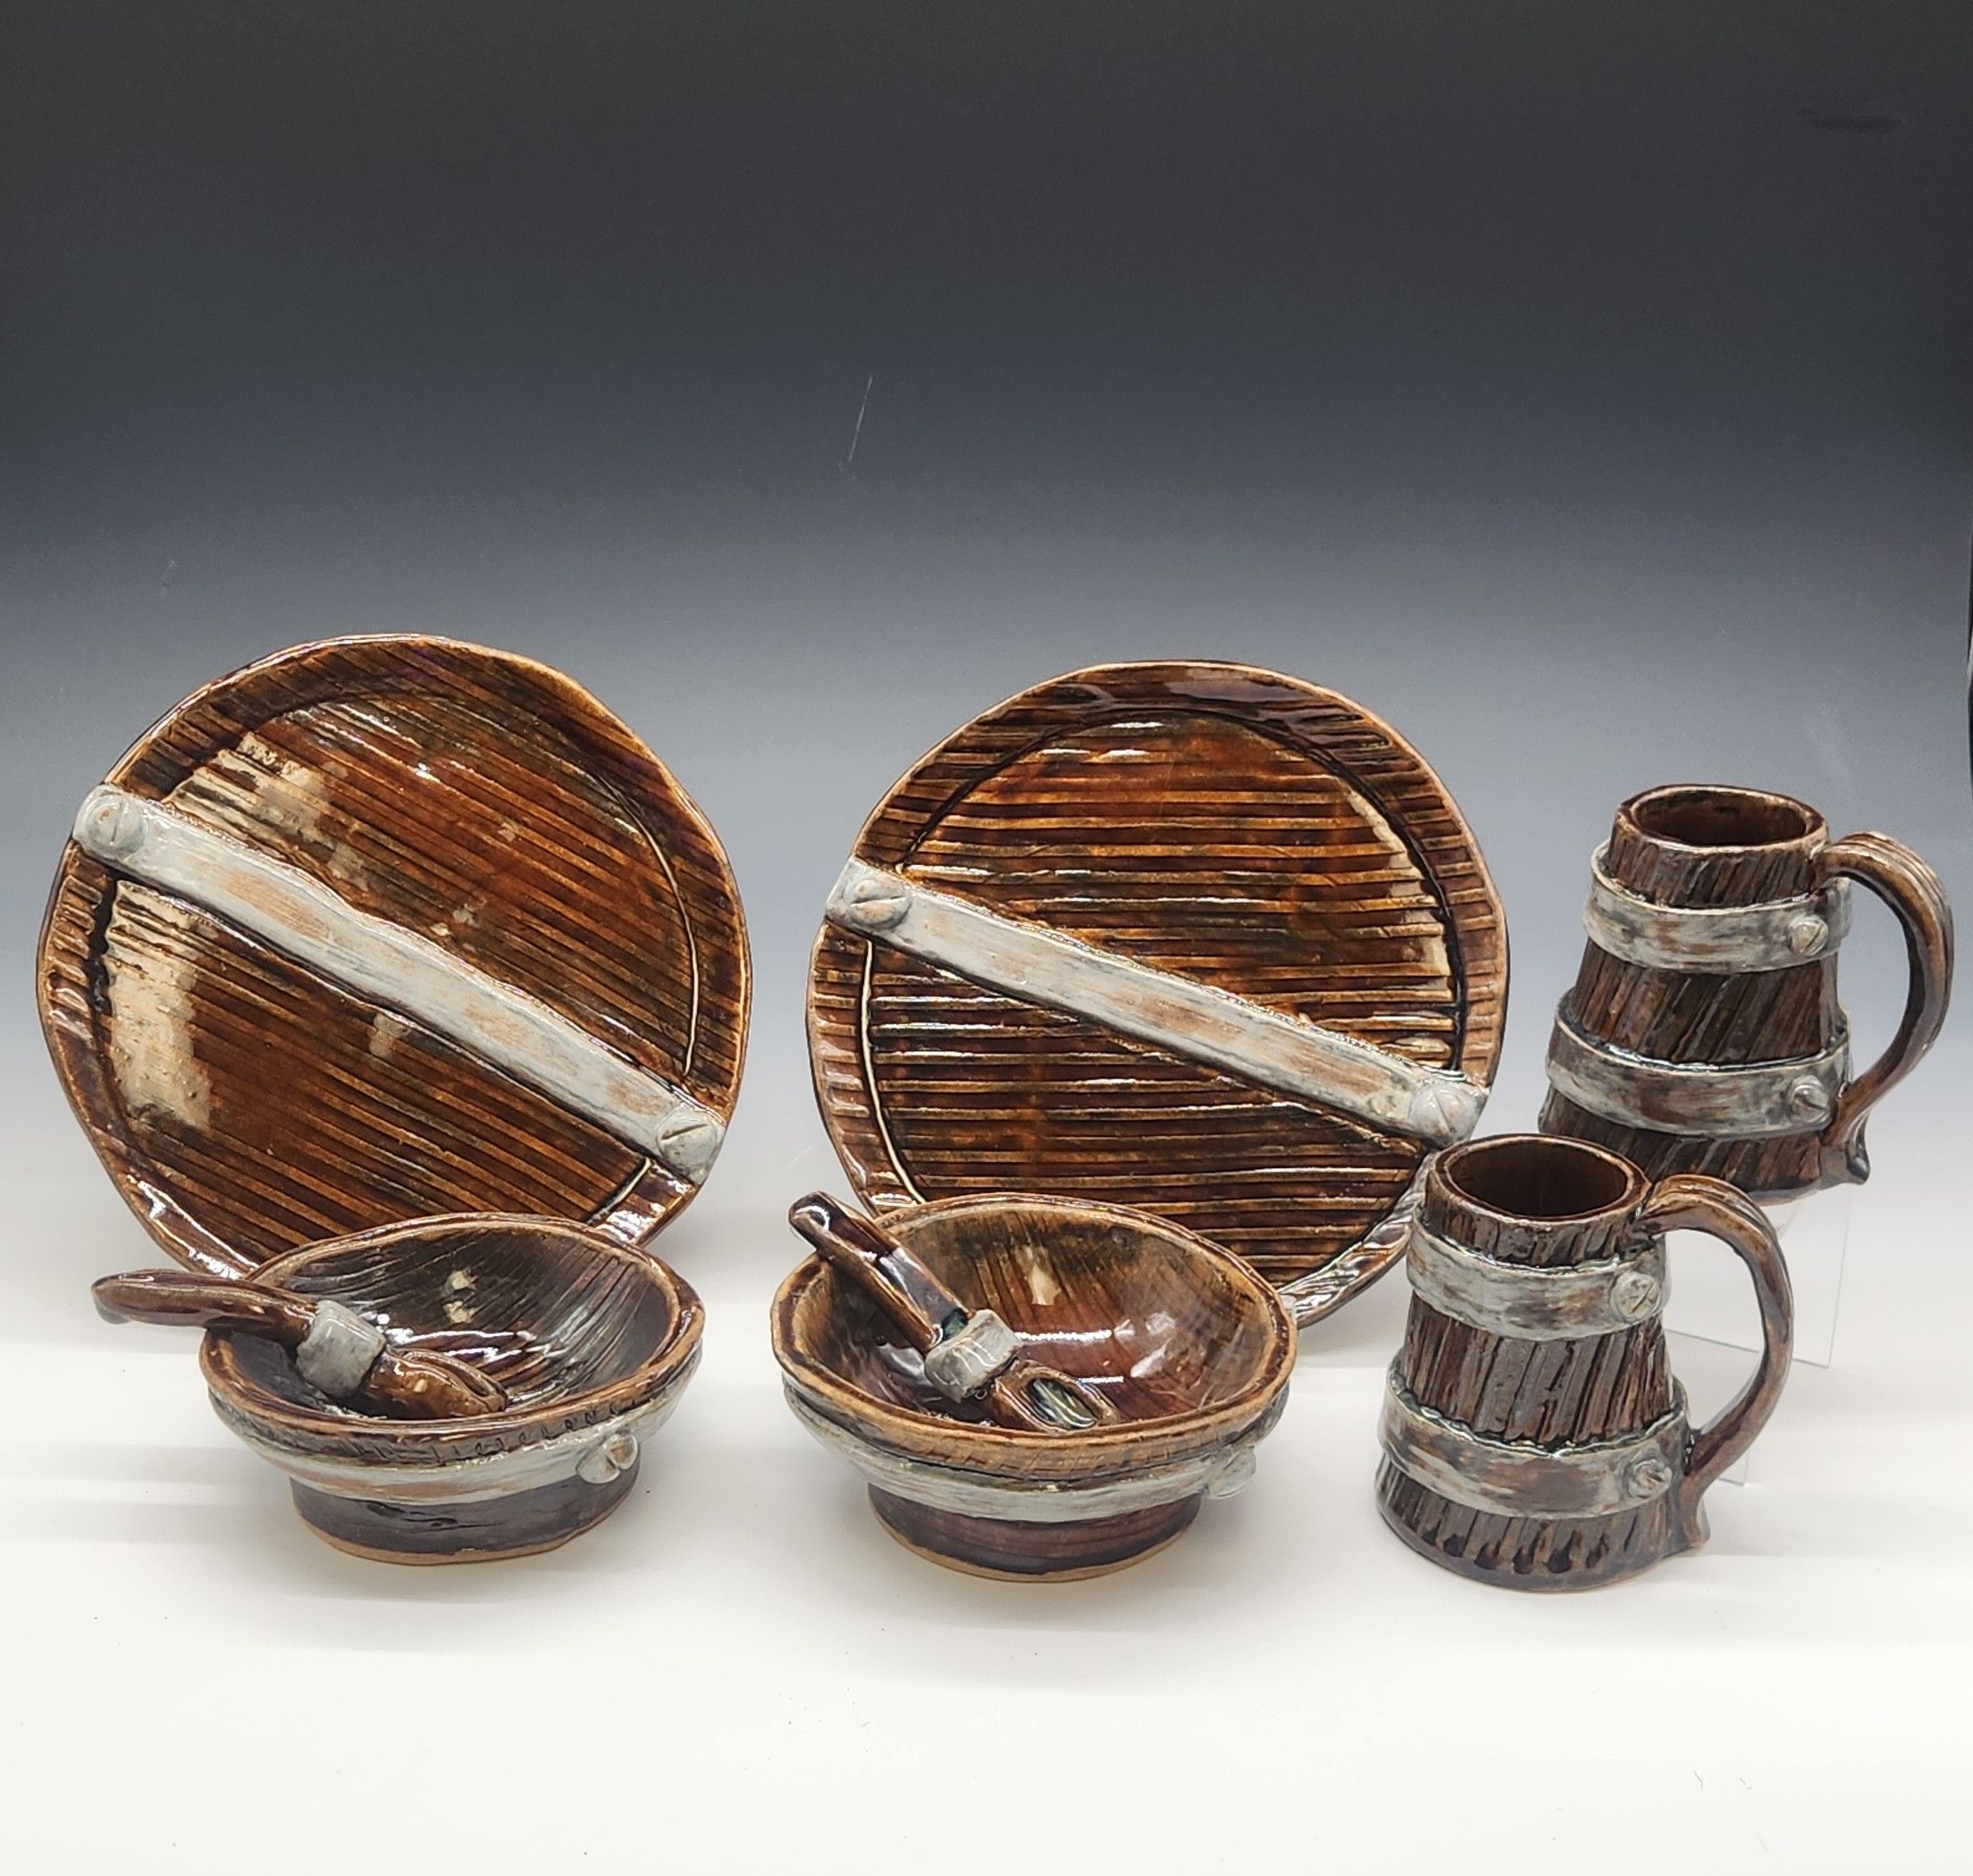
Textured Slab Sets with a Focal Accent (Ceramics II)
Meet The Teacher: Karan Witham-Walsh
Karan Witham-Walsh is a veteran full-time ceramics instructor and YouTuber of Ceramics tutorials on her channel, KaransPotsAndGlass. Karan has developed an extensive Ceramics Program at William Mason High School in Mason, Ohio to include Ceramics I, Ceramics II, Ceramics III- Wheel Throwing, Independent Study, and Studio Management Internship.
Project Description
This project introduces kids to the concept of building with textured slabs and designing and creating a set of pieces that are unified by textures and focal accents throughout the set. Students will expand their already small but existing knowledge of working with slabs to include a plethora of options of forms and construction techniques.
Materials
- Clay- Cone 6 midfire and glazes
- Textured mats, rollers, custom cut mats on craftfoam, other texturing items
- Slab sticks and rolling pins
- Templates and patterns for slab building
- Drape molds- plaster, wood, or bisque for draping clay
Grade Level
High School
Difficulty
Intermediate
Student Hands-On Time
3 weeks (includes research and planning) (4 bells a week)
Teacher Prep Time
1 hour- for a demo pre students
Project Cost / Cost Per Student
6
National Core Arts Standards - Visual Arts
- Creating - Generate and conceptualize artistic ideas.
- Creating - Organize and develop artistic work.
- Creating - Conceiving and developing new artistic ideas and work.
- Responding - Evaluate and critique based on aesthetic and technical qualities.
- Connecting - Connect personal experiences with artmaking and meaning.
21st Century Skills
- Critical Thinking & Problem-Solving
- Creativity & Innovation
- Communication
- Information Literacy
- Media Literacy
- Flexibility & Adaptability
- Initiative & Self-Direction
- Productivity & Accountability
STEAM Education
- Arts
Differentiations and Accommodations
Differentiation
IEP
Accommodation
This project naturally is easy to differentiate for all learners due to the choices the kids make on the difficulty of the techniques learned.
Learning Objectives: Knowledge
Students will learn how to roll slabs evenly with rolling pin and slab sticks.Students will learn how to texture clay prior to building using a variety of texturing items such as texture mats, texture roller, cutting their own texture mat from craft foam, as well as creating textures by pushing and manipulating the clay.Students will design and create a project of 2-3 cohesive forms that are united by function (or non-function such as sculptural forms) textures, focal accents, and finishing treatments like glaze.Students will explore designs and forms through teacher provided examples in the room, (or without teacher examples the students would rely on the photos and videos) and video tutorials which show the processes of a wide variety of approaches of working with slabs including using drape molds- slump and hump molds, free form built forms using classroom templates that students can use (note many templates are provided in the video descriptions).Students will plan out their concept through sketching and a written planning document which explains their textures and focal accent in addition to the forms.Students will learn how to glaze to enhance their textures and focal accents to the best advantage.Through a formative learning skillbuilder exercise, students will understand characteristics of excellent craftsmanship in working with slabs
Learning Objectives: Skills
Rolling slabs of even thickness. Texturing clay in a variety of ways. Deepen knowledge of glazing and how to choose glazes to enhance textures. Students will have an understanding of best practices in building with slabs (note linked document to support this)
Learning Objectives: Attitudes/Values
Students will be able to demonstrate a curiosity to investigate and be empowered in their choices of their personal learning within the parameters of the project requirements. Students will be able to have different directions of their learning based on the path they take. Students will watch and follow video tutorials and have the teacher as a resource to deepen their understanding of techniques and their knowledge of the media.
Formative Assessment
Skillbuilder formative assessment has a linked feedback rubric that the teacher fills out and gives to the students before they get very far in the construction of the set pieces. (skillbuilder is pre-set not part of it)
Summative Assessment
The summative assessment on this project is also linked in the above document- a rubric which is based on the categories of Craftsmanship, Design/Originality, Minimum Requirements, and Finishing and Glazing
Reflection and Discussion
The students will reflect on their project within the final portfolio on the strengths and weaknesses, and what they would do differently if they were to re-do it.
Lesson Activities
Textured Cylinder Skillbuilder activity--formative learning
All students work together on a two day formative learning skilllbuilder. The students will learn the basics of texturing and working with a textured slab while building. This is new knowledge for the students. During the skillbuilder, the kids are introduced to best practices in slab building. This formative learning is not graded, but does have the opportunity to give feedback to help improve their future building and craft techniques. The kids also use these skillbuilders as practice for glazing the textured slab sets.
Planning the Textured slab sets--sketch and submitted proposal
Students must independently explore and research a variety of techniques to create proposal for what they intend to create. They will sketch, and submit a planning document that shows they are thinking about the ways they intend to meet the learning outcomes. This document gets submitted and reviewed to make sure the kids understand what they are doing before they jump into working in clay on their projects. The planning document is linked in my attached document.
Creating and execution of the textured slab set forms
Each student works independently on their designs throughout the project, keeping in mind the knowledge gained from the tutorials, as well as the best practices in slab building previously covered, and available throughout the project.
Glazing the bisque fired pieces
Students will use the guidance requirements for the glazing of the textured slab sets. This criteria is present in the room in addition to being within the tutorial video on glazing the textured slab sets. (linked in the document!)
Step-by-Step Instructions
Step 1
The attached document of the linked videos has numerous step by step instructions in the videos. Since there are so many ways the kids can approach this, the step by step will vary for each technique and student. https://docs.google.com/document/d/12s_9nt8ULRE4rrdMx8nP22VgrryvadsRsPWdzhfBOJo/edit?usp=sharing

