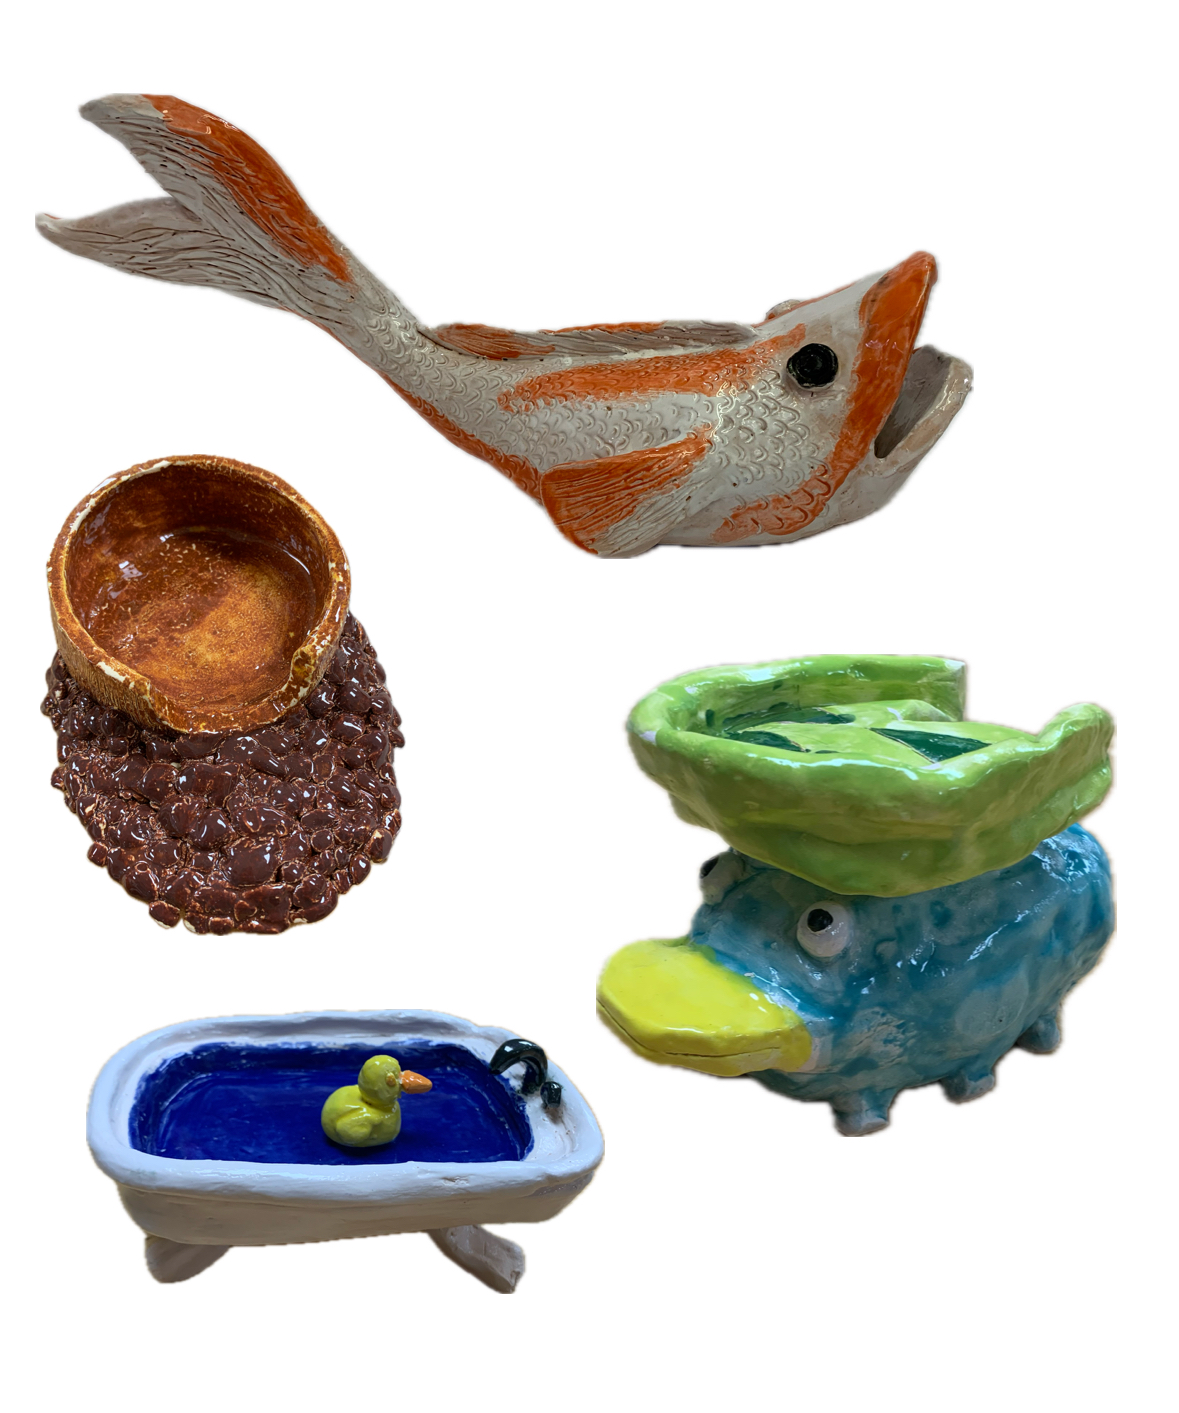
Soap Dishes
Meet The Teacher: Emily Johnston
I'm Emily Johnston a fifth year art educator at Ridgway Area School District. I am split between both FSG Elementary where I teach K-5 and Ridgway Middle High School where I teach 7th grade and 9th-12th grade. I am fortunate to be in a position where I can see my students grow from kindergarten to their graduation.
Project Description
We begin this lesson after learning to slab and coil build. Students use this knowledge to create their sculptural soap dishes after being introduced to different types of soap dishes and their functionality. Students sketch out their designs and figure out what methods of construction work best to achieve their designs.
Materials
- clay
- water cup
- plastic bag
- wooden clay tools
- ruler
- fetling knife
- glaze
- soap dish examples
- soap
Grade Level
High School
Difficulty
Easy
Student Hands-On Time
three 78 minute classes
Teacher Prep Time
30
Project Cost / Cost Per Student
15
National Core Arts Standards - Visual Arts
- Creating - Generate and conceptualize artistic ideas.
- Creating - Organize and develop artistic work.
- Creating - Conceiving and developing new artistic ideas and work.
- Presenting - Develop skills for artistic presentation and exhibition.
- Responding - Perceive and analyze artistic work.
- Responding - Evaluate and critique based on aesthetic and technical qualities.
- Connecting - Connect personal experiences with artmaking and meaning.
21st Century Skills
- Critical Thinking & Problem-Solving
- Creativity & Innovation
- Flexibility & Adaptability
- Productivity & Accountability
- Leadership & Responsibility
STEAM Education
- Arts
Differentiations and Accommodations
Differentiation
IEP
Accommodation
I have accommodated students in the past with gloves, as the did not like the feeling of clay on their hands. I also provided extra support when needed.
Differentiation
Advanced Learners
Accommodation
Gifted students are challenged to create a more intricate design or unique solution to the functionality of their work.
Learning Objectives: Knowledge
Students will explore the functionality of their pieces while also creating a sculptural artwork. Students will be able to choose and apply the best building techniques to complete their projects.
Learning Objectives: Skills
Students will acquire problem solving skills while determining the building technique used to create their soap dish. Students will learn about drying time involved in working with the medium. Students will also learn about the firing process and as well as the glazing process to finish their work.
Formative Assessment
Students are evaluated during class discussion, through observation of their work, through their sketchbooks, and critique.
Summative Assessment
Final evaluation is based on a grading rubric looking at the overall piece graded on craftsmanship, creativity, participation, and elements and principles of design.
Reflection and Discussion
What makes a soap dish functional? Do you want their to be drainage? Are their multiple solutions for one problem? What type of building technique would work best for your design? Can you combine building techniques? What did you learn through this process?
Lesson Activities
Intro to Soap Dishes
The instructor will introduce students to soap dishes. We will look at different examples of soap dishes and analyze their function. In a class discussion, the instructor will ask students what makes a soap holder functional? What is the soap holder meant to do? Students will start thinking about how we can design soap dishes that solve problems. Such as drainage for the soap.
Sketching
Students will be asked to sketch three different designs for their sculptural soap dishes. They must draw each side of their dish as well as this is a three dimensional piece. Students will conference with the instructor to choose their best design.
building
Once students have chosen their design for their project, they can begin with clay. Students will wedge out their class and begin to sculpt using the best building technique for their design. The instructor will be around to assist students when needed. Students will need to wrap up their artwork at the end of class and return projects to labeled shelves.
Building continued
Students will continue to work on the sculpting process, adding details to their work as they get close to finishing their work. Once students have completed their sculptures they will leave their projects out to dry on the firing table. Instructor will discuss with the students how the firing process works.
glazing
Students work has been fired, now the instructor will demonstrate how to glaze a bisque piece. Students will want to be careful when changing colors of glaze as it is an expensive material. Students will want to put at least two or three coats of glaze on their work to ensure it will be opaque after it is glaze fired. Then students will work to glaze their soap dishes.
glaze fire and critique
Students will receive their finished works. We will now begin critique. I typically have students bring their work up and tell the class why they chose to make their piece, how they did, what they enjoy and what they would change. Then their peers must answer these two questions, "what is successful about the piece?" and "how can it be improved?". We repeat this process until everyone has presented their work.
