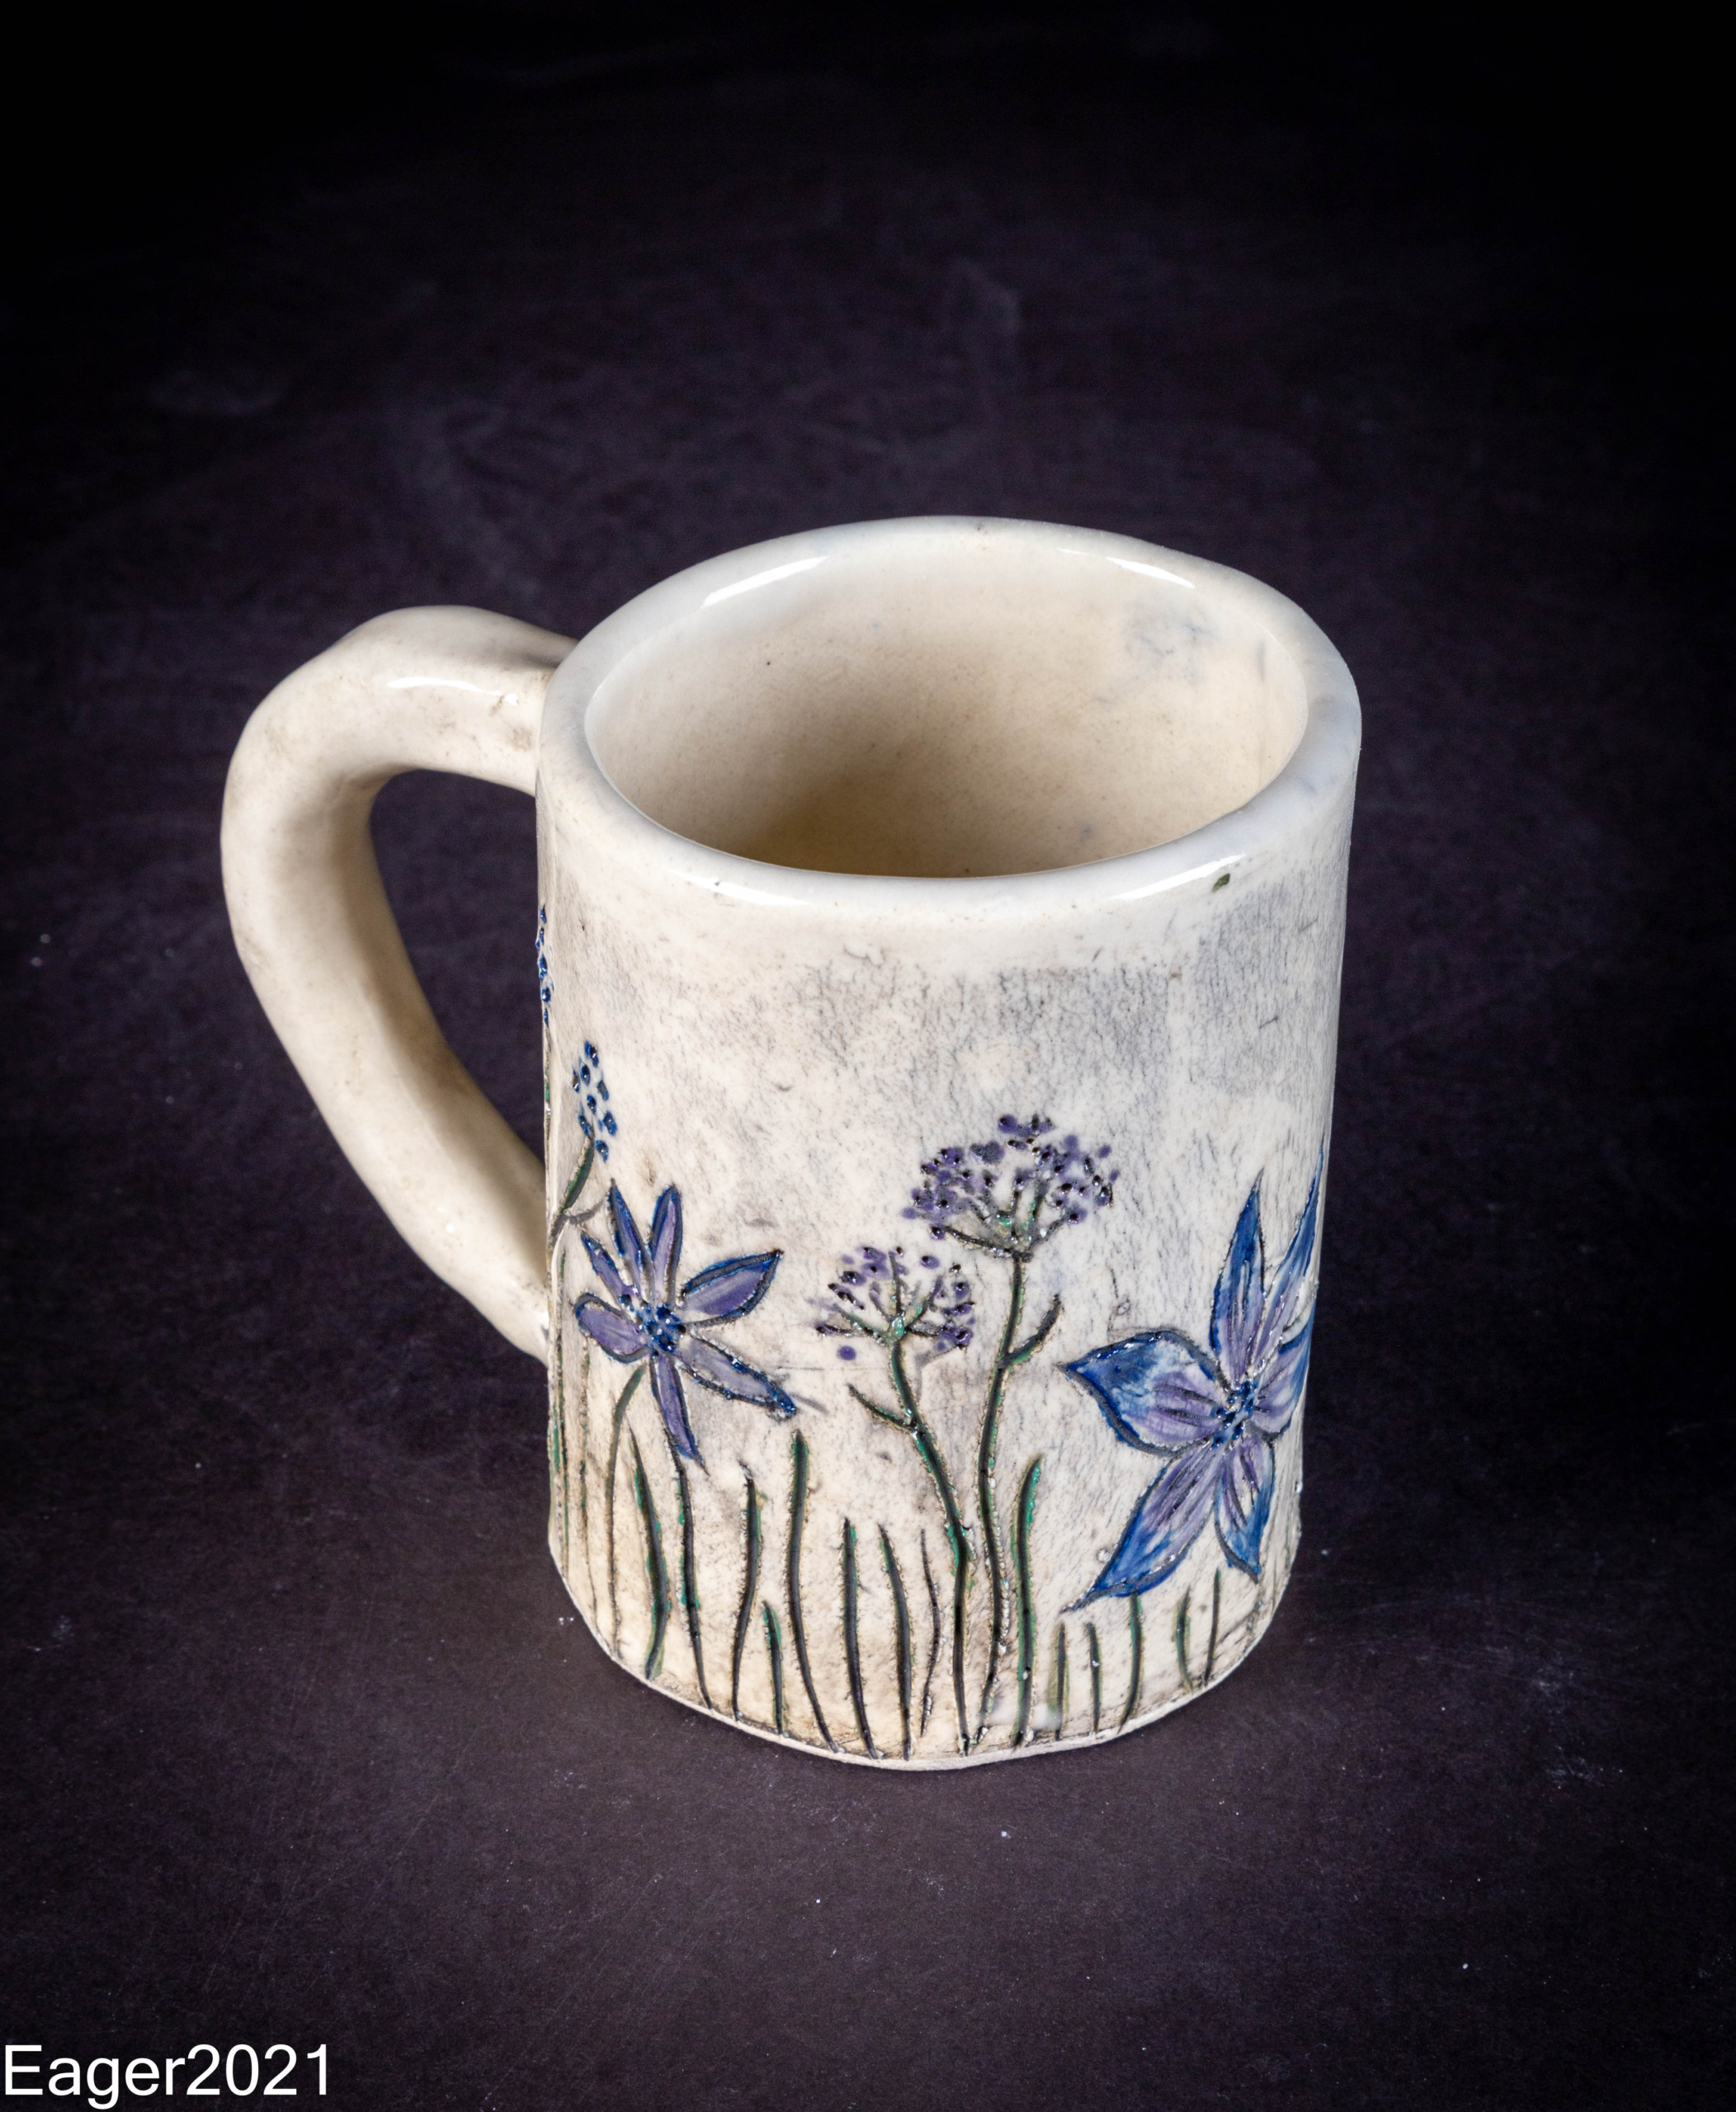
Slab Mug
Meet The Teacher: Frank Eager
As a ceramics teacher, I nurtured creativity and craftsmanship, guiding students to shape raw clay into meaningful art. I emphasized technique and expression, ensuring all students felt empowered to explore their potential. Beyond the classroom, I advocated for art education’s role in fostering critical thinking and hands-on learning.
Project Description
Ever wanted to make a functional mug without using the wheel? With the slab method, you can hand-build a unique and personalized mug from clay. This technique allows for endless creative possibilities while making a sturdy, usable piece of pottery.
Materials
- 2-3 pounds of clay either a mid fire or low fire clay
- Rolling PIn
- 1/4 inch sticks for rolling an even slab (paint sticks from you local hardware store are close to 1/4 inch thickness)
- Pringles Can or something similar (this is used for shape and control of the body of the mug)
- Template- Create or print a mug template that measures 11 1/2 by 5 inches tall. This is for the body of the mug.
- Needle Tool for cutting and drawing lines
- Fettling knife or 45 degree tool to cut angles of your slab to make a stronger joint.
- A scoring tool to score your seams with. A fork will work.
- Newspaper to wrap around your form so the clay does not stick
- A sponge and brush for smooth seams or cleaning up areas on your mug.
- Spray Bottle to help keep your clay moist and workable.
- Glazes for decorating your mug and making it functional
- Apron or smock to keep you clean
- A kiln to fire all the projects in
- A handle mold to help shape handles. This helps students make a more consistent handle and worth the investment.
Grade Level
Middle School
Difficulty
Intermediate
Student Hands-On Time
65-95 minutes. Recommendation is breaking up the project over two days if classes are short and also allow drying time.
Teacher Prep Time
45
Project Cost / Cost Per Student
10
National Core Arts Standards - Visual Arts
- Creating - Conceiving and developing new artistic ideas and work.
- Connecting - Relate artistic ideas to historical, cultural, and social contexts.
21st Century Skills
- Critical Thinking & Problem-Solving
- Creativity & Innovation
- Communication
- Collaboration
- Initiative & Self-Direction
- Productivity & Accountability
STEAM Education
- Science
- Arts
Differentiations and Accommodations
Differentiation
IEP
Accommodation
Review with students with these accommodations. Make sure they can understand directions and the process. Have them explain the steps and process that works. Make modifications as necessary
Differentiation
504 Accommodations
Accommodation
Review with students with these accommodations. Make sure they can understand directions and the process. Have them explain the steps and process that works.
Differentiation
Advanced Learners
Accommodation
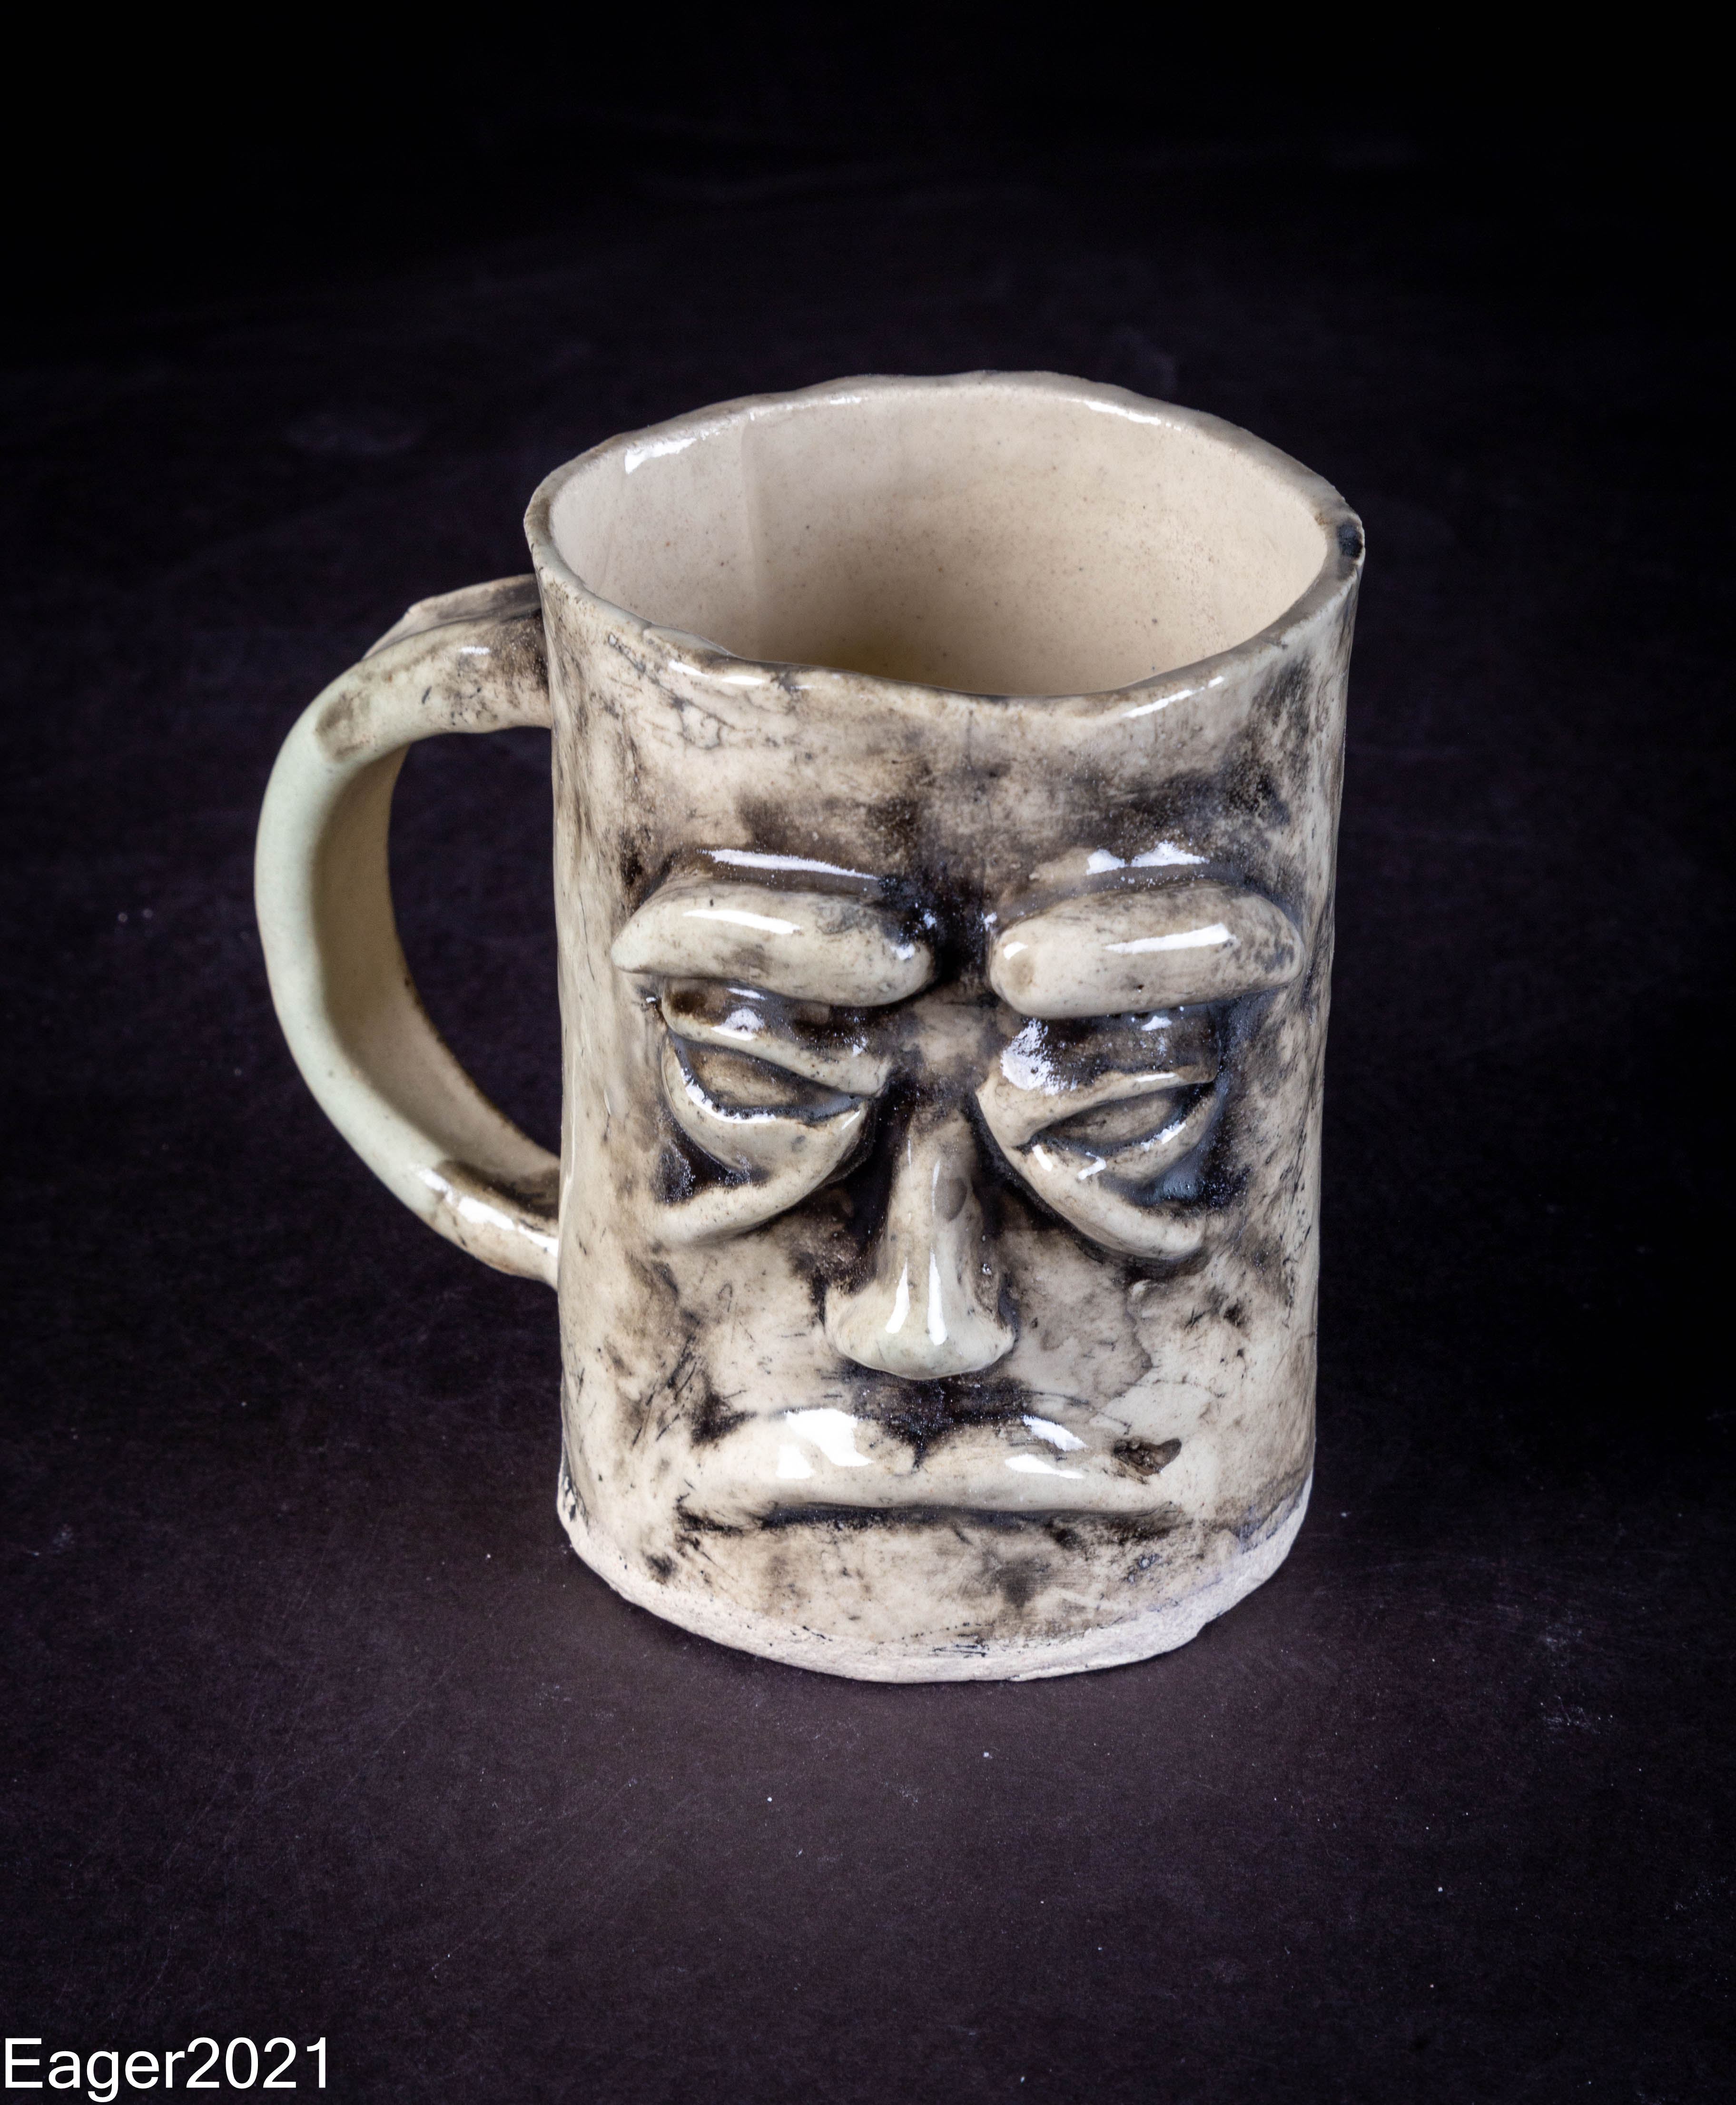
Come up with more challenging ideas for the project. Maybe sculpt a face on the mug instead? OR make another one with a different from or shape.
Differentiation
Struggling Learners
Accommodation
Help students rolling out slabs and using template. Also they may need more assistance in creating a proper handle.
Learning Objectives: Knowledge
Students will learn the proper construction of a functional mug and handle Students will learn that clay can take on many textures from objects that are found.
Learning Objectives: Skills
How to build with soft slabs How to construct a handle they can use to hold their vessel How make a proper lip on their mug for drinking.
Learning Objectives: Attitudes/Values
Learning patience How to follow directions
Formative Assessment
Observe student engagement and provide ongoing feedback
Summative Assessment
Evaluate the finished pieces based on criteria such as creativity, technique, and adherence to the project guidelines.
Reflection and Discussion
Reflect on what worked well and what could be improved for future lessons. Note any student feedback or observations that may influence future planning
Lesson Activities
1. Introduction (5-10 minutes)
Briefly introduce the topic or technique.Talk about what we use mugs. Show examples (either your work or images) to inspire students.
2. Instruction (15-20 minutes)
Demonstrate the technique or project step-by-step. Highlight key concepts, such as proper handling of materials, safety practices, and artistic principles (e.g., balance, symmetry).
3. Hands-On Practice (30-40 minutes) A stated previously hands on practice can take a couple of days
Students begin working on their projects with guidance. Provide feedback and assistance as needed. Encourage creativity and exploration within the project parameters.
4. Reflection and Discussion (10-15 minutes)
Students share their work and experiences. Discuss challenges encountered and how they were overcome. Reflect on how the project ties into broader artistic or cultural themes.
5. Cleanup (5-10 minutes)
Ensure all materials are properly stored. Emphasize the importance of a clean workspace for safety and efficiency.
Step-by-Step Instructions

Step 1
1. This project will require approximately 3 pounds of clay to complete
Step 2
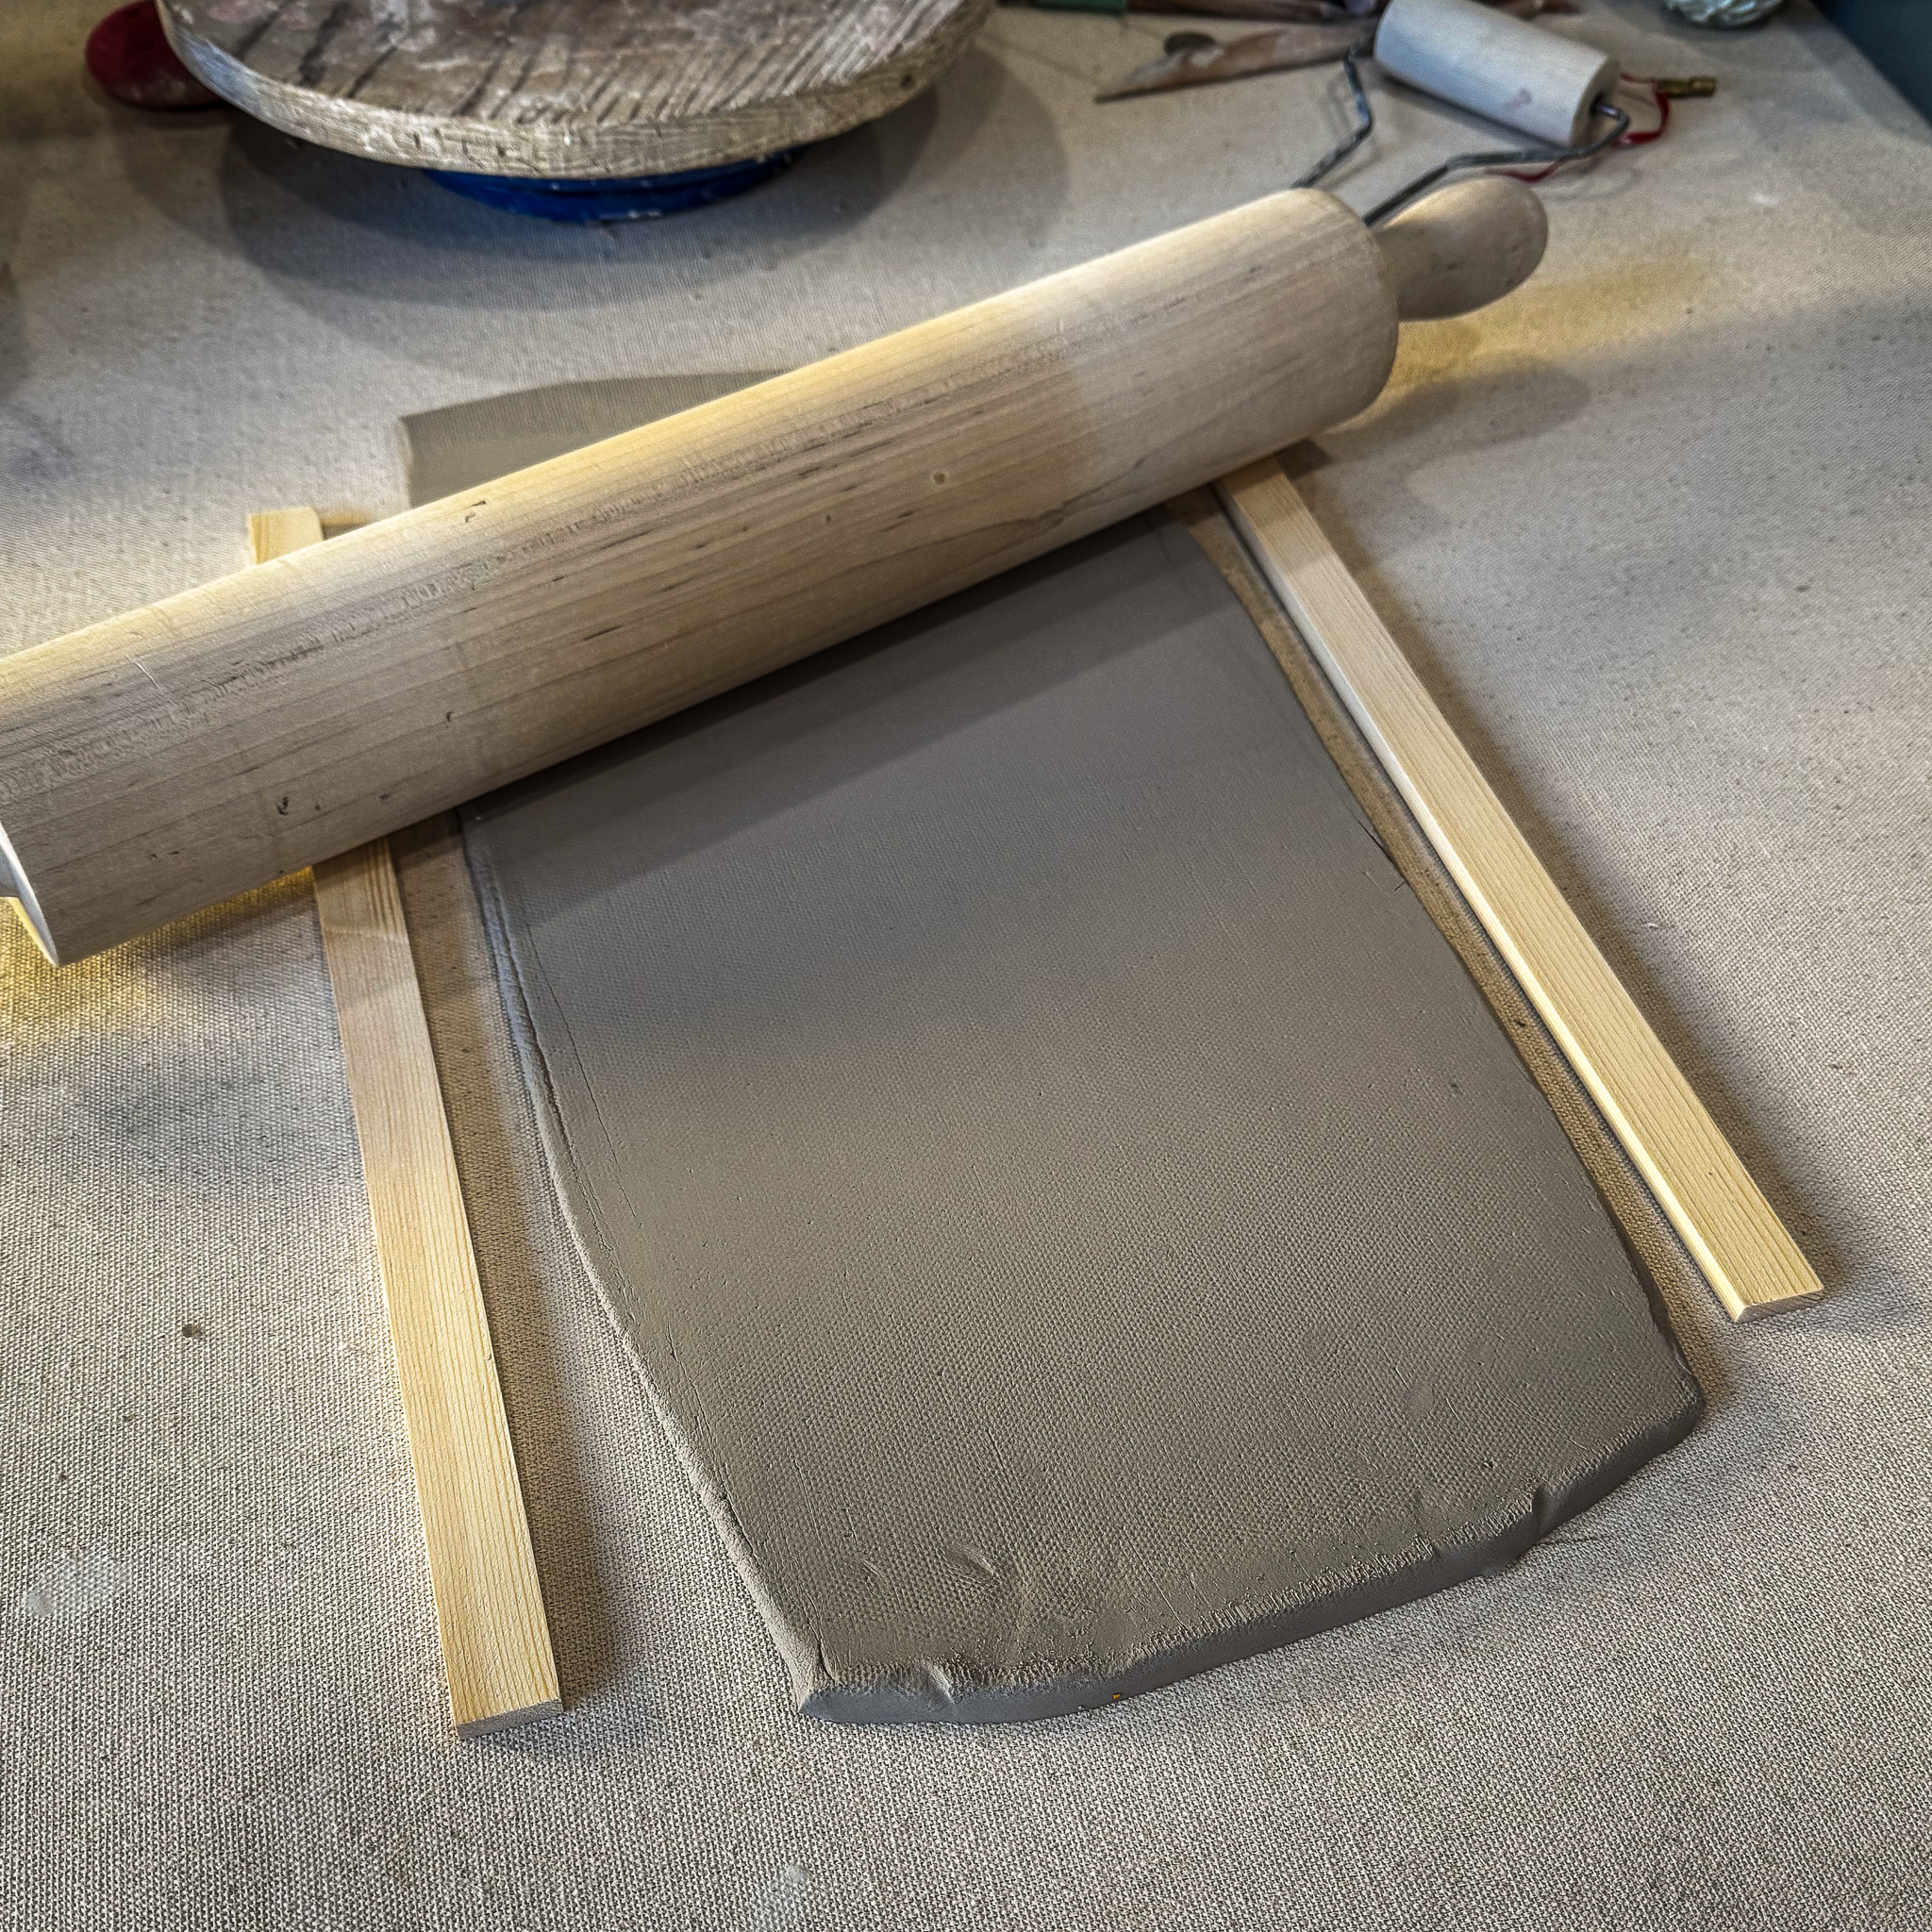
2. Flatten 2 pounds of clay using a rolling pin, placing 1/4-inch guide sticks on either side to ensure an even thickness of at least 1/4 inch
Step 3
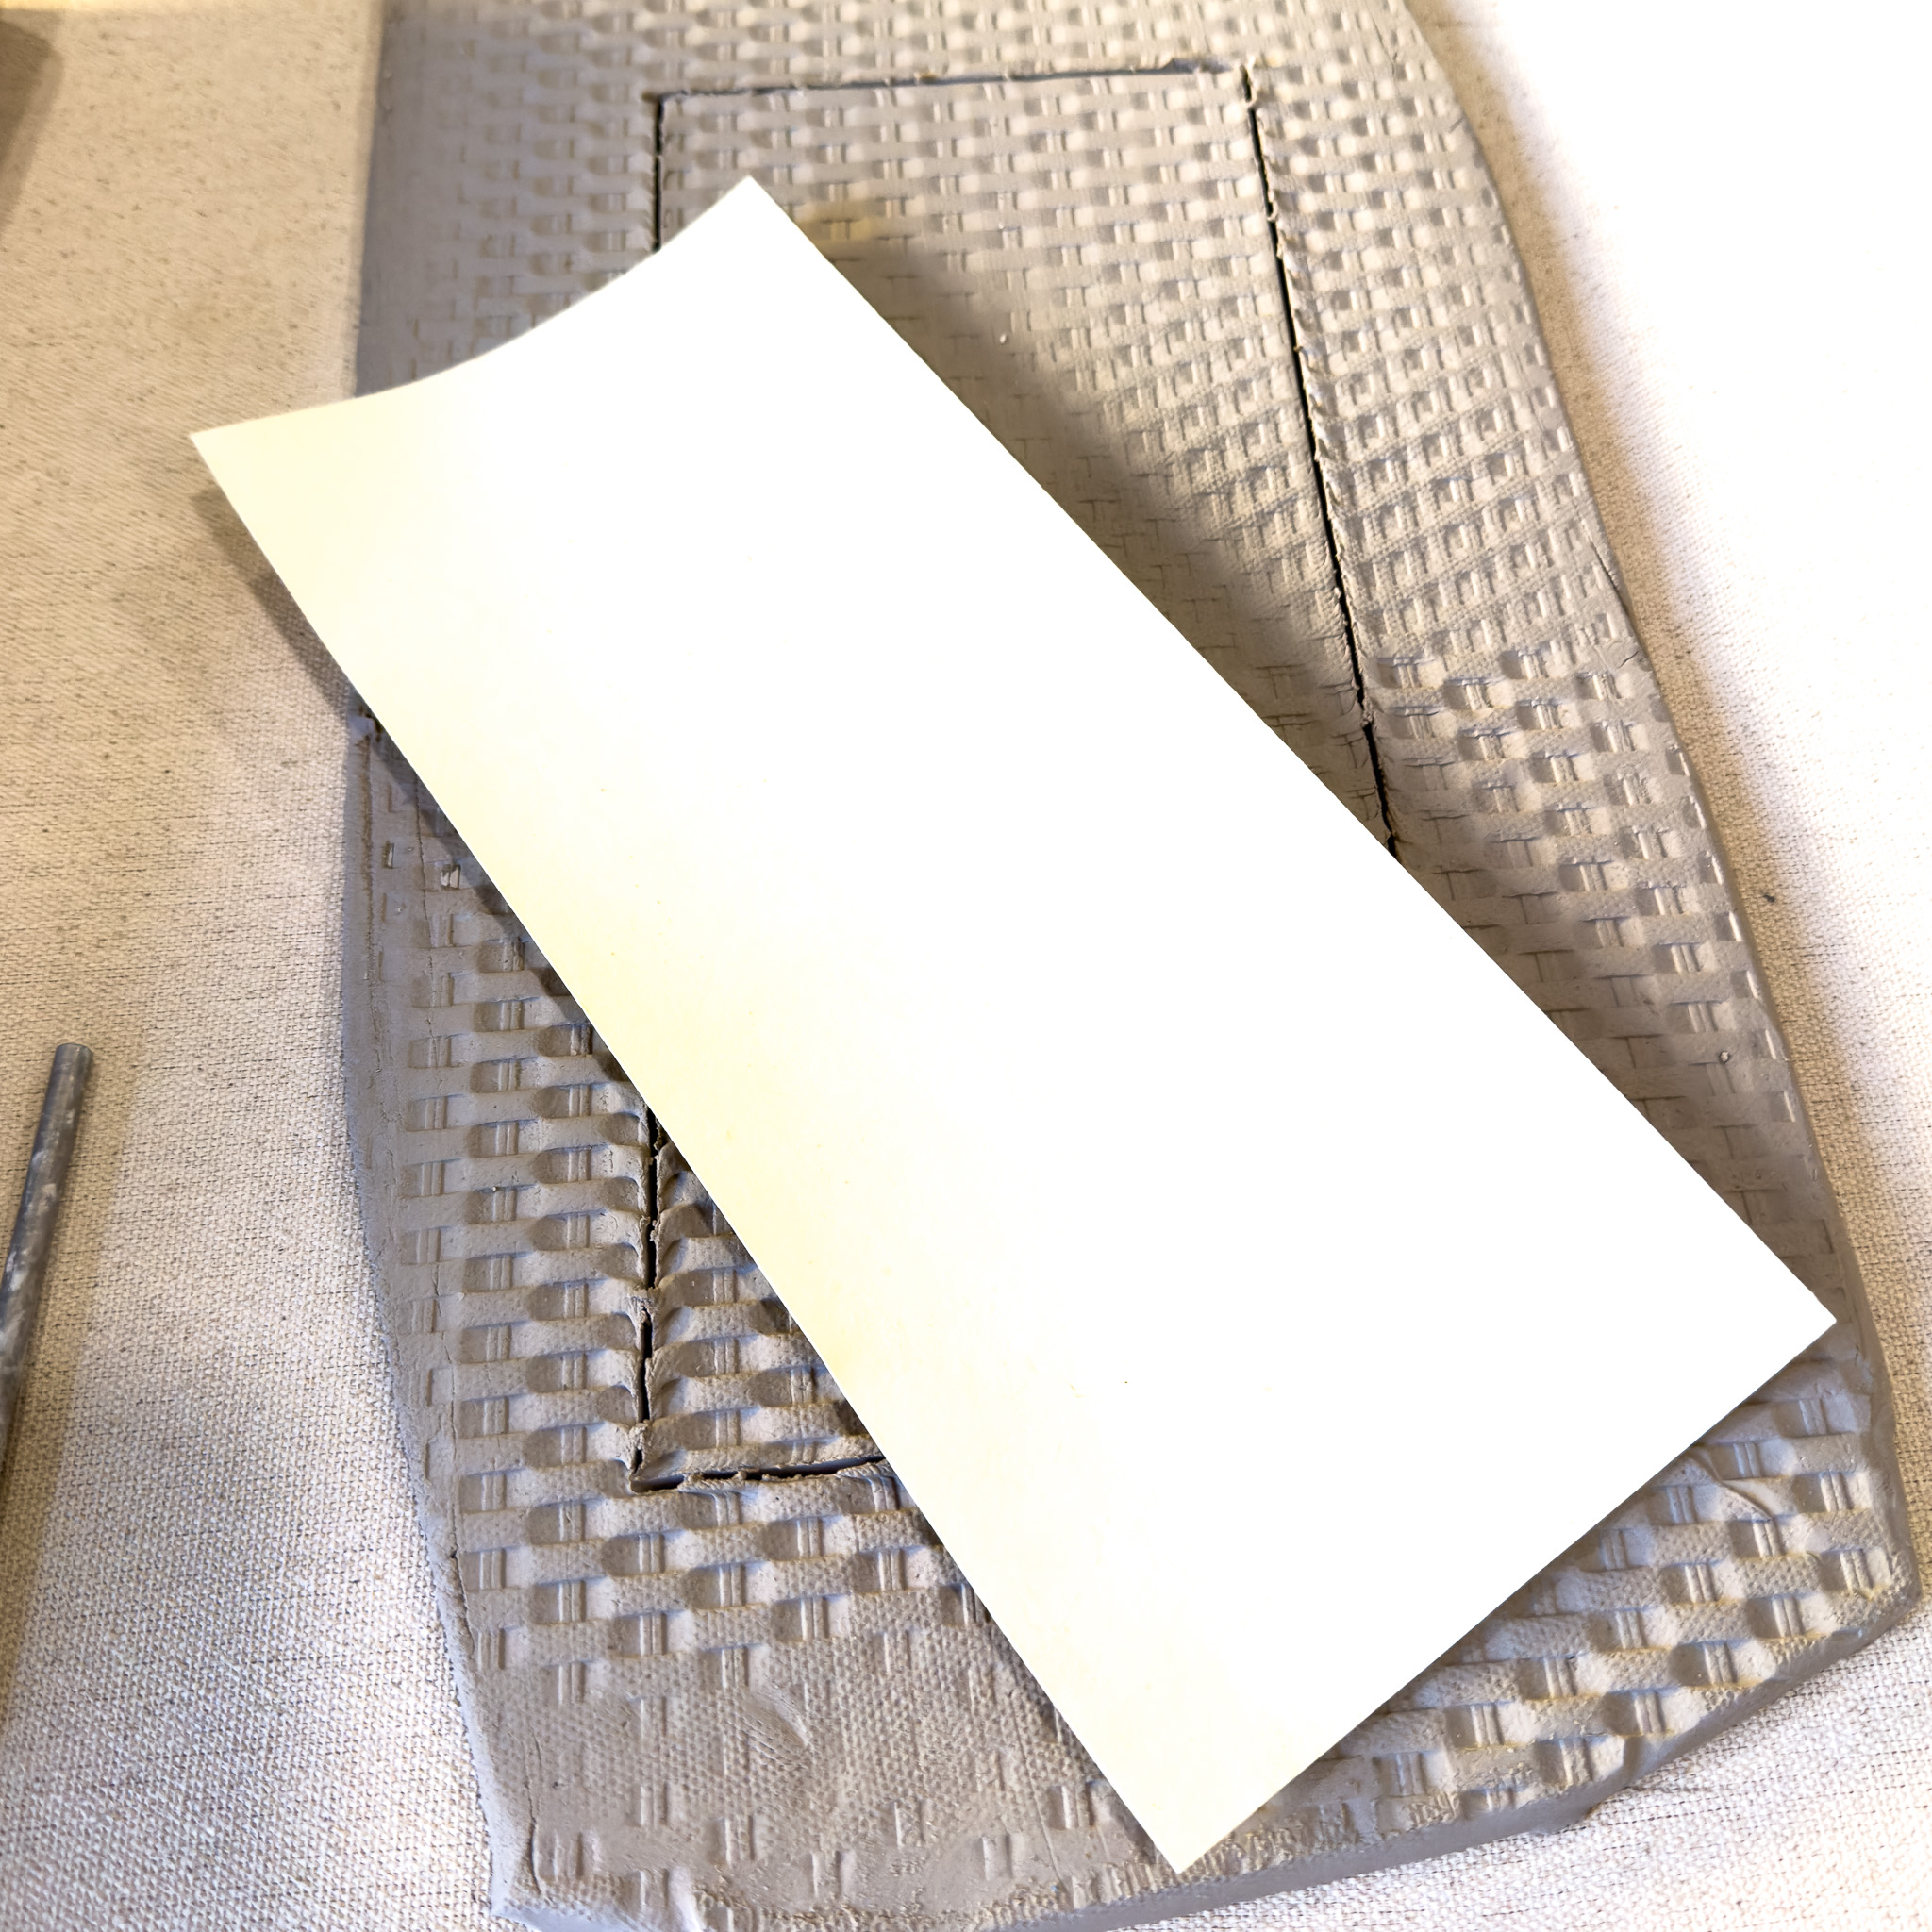
3. If you want to add texture to your mug, now is the time to do so—press or imprint your design onto the clay slab before tracing your template.
Step 4
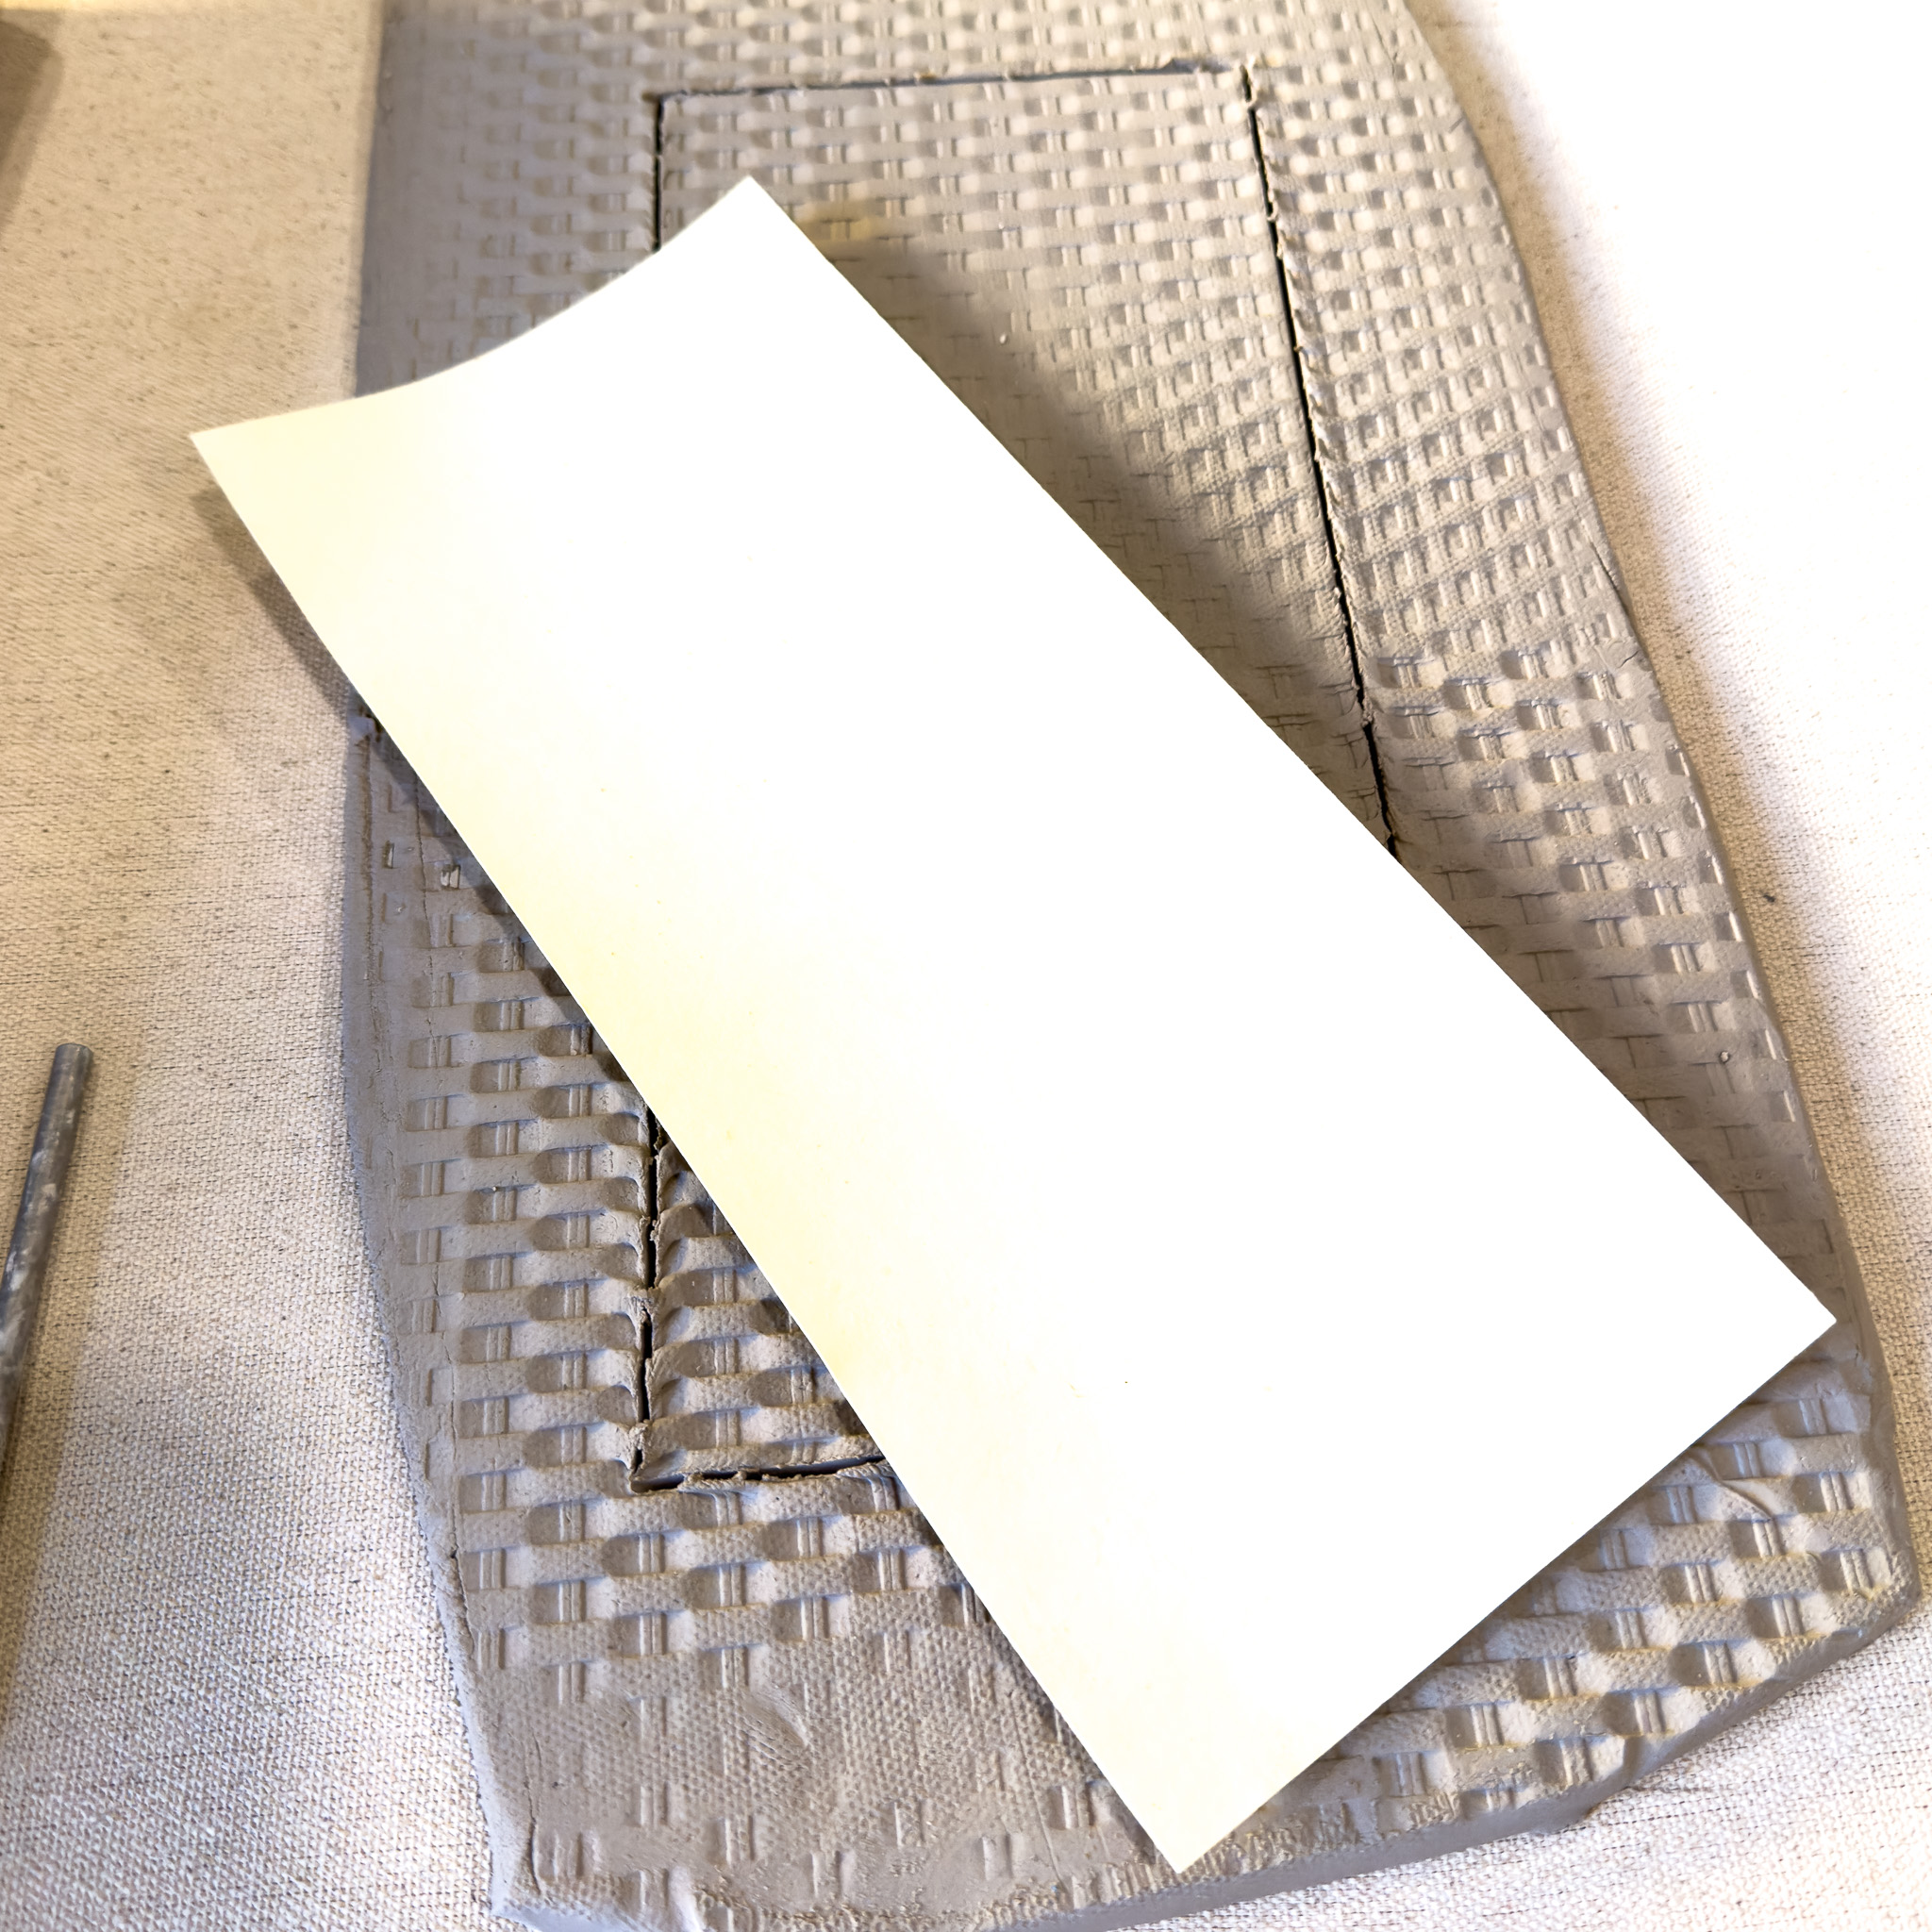
4. Trace the mug shape onto the clay slab using your paper template.
Step 5
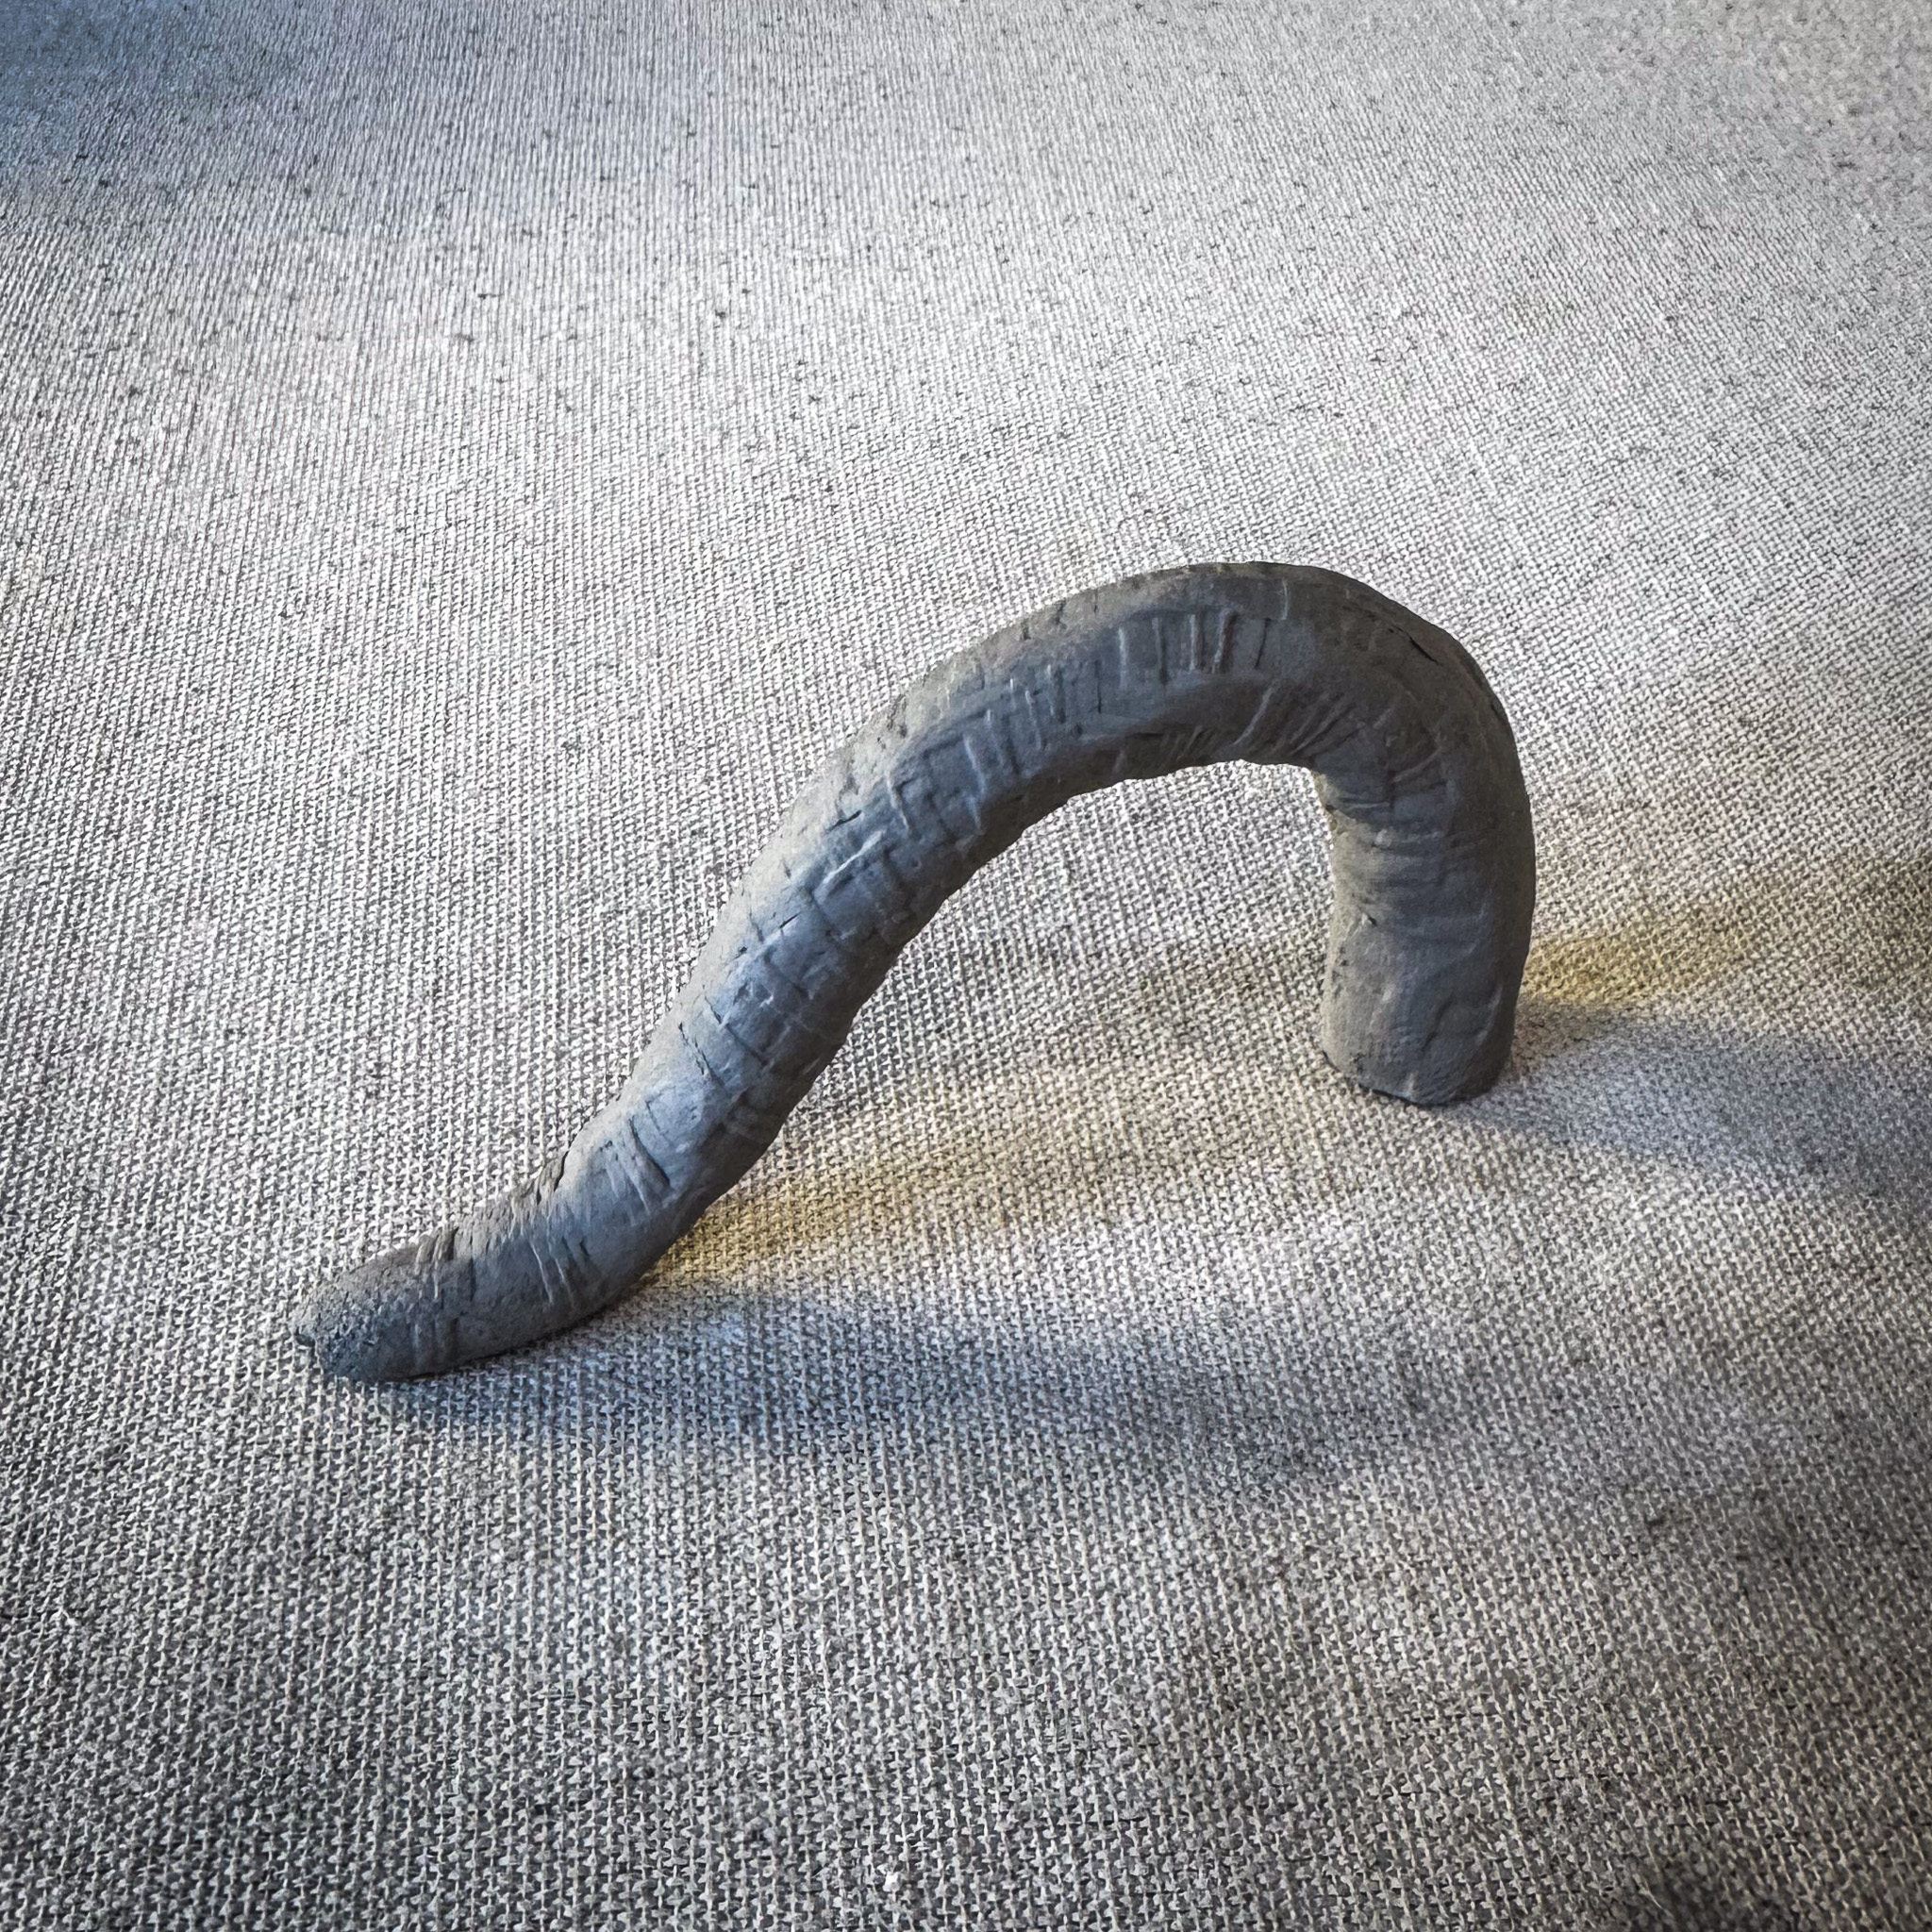
5. Create your handle by either using a mug handle template for a unique shape or forming it into a question mark shape. Allow it to sit and firm up before attaching.

Step 6
6. Cut 45-degree angles along the 5-inch edges of your mug slab . Be sure to flip the slab over when cutting the opposite 45-degree angle. If you don't have a 45-degree tool, use a fettling knife and the edge of a table to create the angle.
Step 7
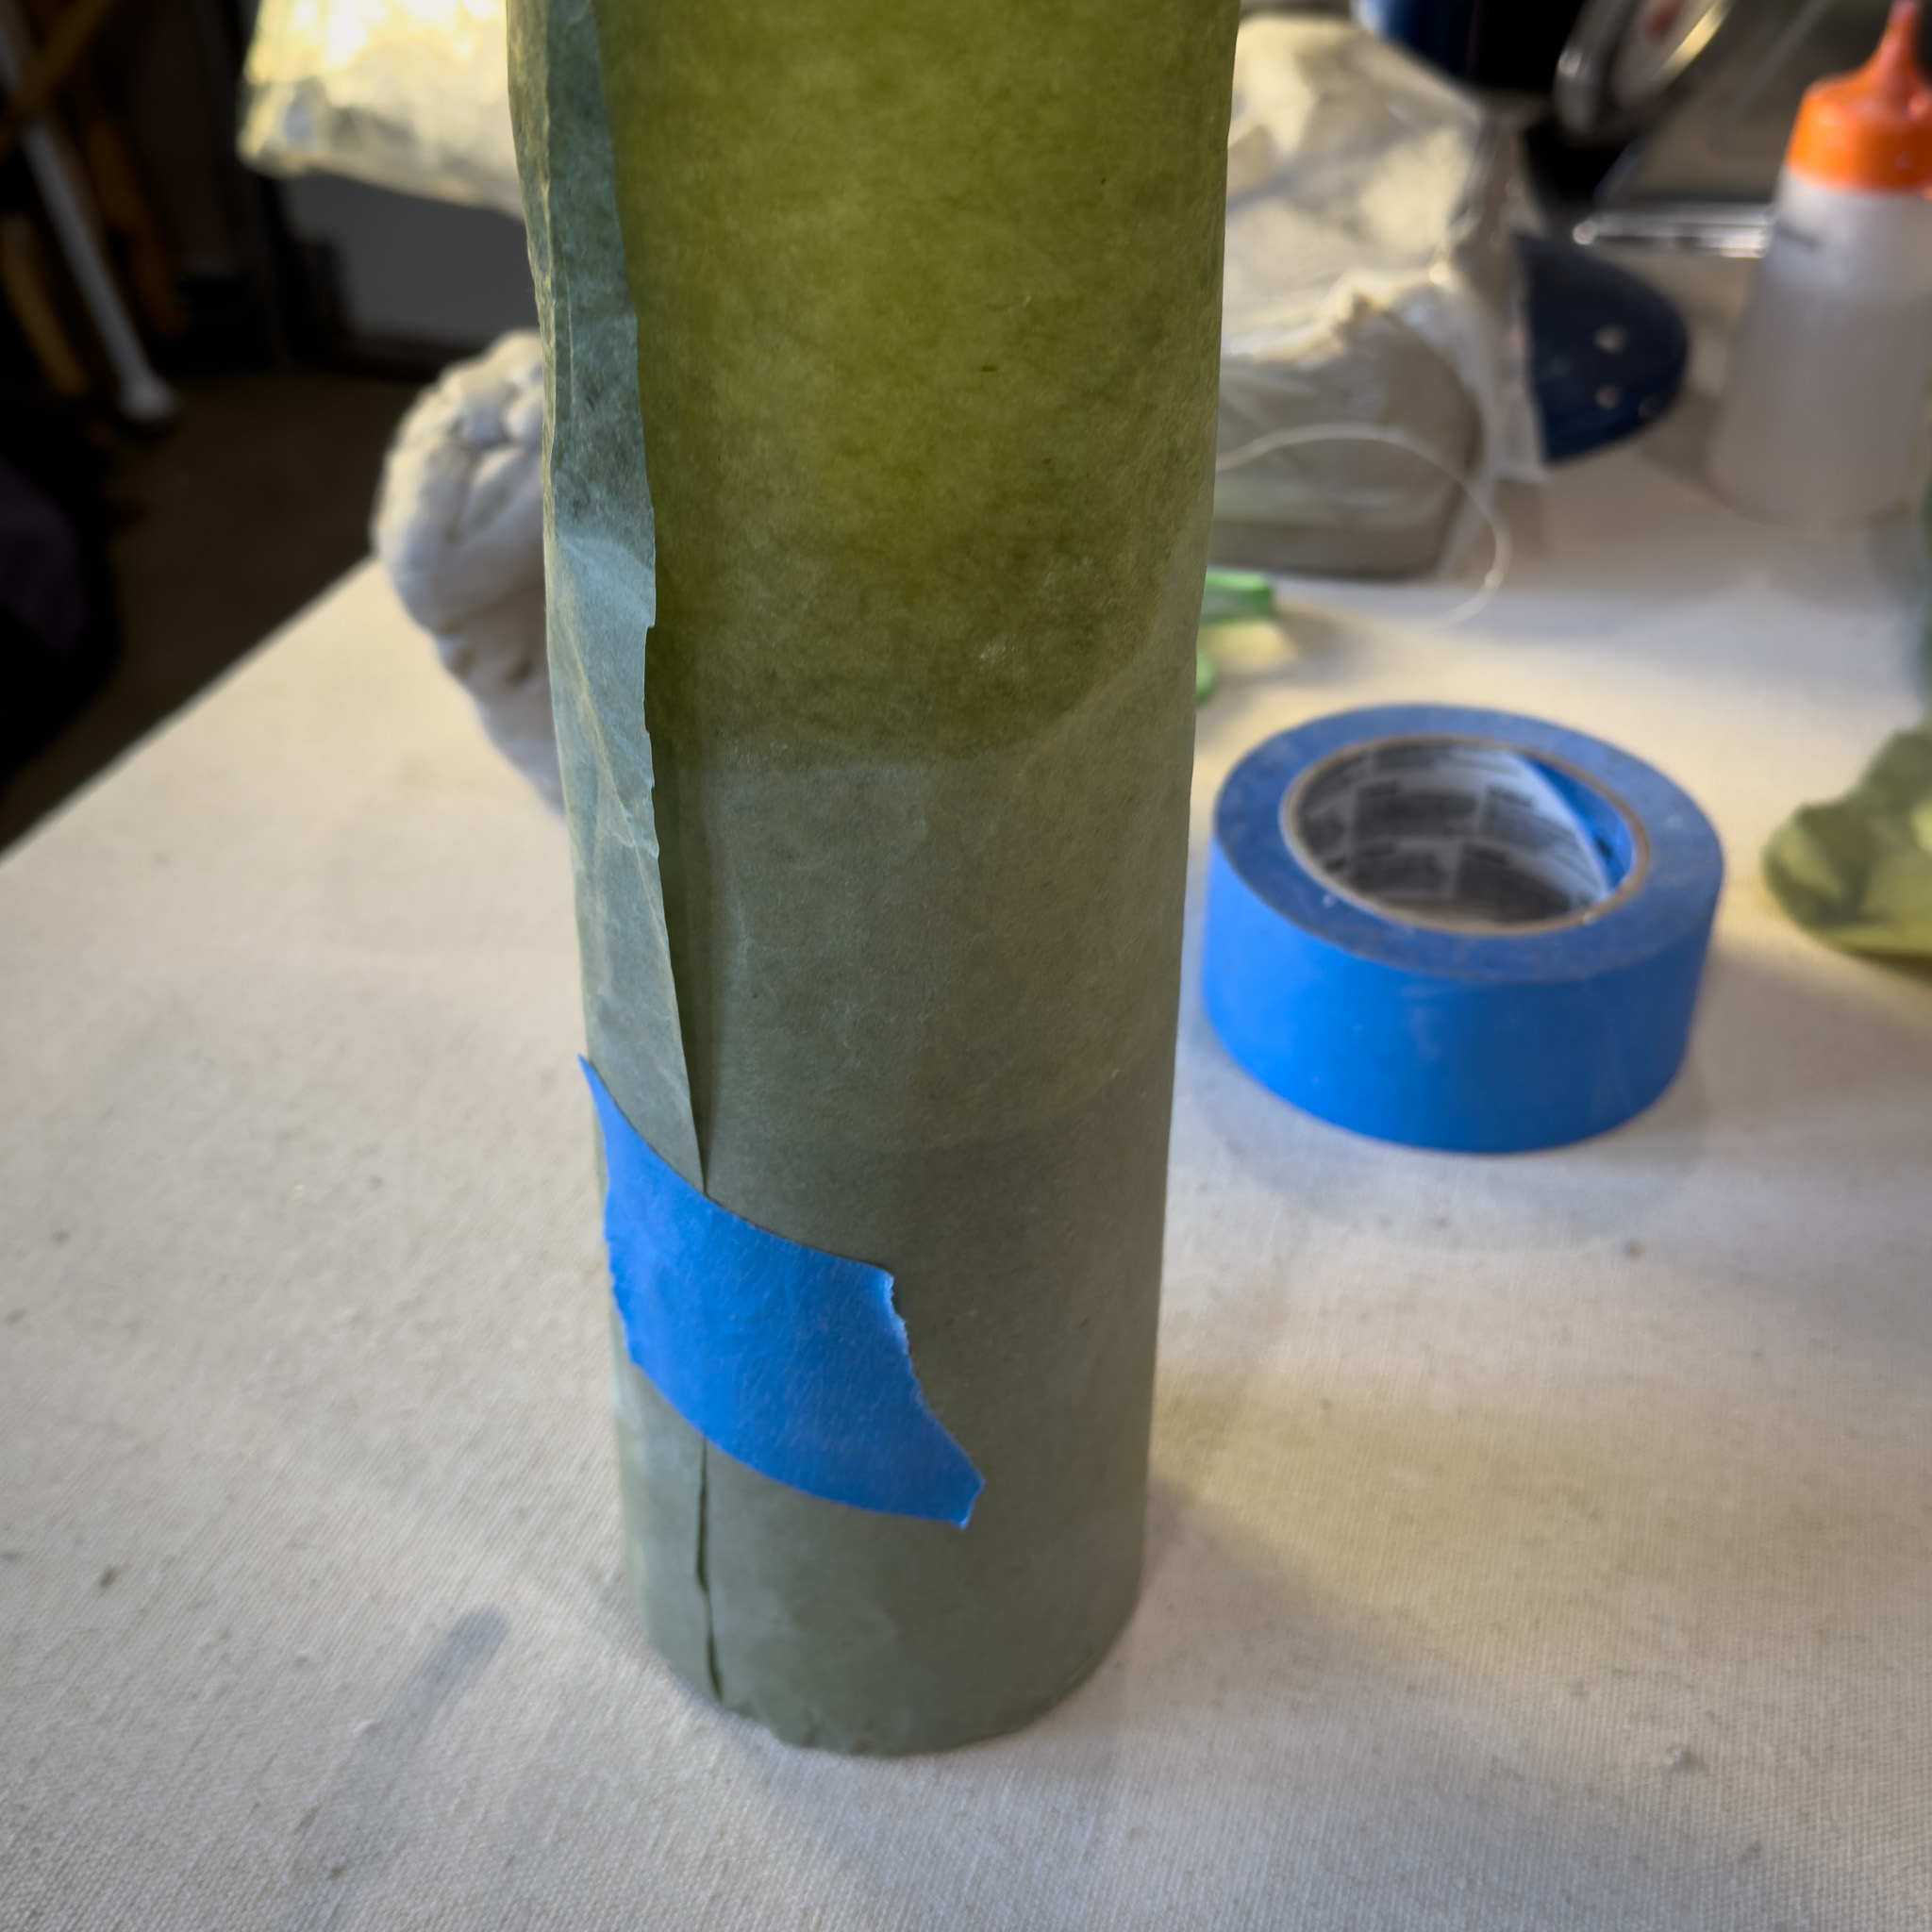
7. Use a Pringles can or another cylindrical form of similar size, wrapping it with a piece of newspaper before adding the clay slab. This prevents the clay from sticking and helps maintain the mug’s shape.
Step 8
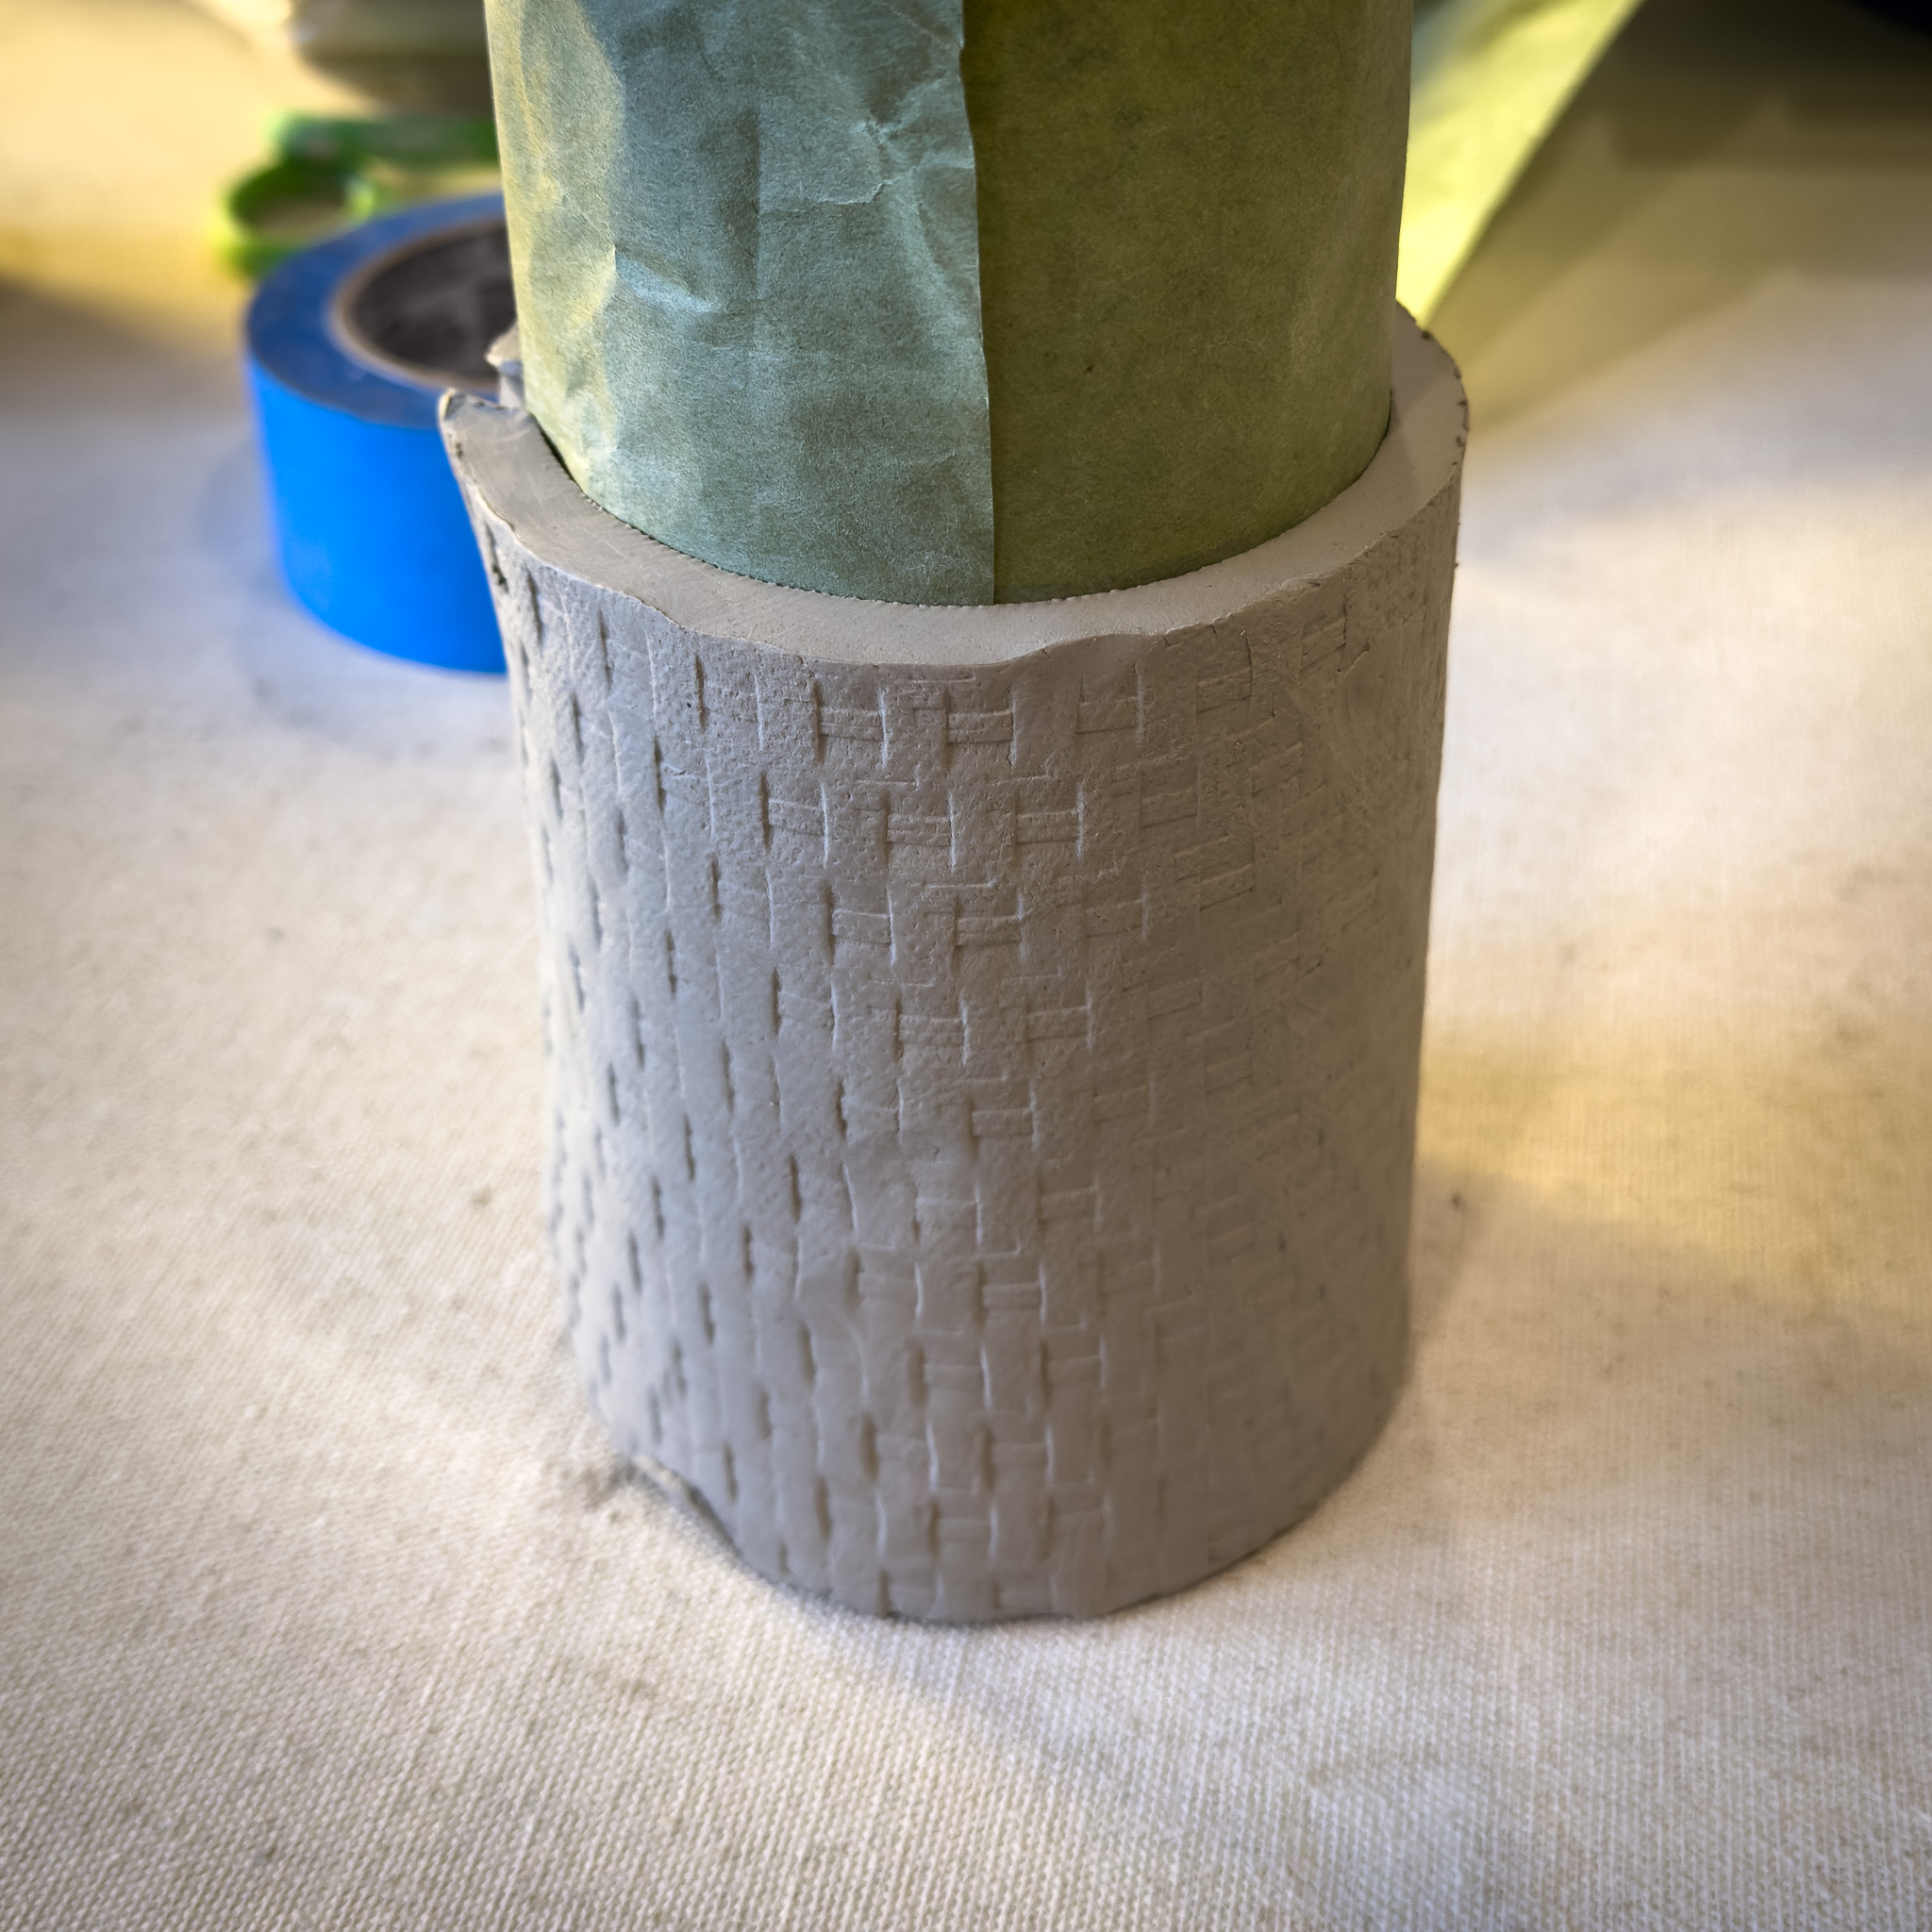
8. Wrap the clay slab around the form if you are using one. If not, stand the slab upright and ensure the edges meet evenly.[ Slab Mug 13.jpg] Score and slip the edges, then firmly join the seams to secure the connection.

Step 9
9. Use a leftover clay slab or roll out a new one to create the bottom of your mug. Place the mug body on the slab, trace around the base, and cut out the shape.

Step 10
10. Score and slip the edges of both the mug wall and the bottom piece. Press them together firmly and blend the seams to ensure a secure bond.
Step 11
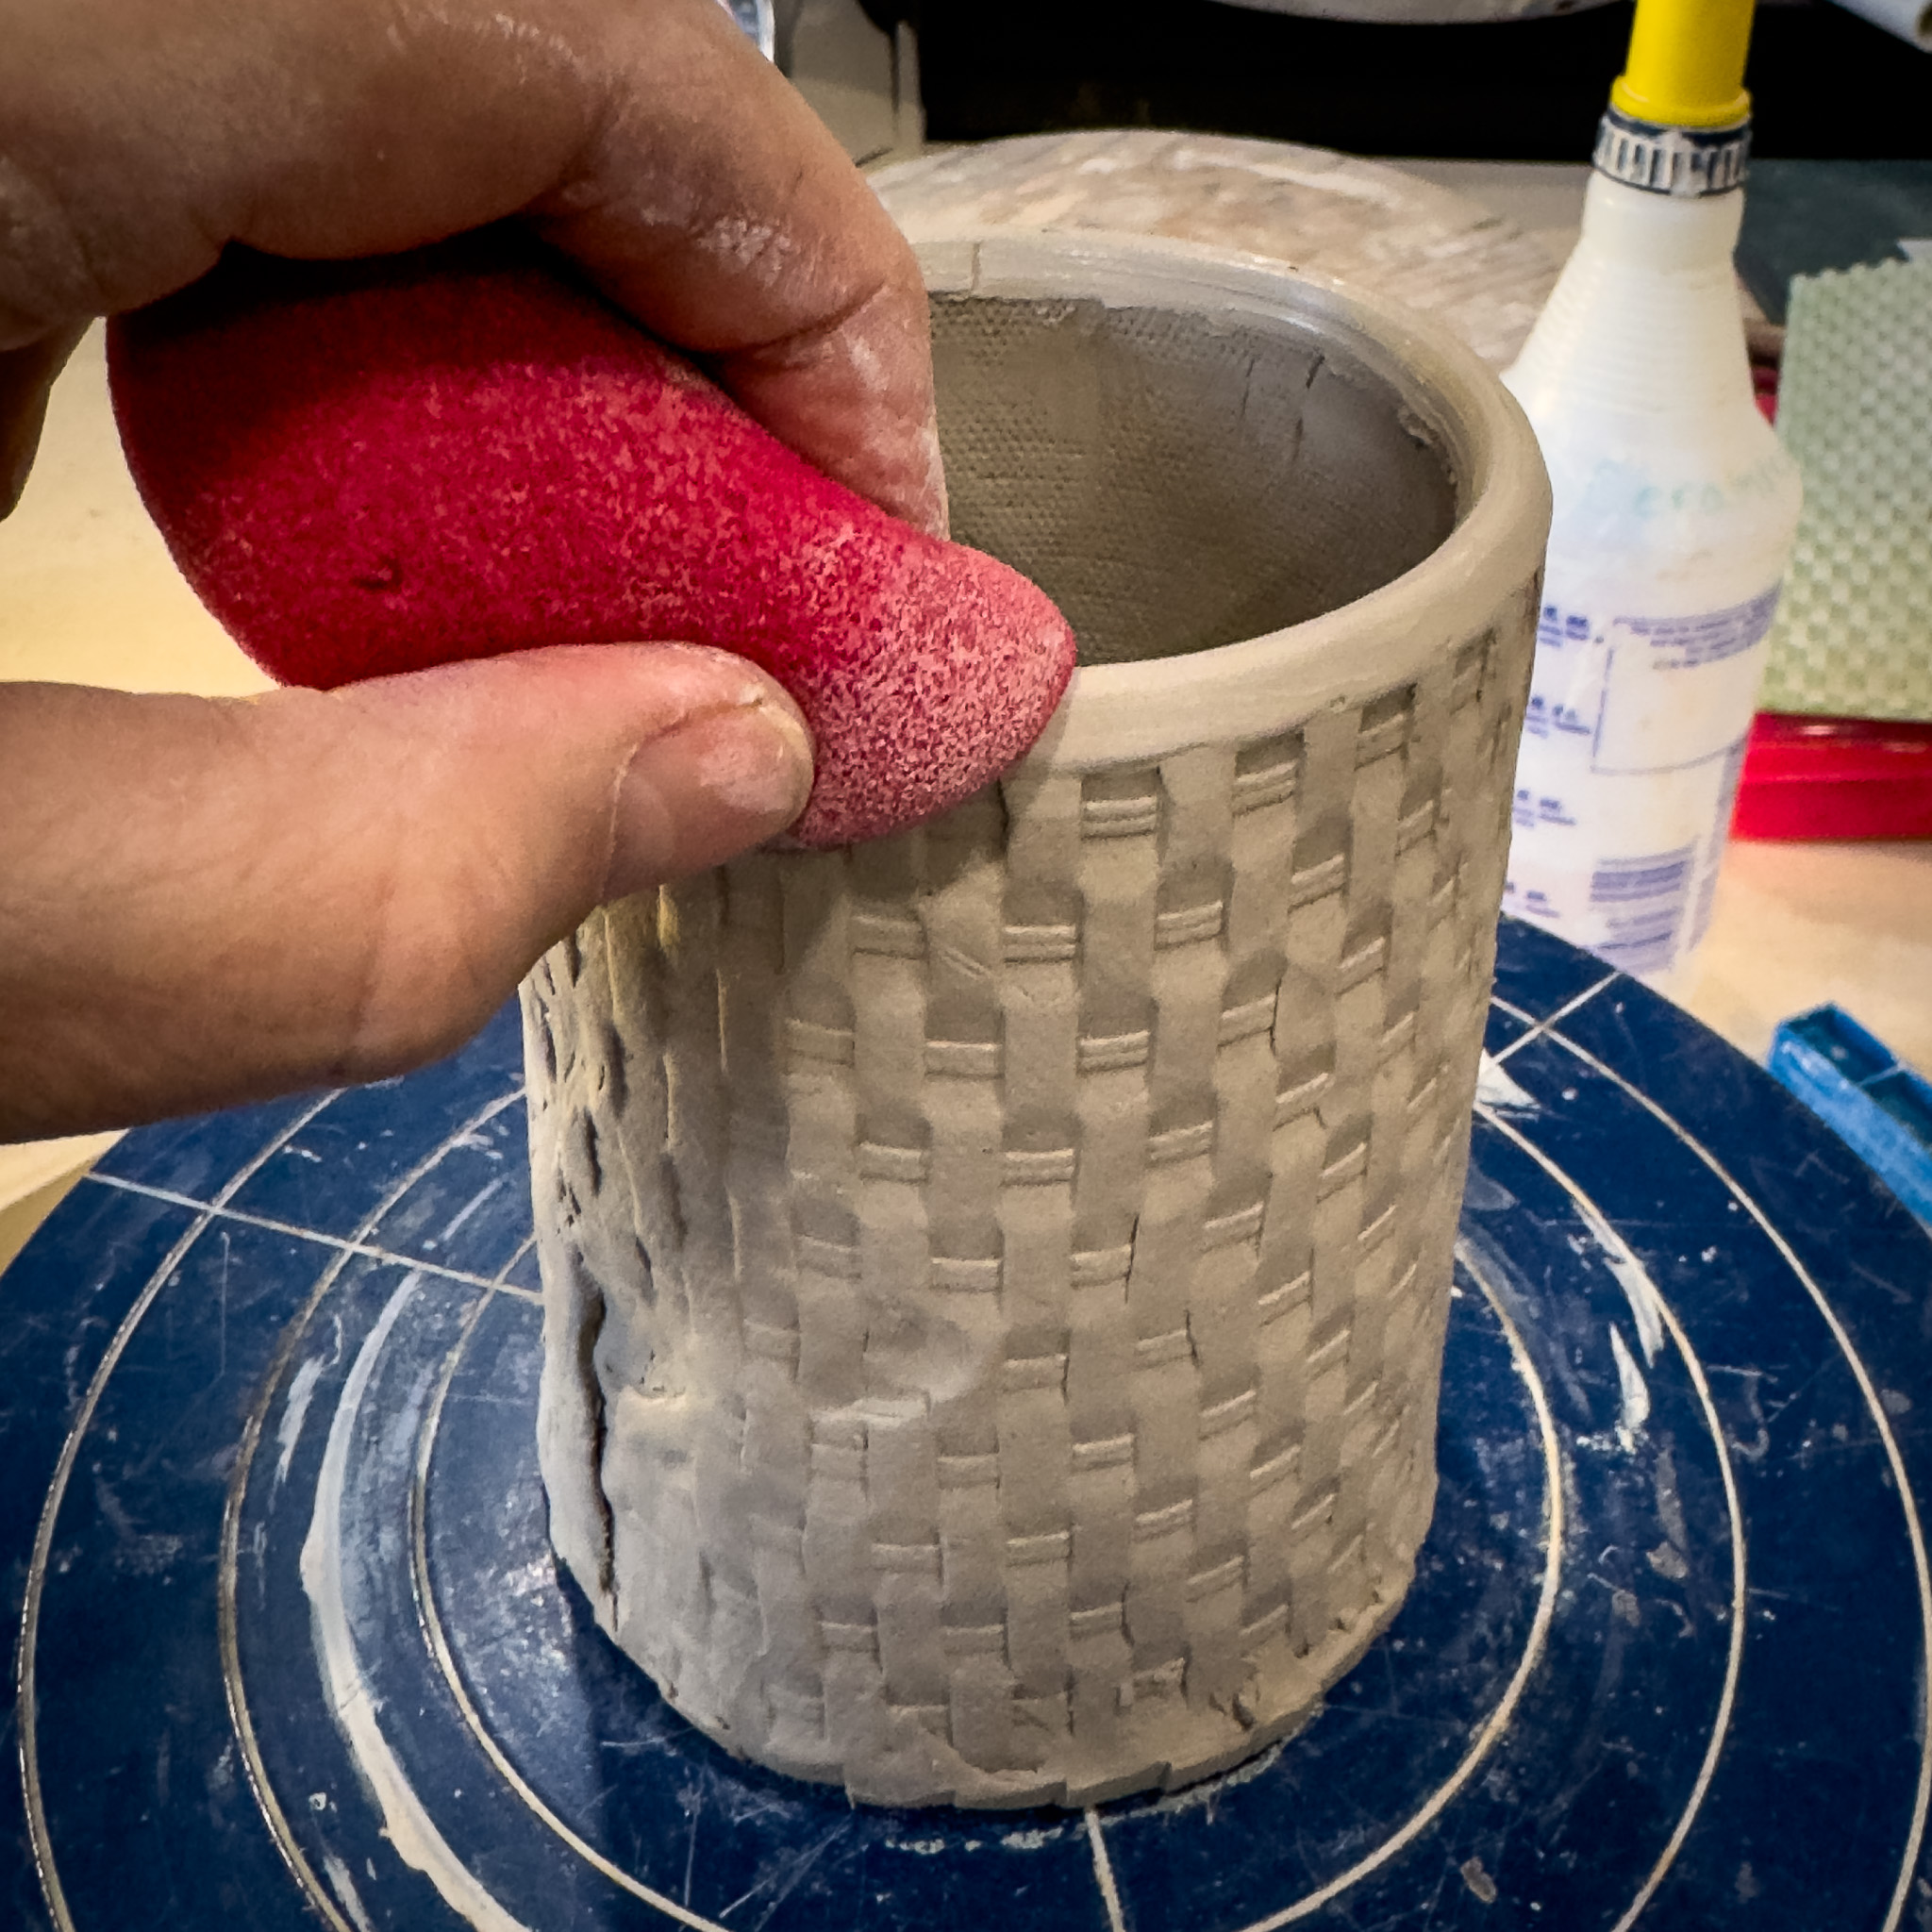
11. Once the mug is assembled, smooth out the lip to ensure it is round and comfortable to drink from. This can be accomplished by blending the lip on both the inside and outside to create a rounded appearance, enhancing both functionality and usability.
Step 12
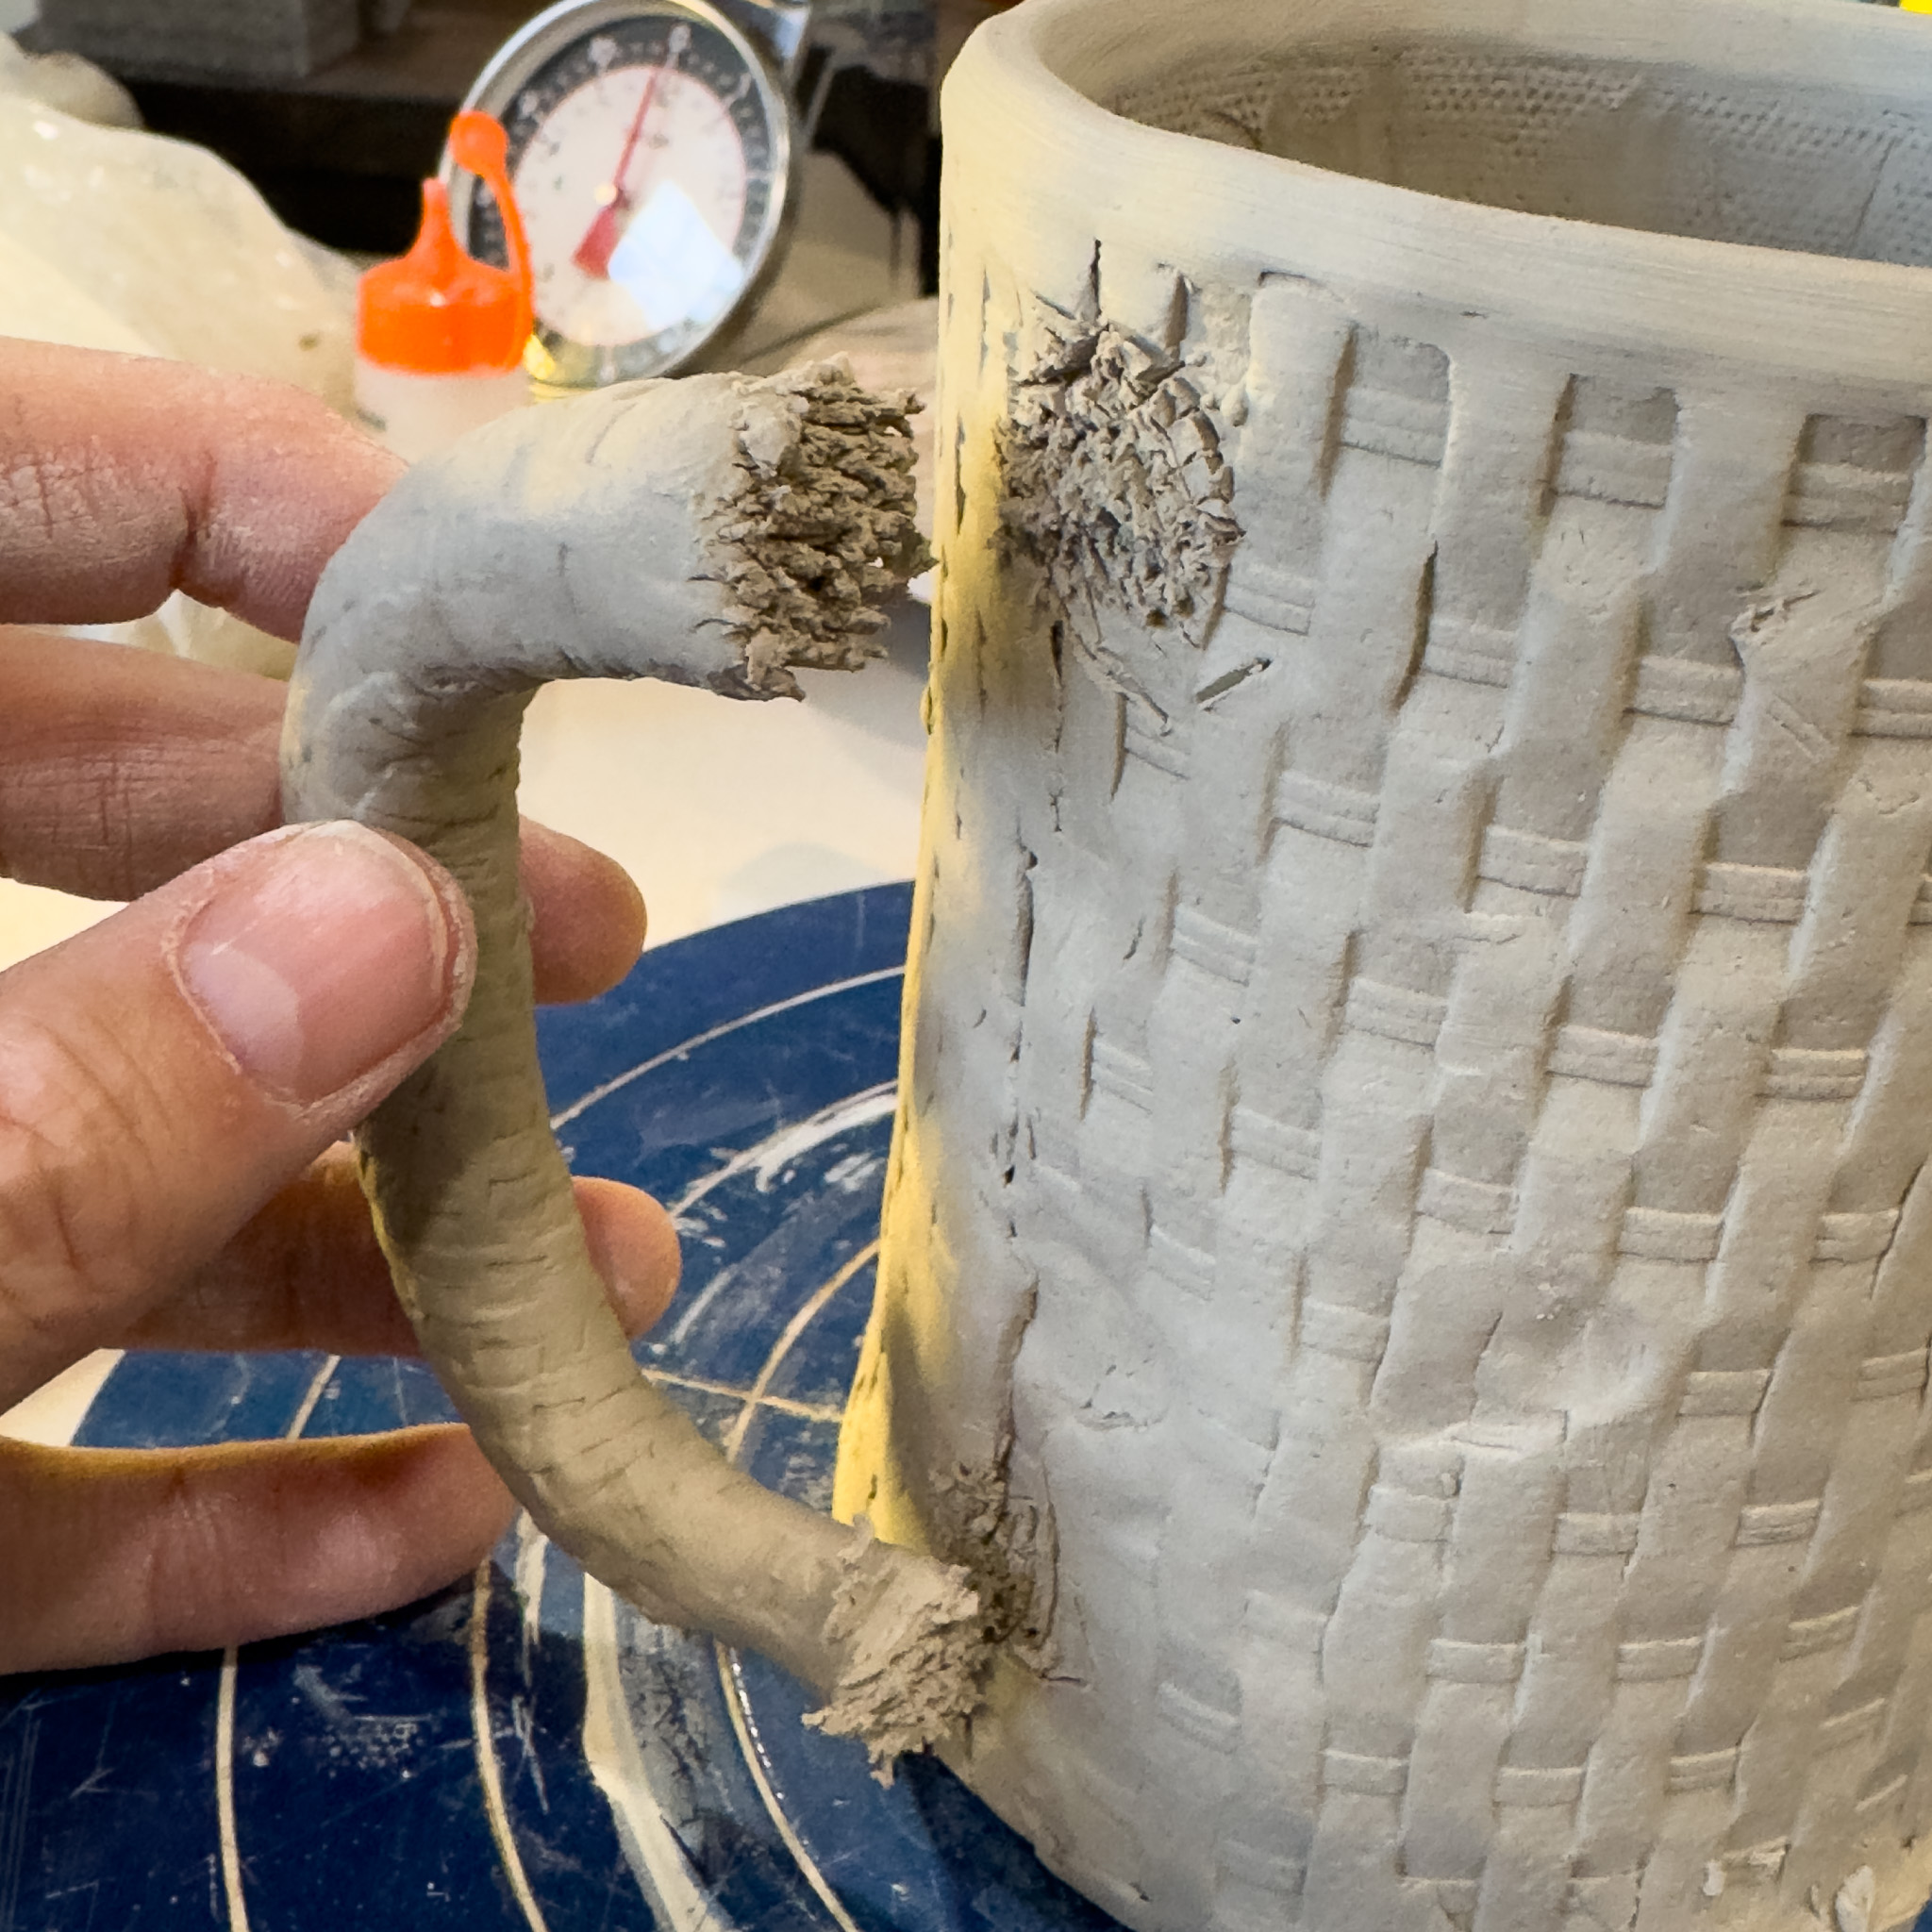
12. Attach the handle by scoring and slipping both the handle ends and the mug body, then press firmly to secure the connection.

Step 13
13. Smooth all seams thoroughly to ensure a strong bond and prevent them from coming apart
Step 14
14. Add any additional decorations or texture to the mug if desired to enhance its design.

Step 15
15. Allow the mug to dry slowly to prevent cracking. In the meantime, start considering the glaze color you want to use for the final finish..

