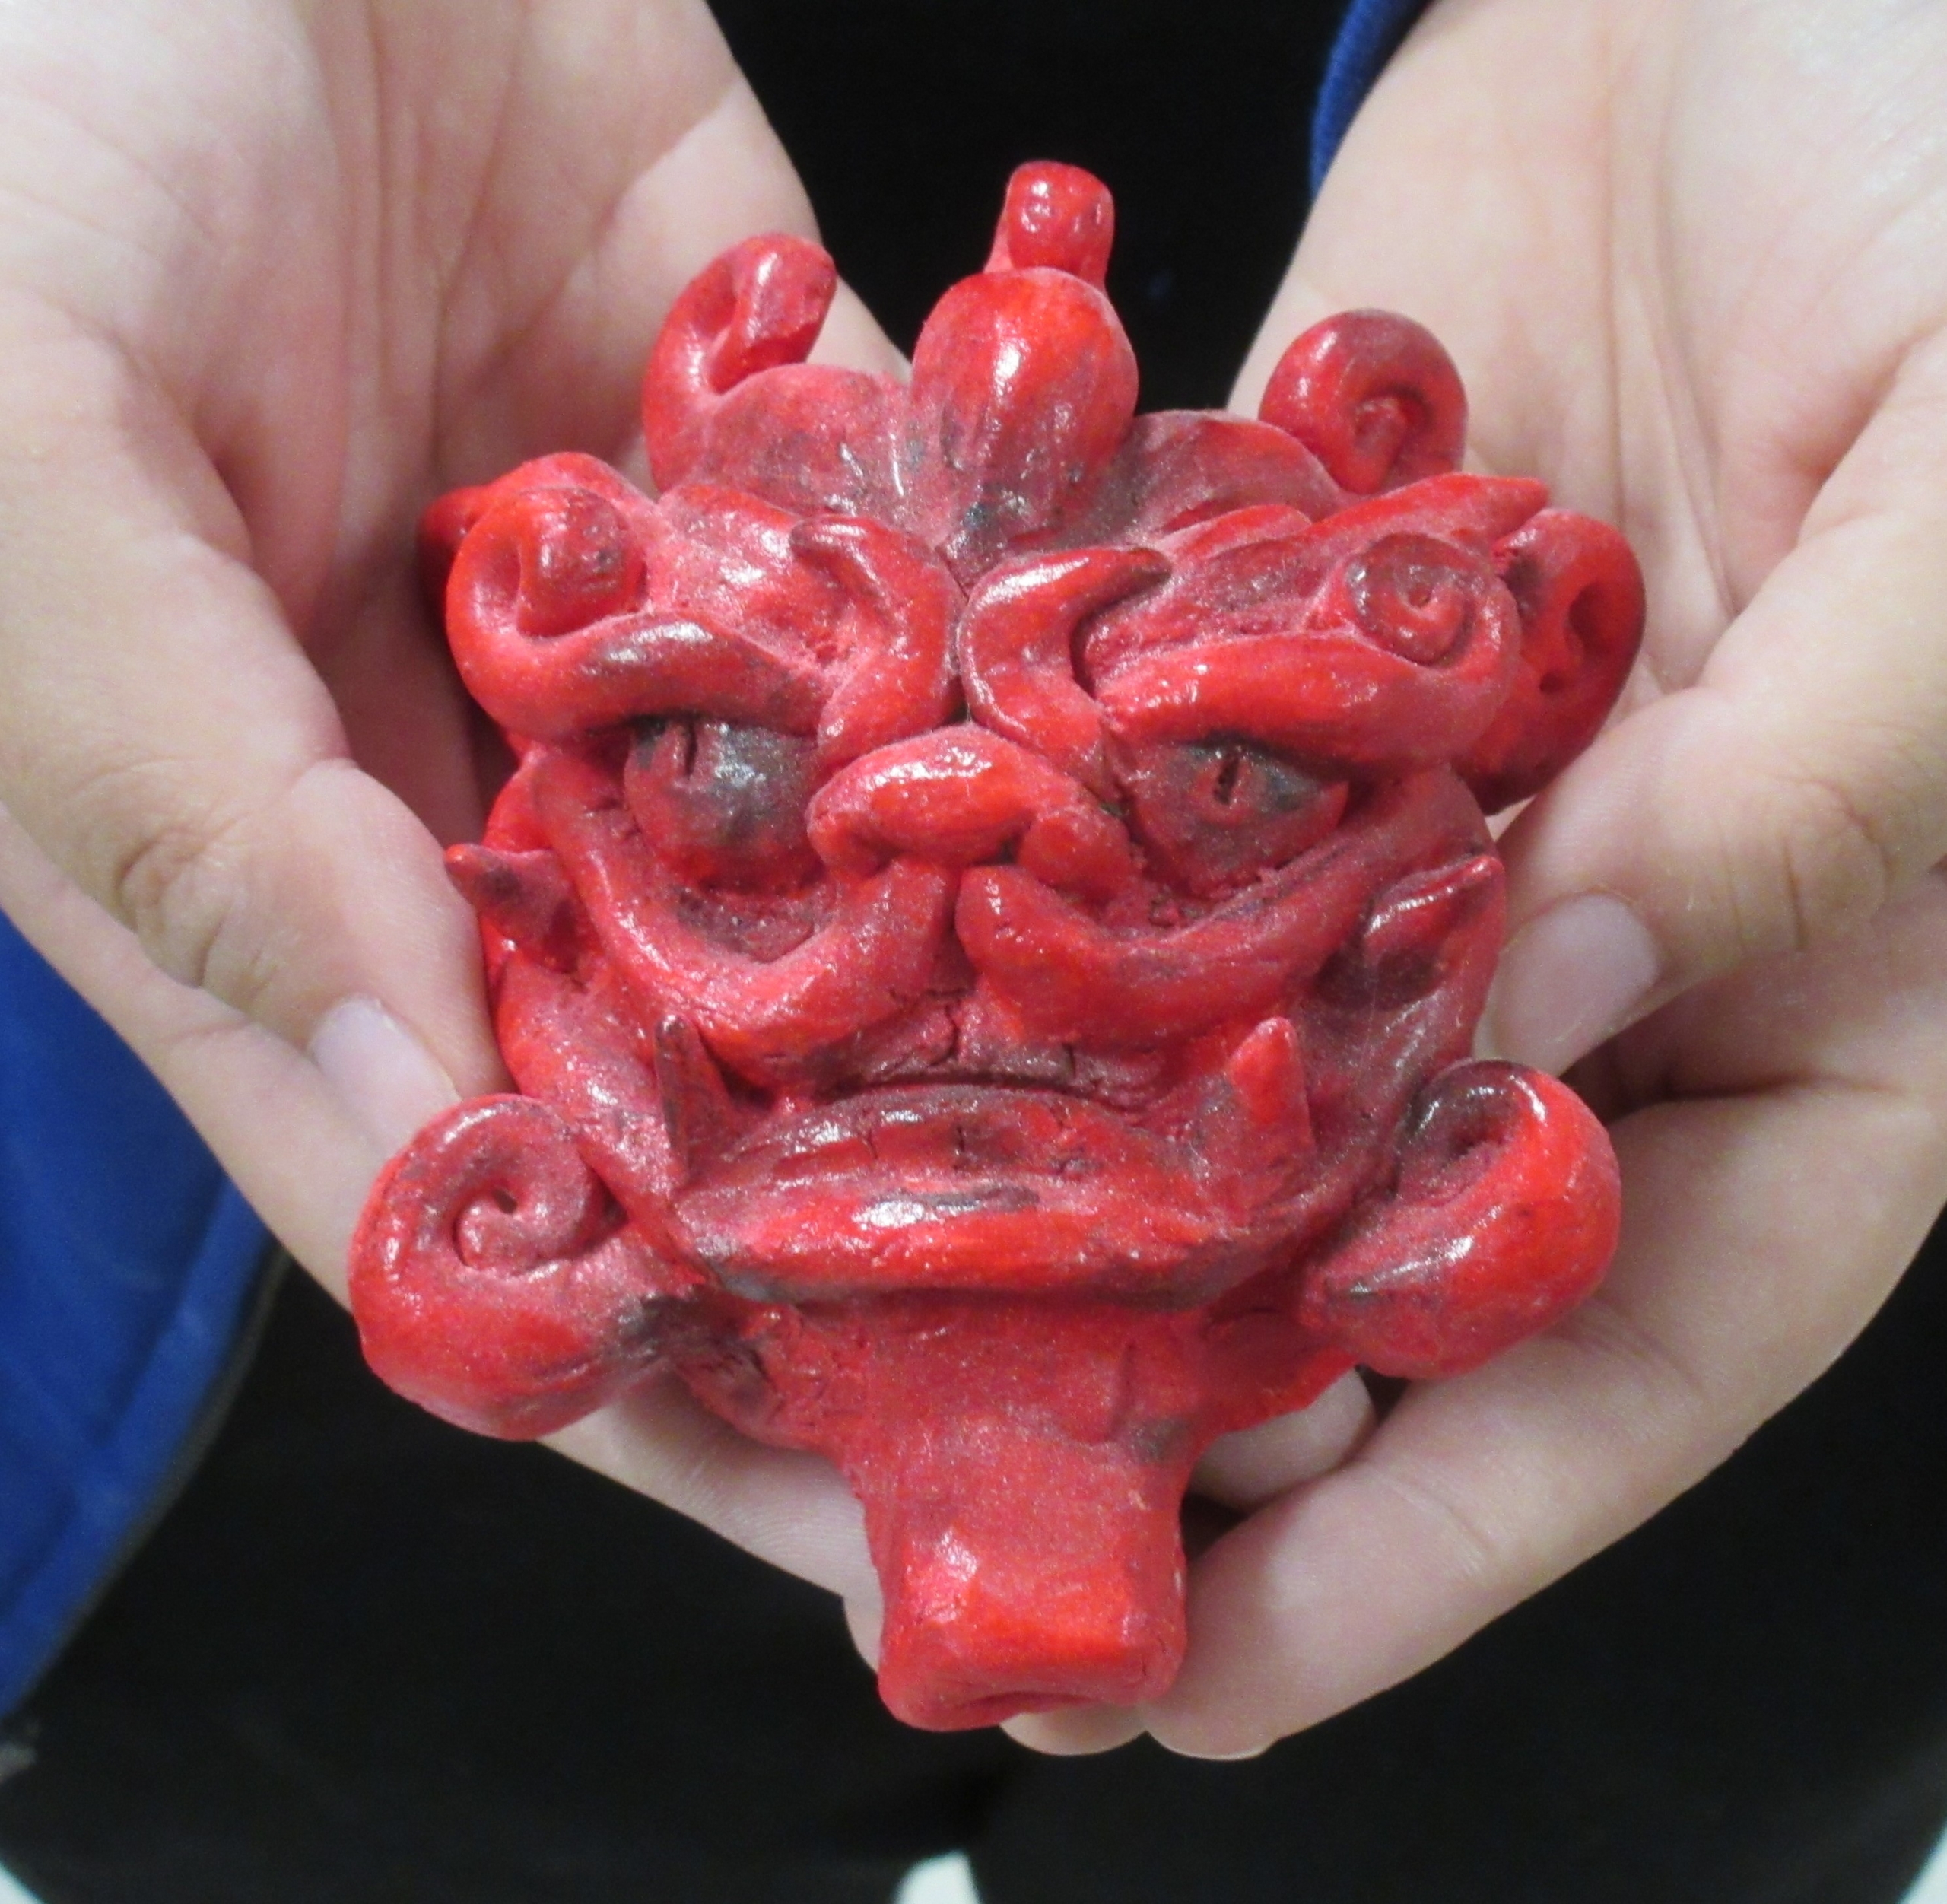
Clay Whistle
Meet The Teacher: Frank Eager
As a ceramics teacher, I nurtured creativity and craftsmanship, guiding students to shape raw clay into meaningful art. I emphasized technique and expression, ensuring all students felt empowered to explore their potential. Beyond the classroom, I advocated for art education’s role in fostering critical thinking and hands-on learning.
Project Description
Create a functional whistle out of clay using simple tools like popsicle sticks! This hands-on project explores shaping, carving, and airflow mechanics to produce sound. Perfect for all skill levels, it’s a fun way to blend creativity with basic physics.
Materials
- 1/2 of pound of clay per whistle that can be fired in the kiln
- A regular popsicle stick
- A popsicle stick that has one side cut into a point and other side is cut flat and beveled
- A needle to for removing and scoring lines
- A tool for scoring it can be a fork
- A cup of water to use to join clay together and smooth seams
- A brush to apply water to surface of clay and smooth seams
- Paint or glaze for decorating your finished piece
- Smock or apron to help keep you clean
- A Kiln to fire pottery
Grade Level
Elementary School
Difficulty
Easy
Student Hands-On Time
60 minutes
Teacher Prep Time
30 minutes
Project Cost / Cost Per Student
4
National Core Arts Standards - Visual Arts
- Creating - Conceiving and developing new artistic ideas and work.
- Connecting - Relate artistic ideas to historical, cultural, and social contexts.
21st Century Skills
- Critical Thinking & Problem-Solving
- Creativity & Innovation
- Communication
- Collaboration
- Information Literacy
- Flexibility & Adaptability
- Initiative & Self-Direction
- Productivity & Accountability
STEAM Education
- Arts
Differentiations and Accommodations
Differentiation
IEP
Accommodation
Review with students with these accommodations. Make sure they can understand directions and the process. Have them explain the steps and process that works.
Differentiation
504 Accommodations
Accommodation
Review with students with these accommodations. Make sure they can understand directions and the process. Have them explain the steps and process that works.
Differentiation
Advanced Learners
Accommodation
Provide opportunities for more complex techniques or additional challenges. For example what can you turn your whistle into?
Differentiation
Struggling Learners
Accommodation
Instead of the students making two clay whistles they make one. Also they may need more assistance in making their whistle properly work.
Learning Objectives: Knowledge
The students will learn basic idea of how to create their own musical instrument out of clay.
Learning Objectives: Skills
How to use the Pinch and Slab method. Proper Scoring and Slipping techniques. How to make a proper whistle portion.
Learning Objectives: Attitudes/Values
Learning patience How to follow directions
Formative Assessment
Observe student engagement and provide ongoing feedback.
Summative Assessment
Evaluate the finished pieces based on criteria such as creativity, technique, and adherence to the project guidelines.
Reflection and Discussion
Reflect on what worked well and what could be improved for future lessons. Note any student feedback or observations that may influence future planning.
Lesson Activities
Introduction (5-10 Minutes)
Briefly introduce the topic or technique. Show examples (either your work or images) to inspire students
Instruction (15-20 Minutes)
Demonstrate the technique or project step-by-step. Have students follow along with handout. Highlight key concepts, such as proper handling of materials, scoring and slipping, and proper welding of clay together.
Hands-On Practice (30-40 minutes):
Students begin working on their projects with guidance. Provide feedback and assistance as needed. Encourage creativity and exploration within the project parameters.
Reflection and Discussion (5-10 minutes)
Students share their work and experiences. Discuss challenges encountered and how they were overcome.
Clean up (10 minutes)
Ensure all materials are properly stored by wrapping them in a bag making sure all the air is removed from the bag. Emphasize the importance of a clean workspace for safety and efficiency.
Step-by-Step Instructions
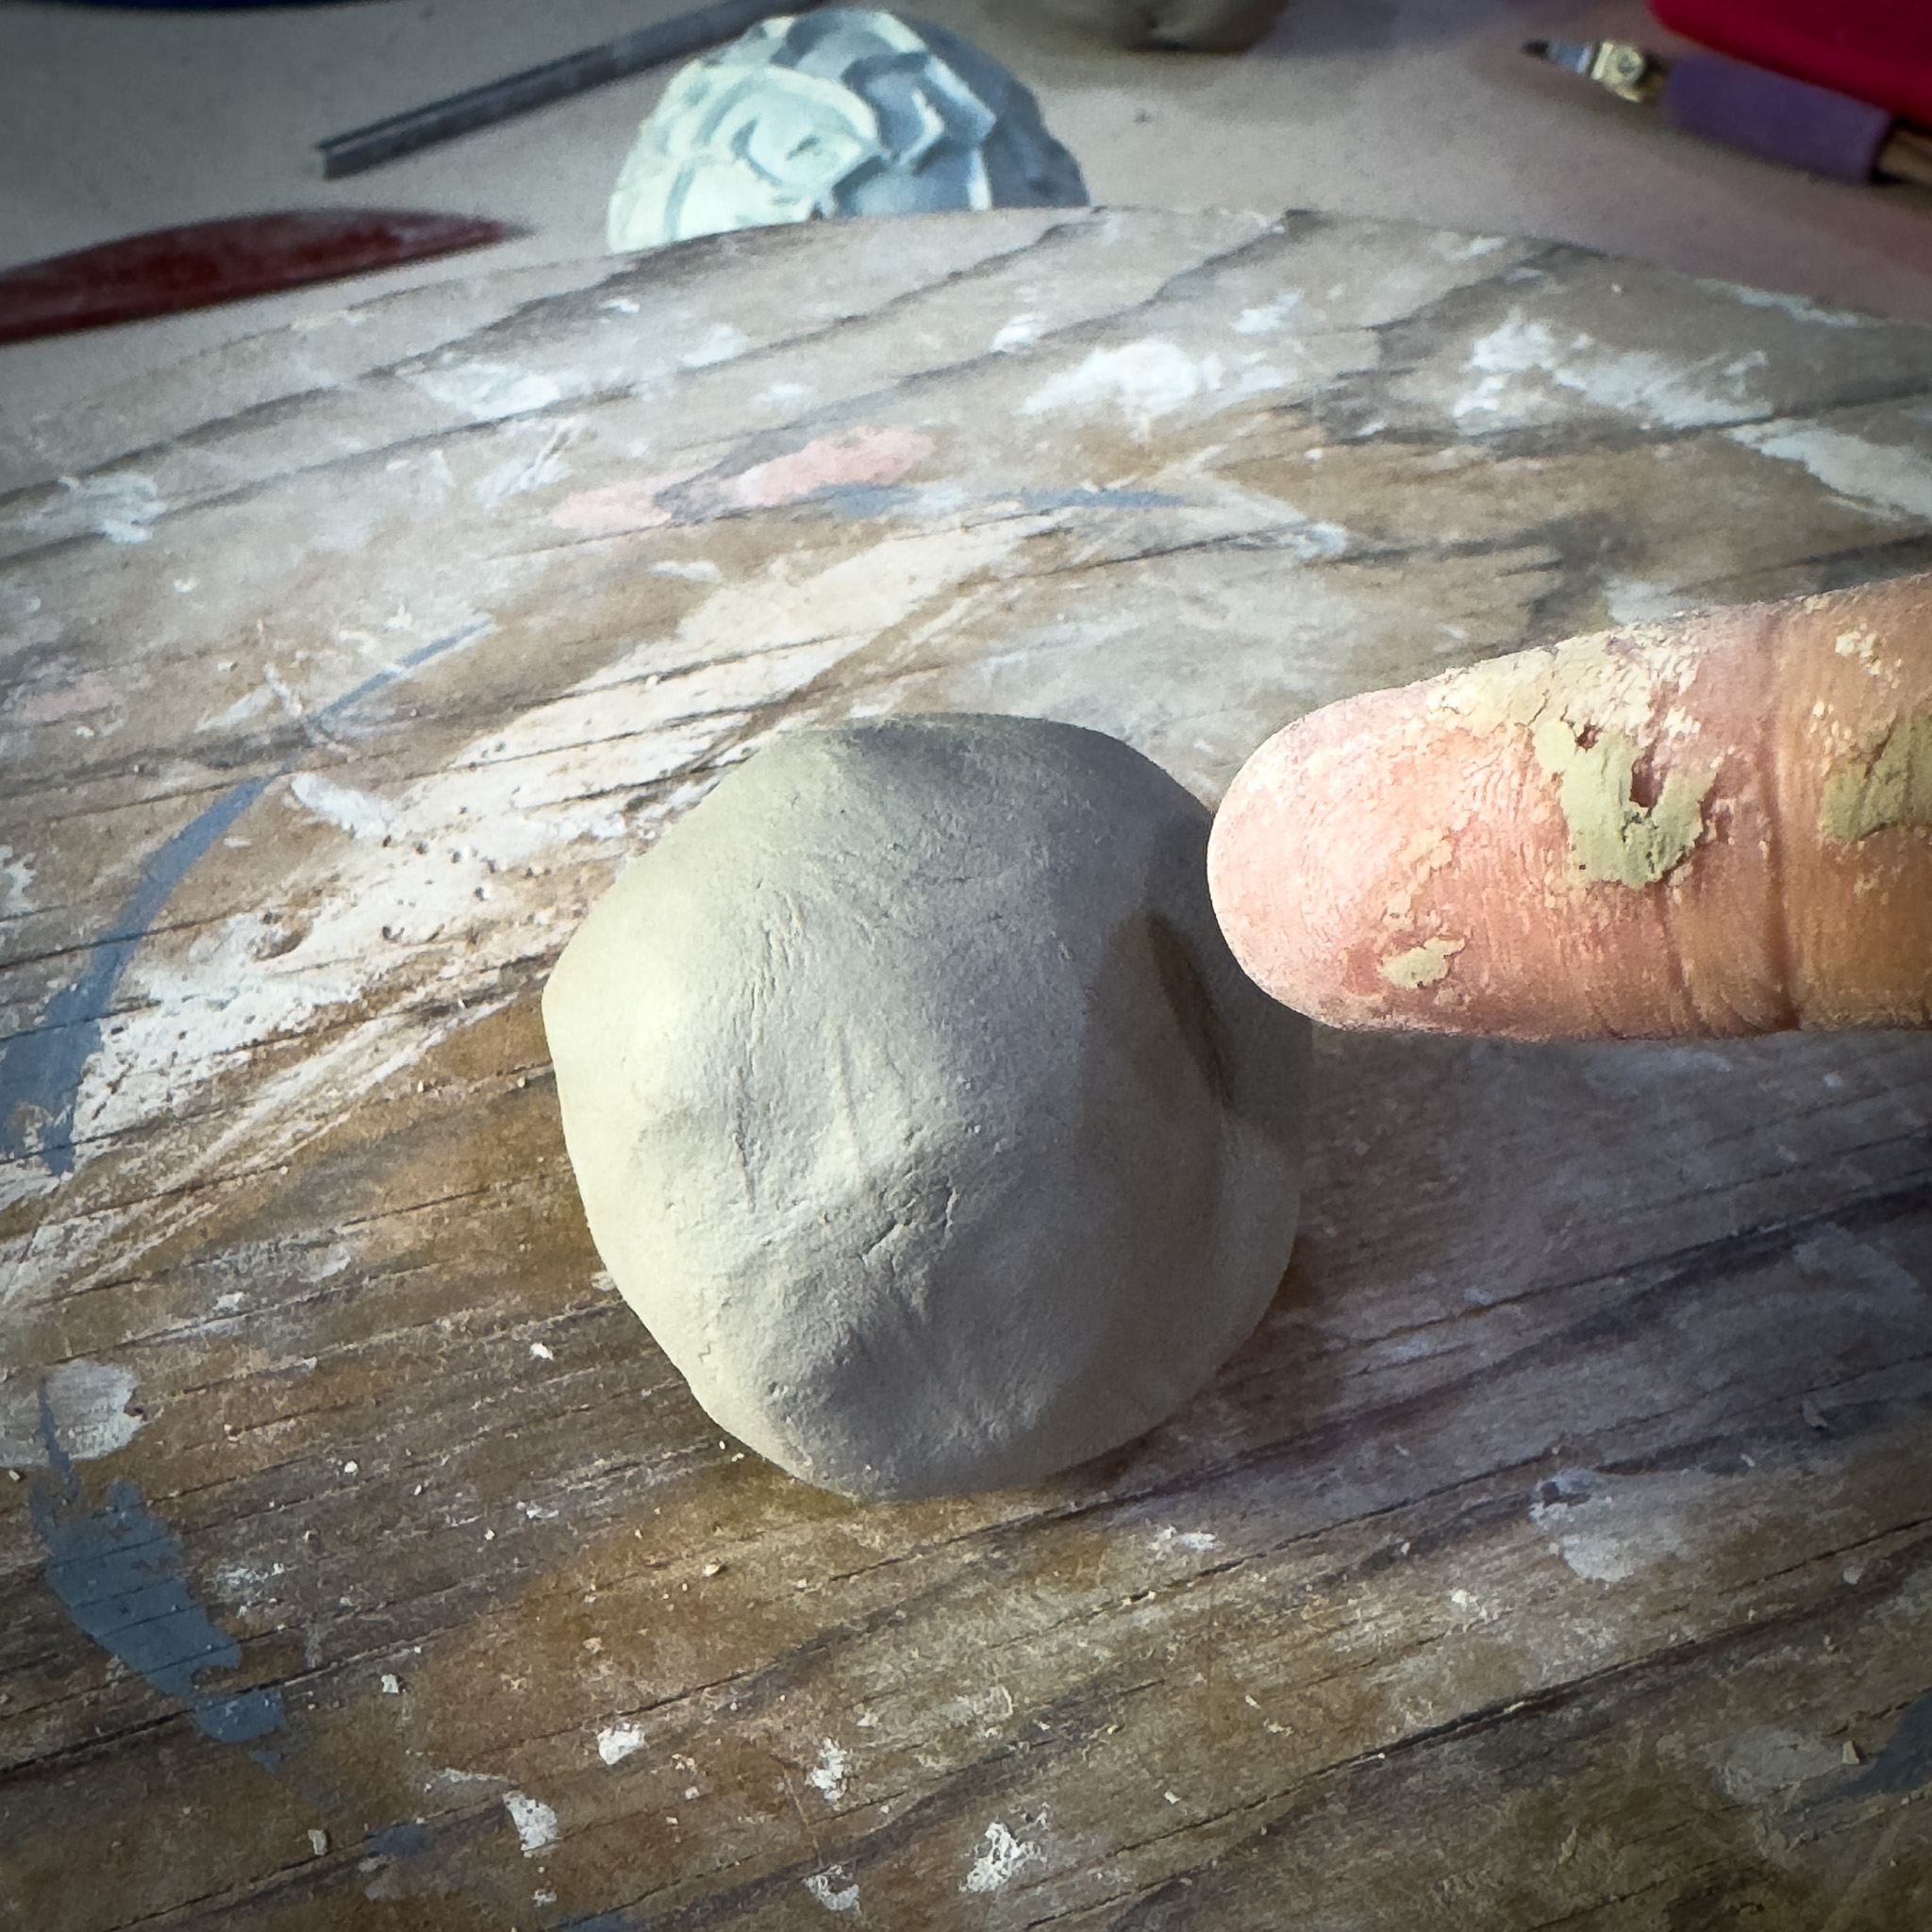
Step 1
Start with a small ball of clay, about the size of a golf ball or no larger than 2 ½ inches in diameter. Do not use the entire ½ pound of clay provided.
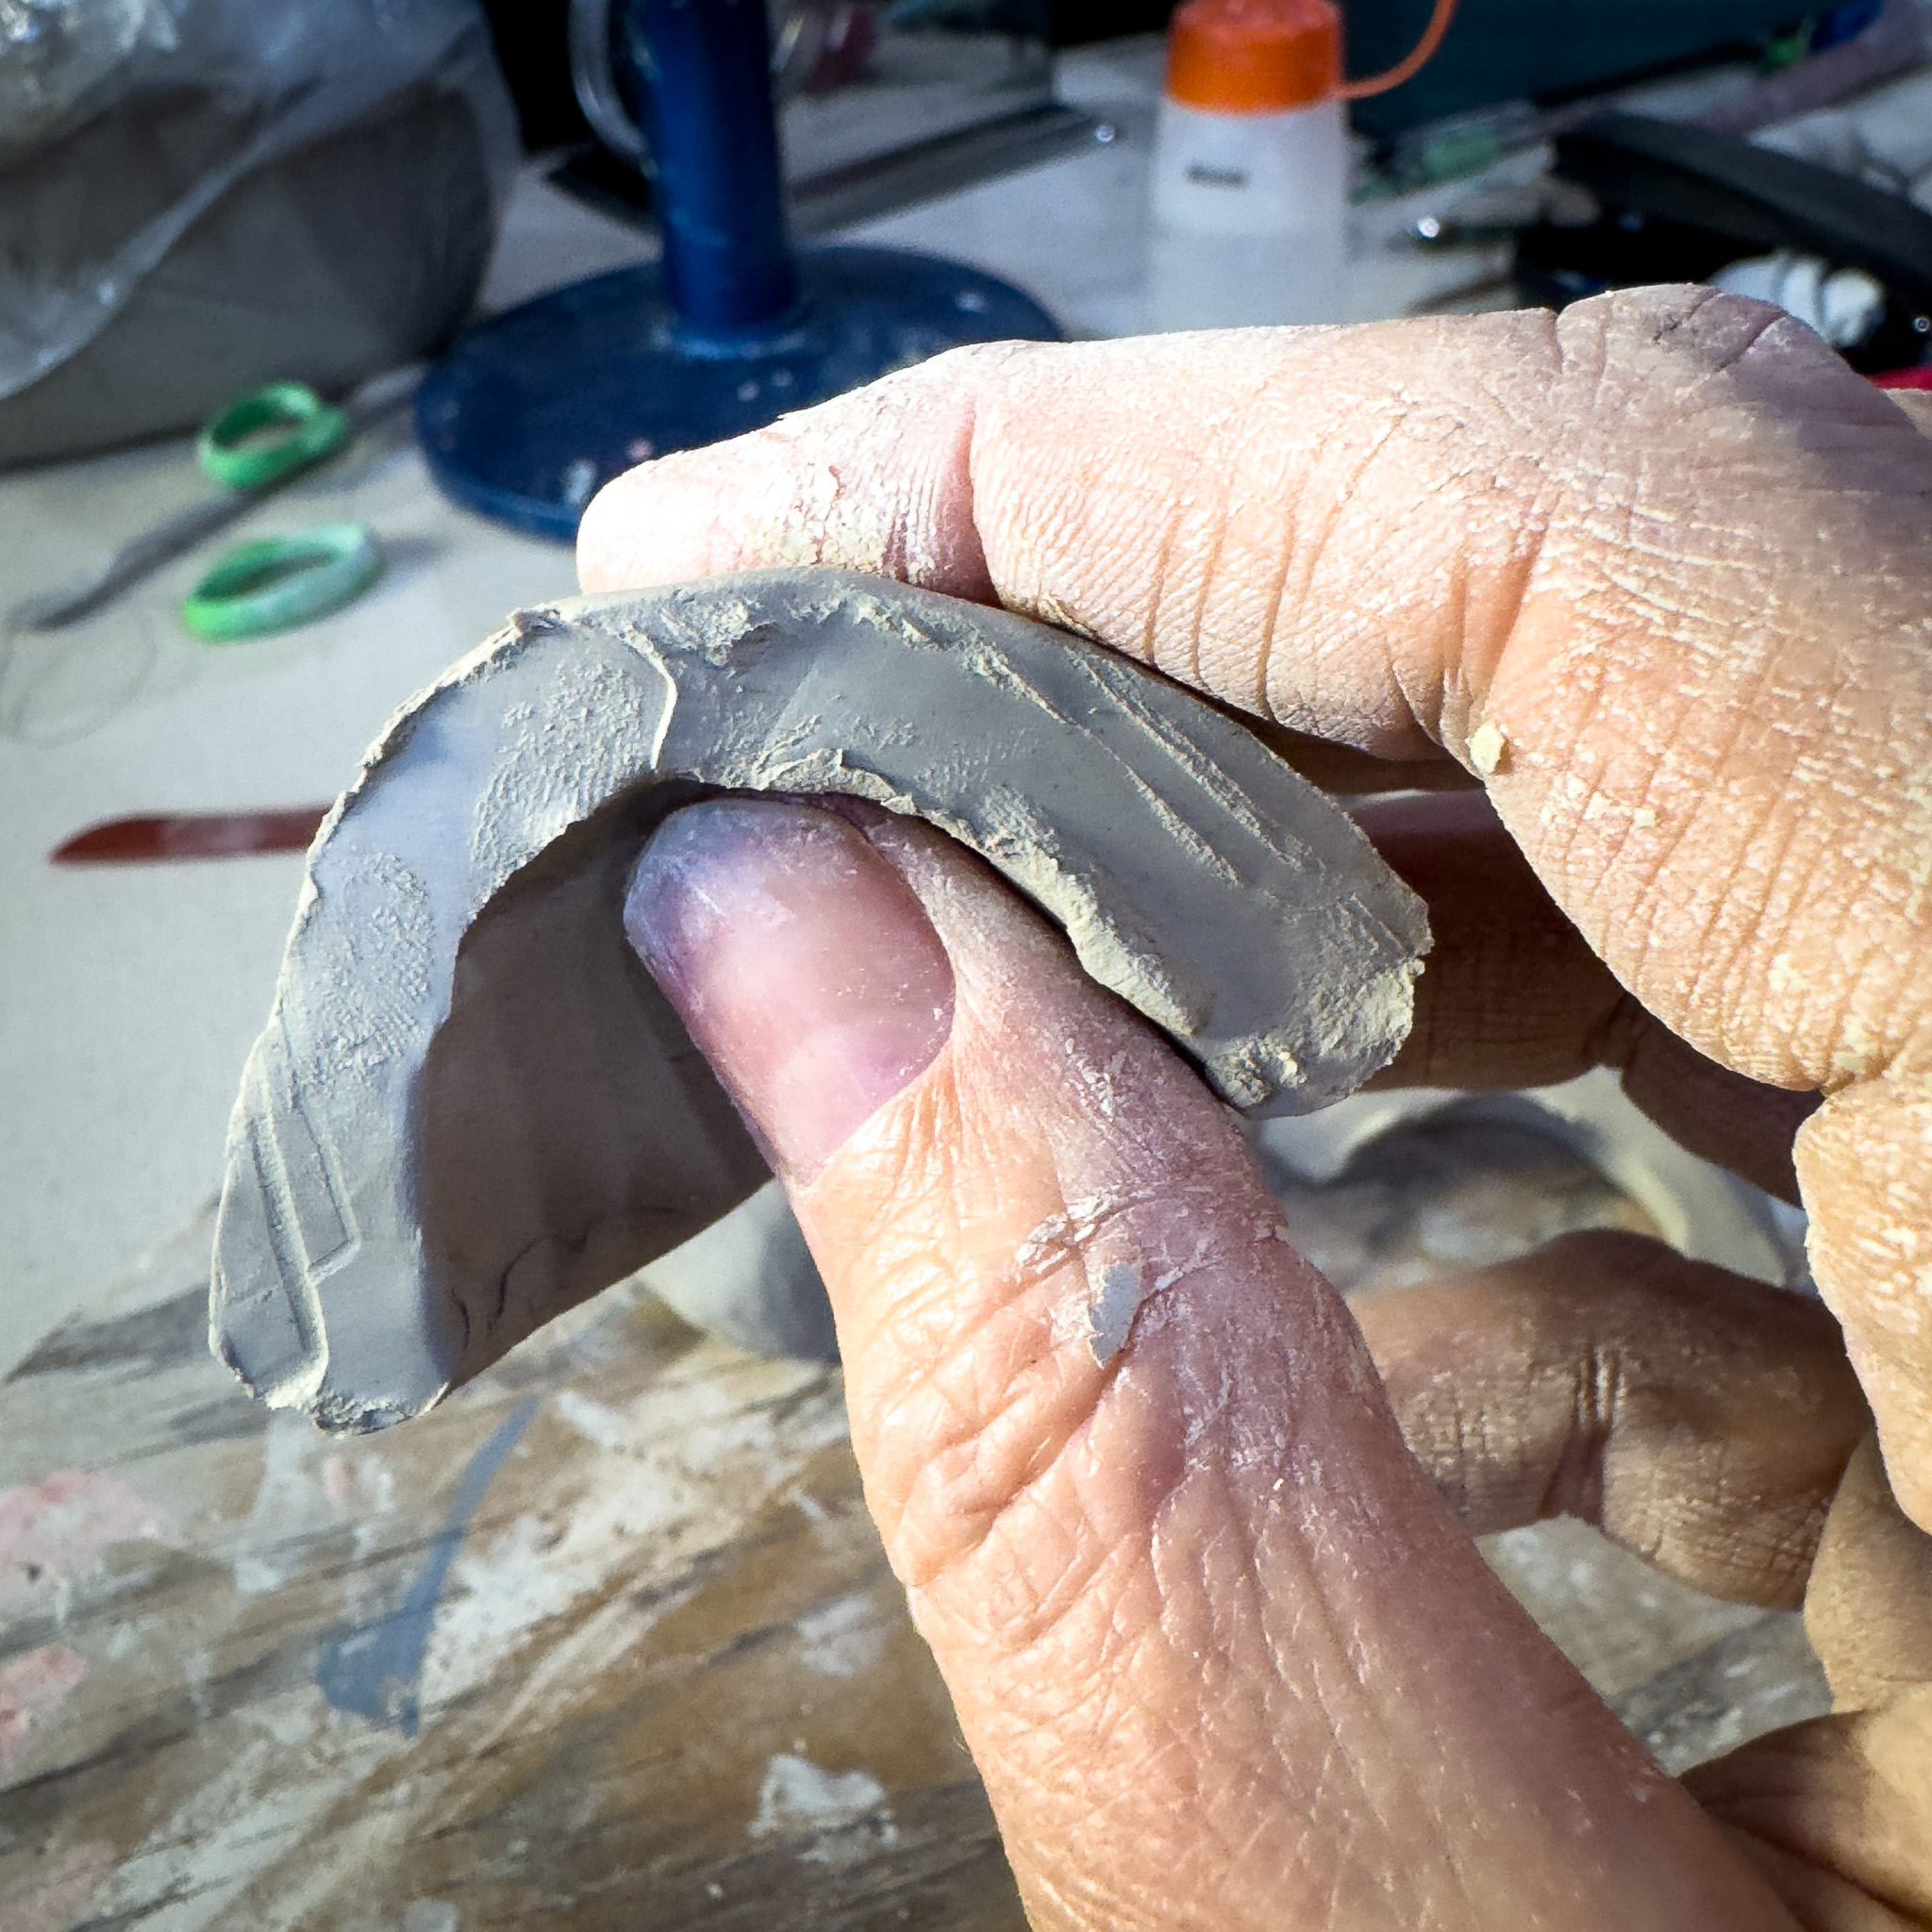
Step 2
Press your thumb into the center of the clay ball, stopping when approximately ½ inch of clay remains at the bottom.
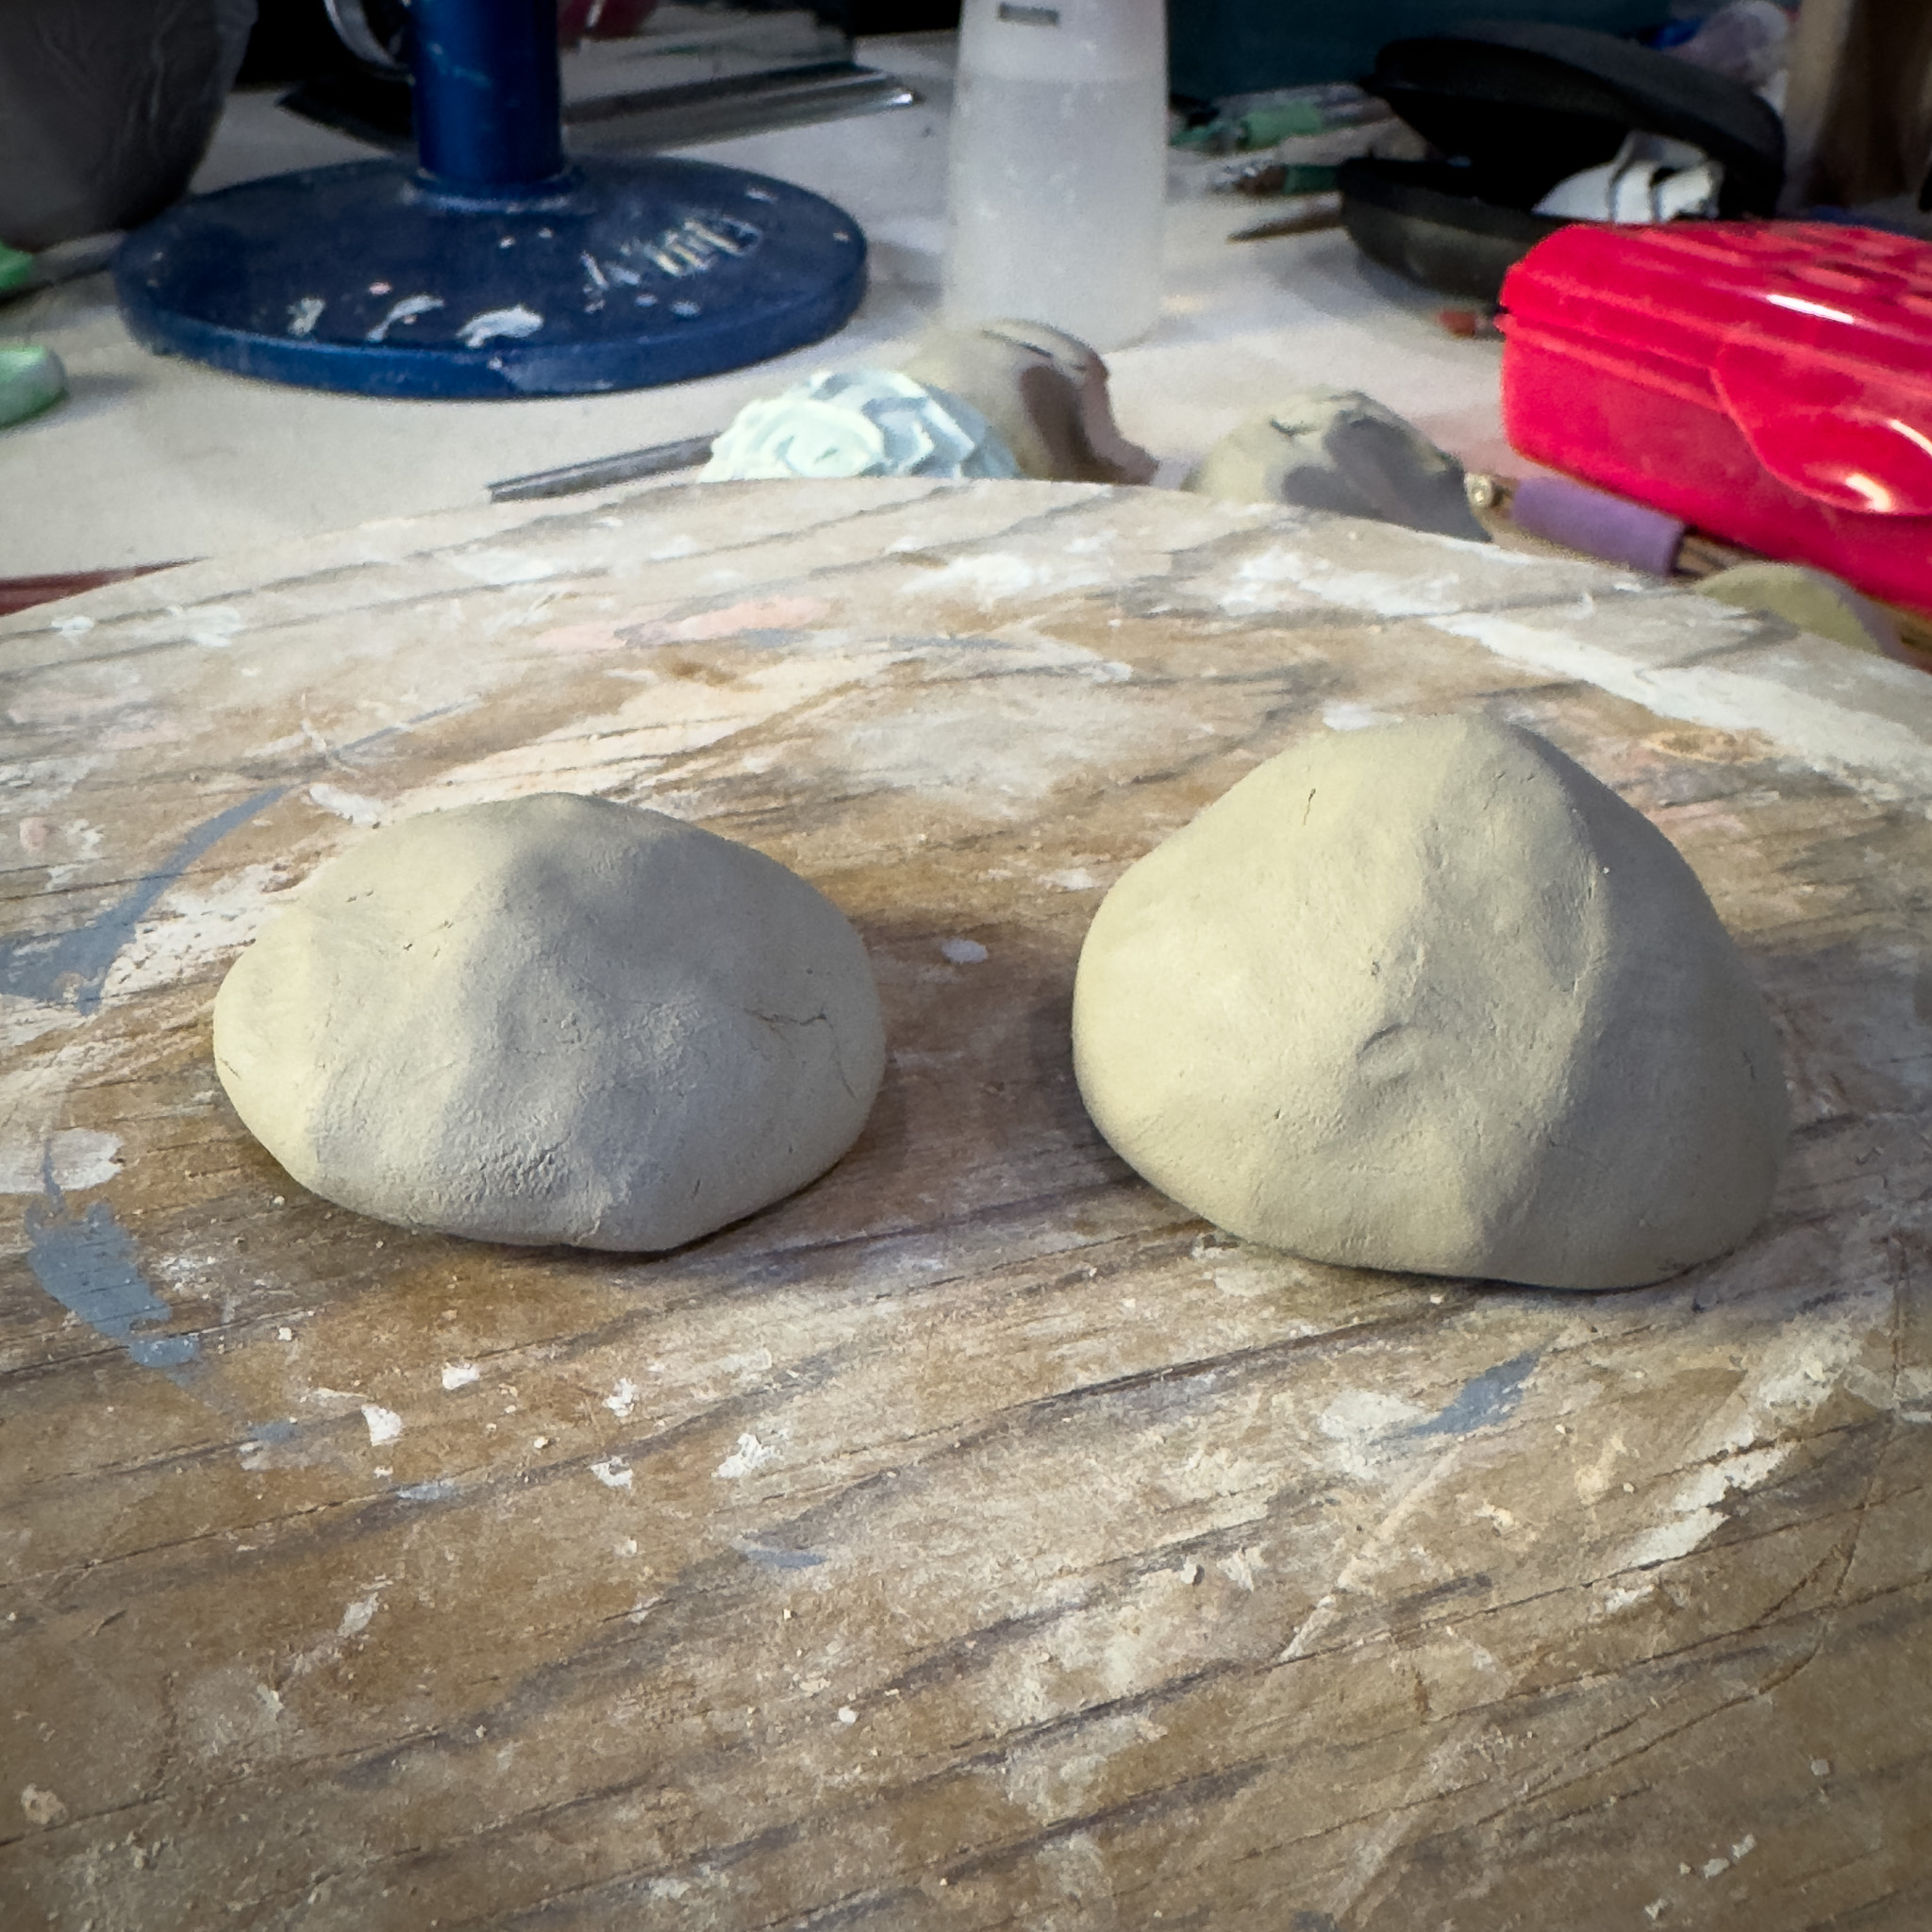
Step 3
Gently pinch around the edges evenly until all sides are approximately ¼ inch thick. Remember, aim for a tall dome shape rather than a flat one

Step 4
Take another ball of clay, slightly smaller than the first, and flatten it to a thickness of ¼ inch. It should be sturdy and slightly larger than the opening of the cup you just created.

Step 5
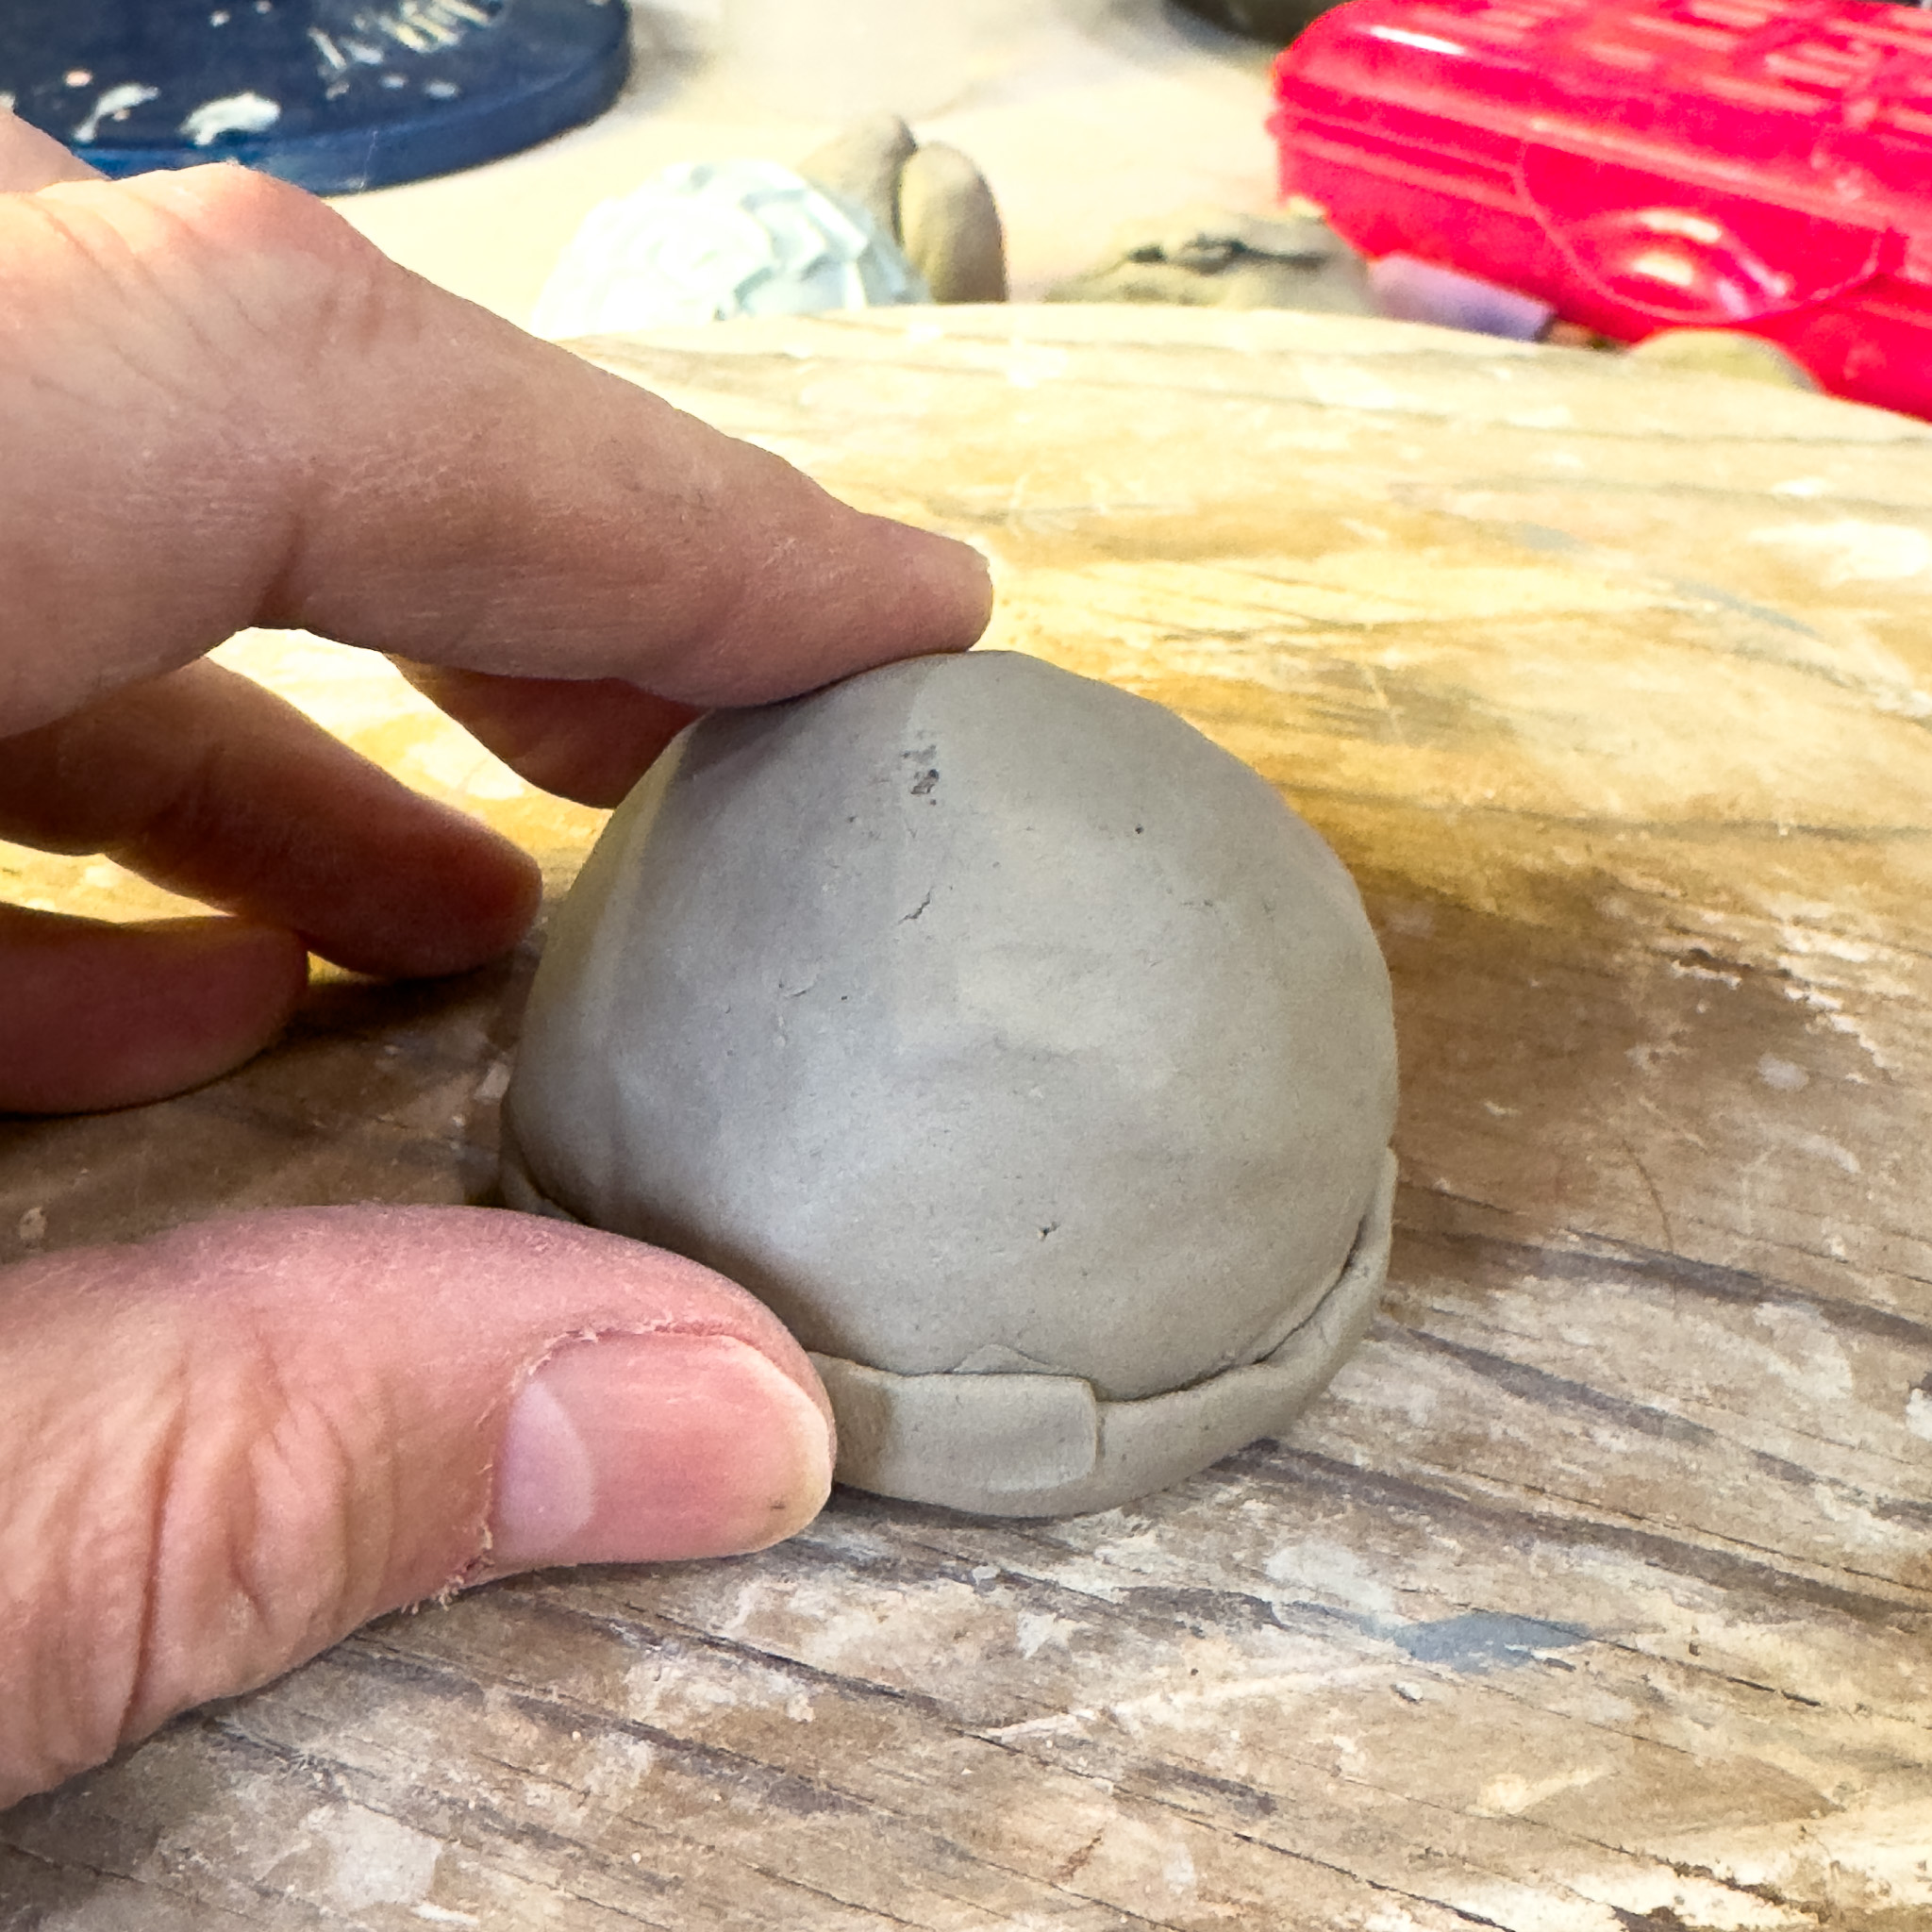
Score the rim of the cup and one side of the flattened circle.
Step 6
Dampen both scored surfaces slightly, then press them together with a gentle twist.
Step 7
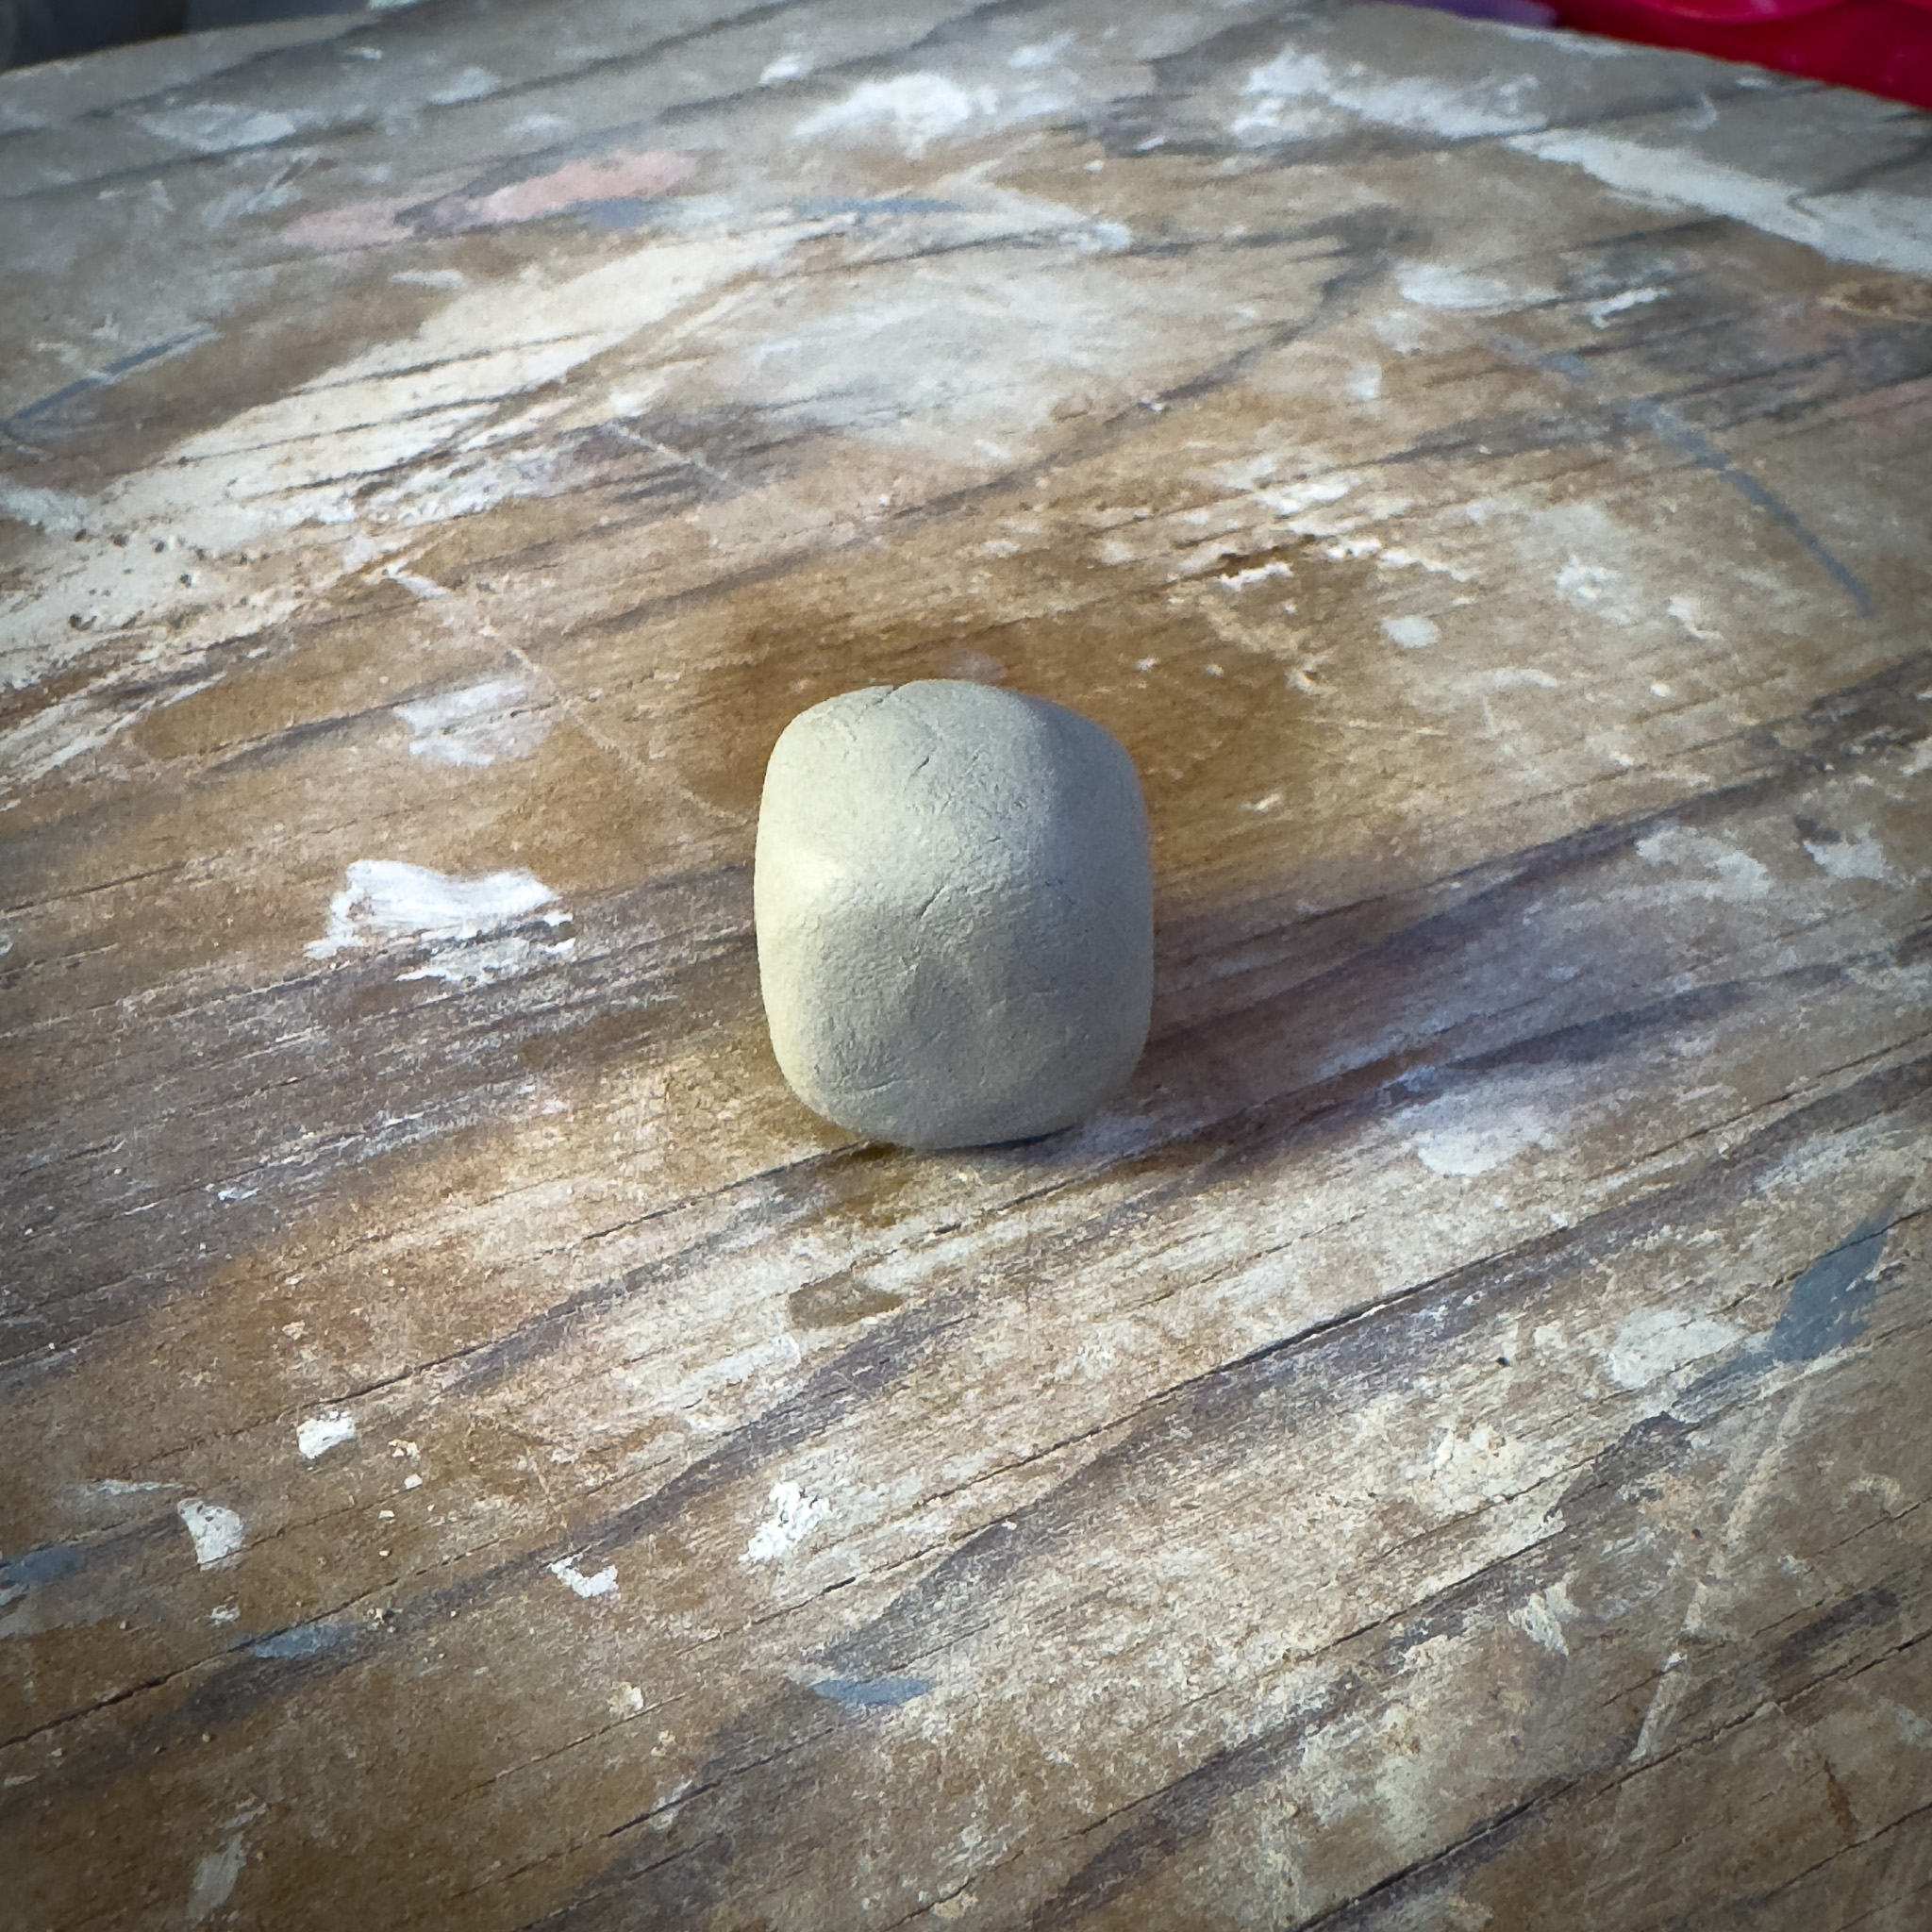
Roll a small piece of clay into a cube, then tap one side on the table to slightly enlarge it compared to the others.
Step 8
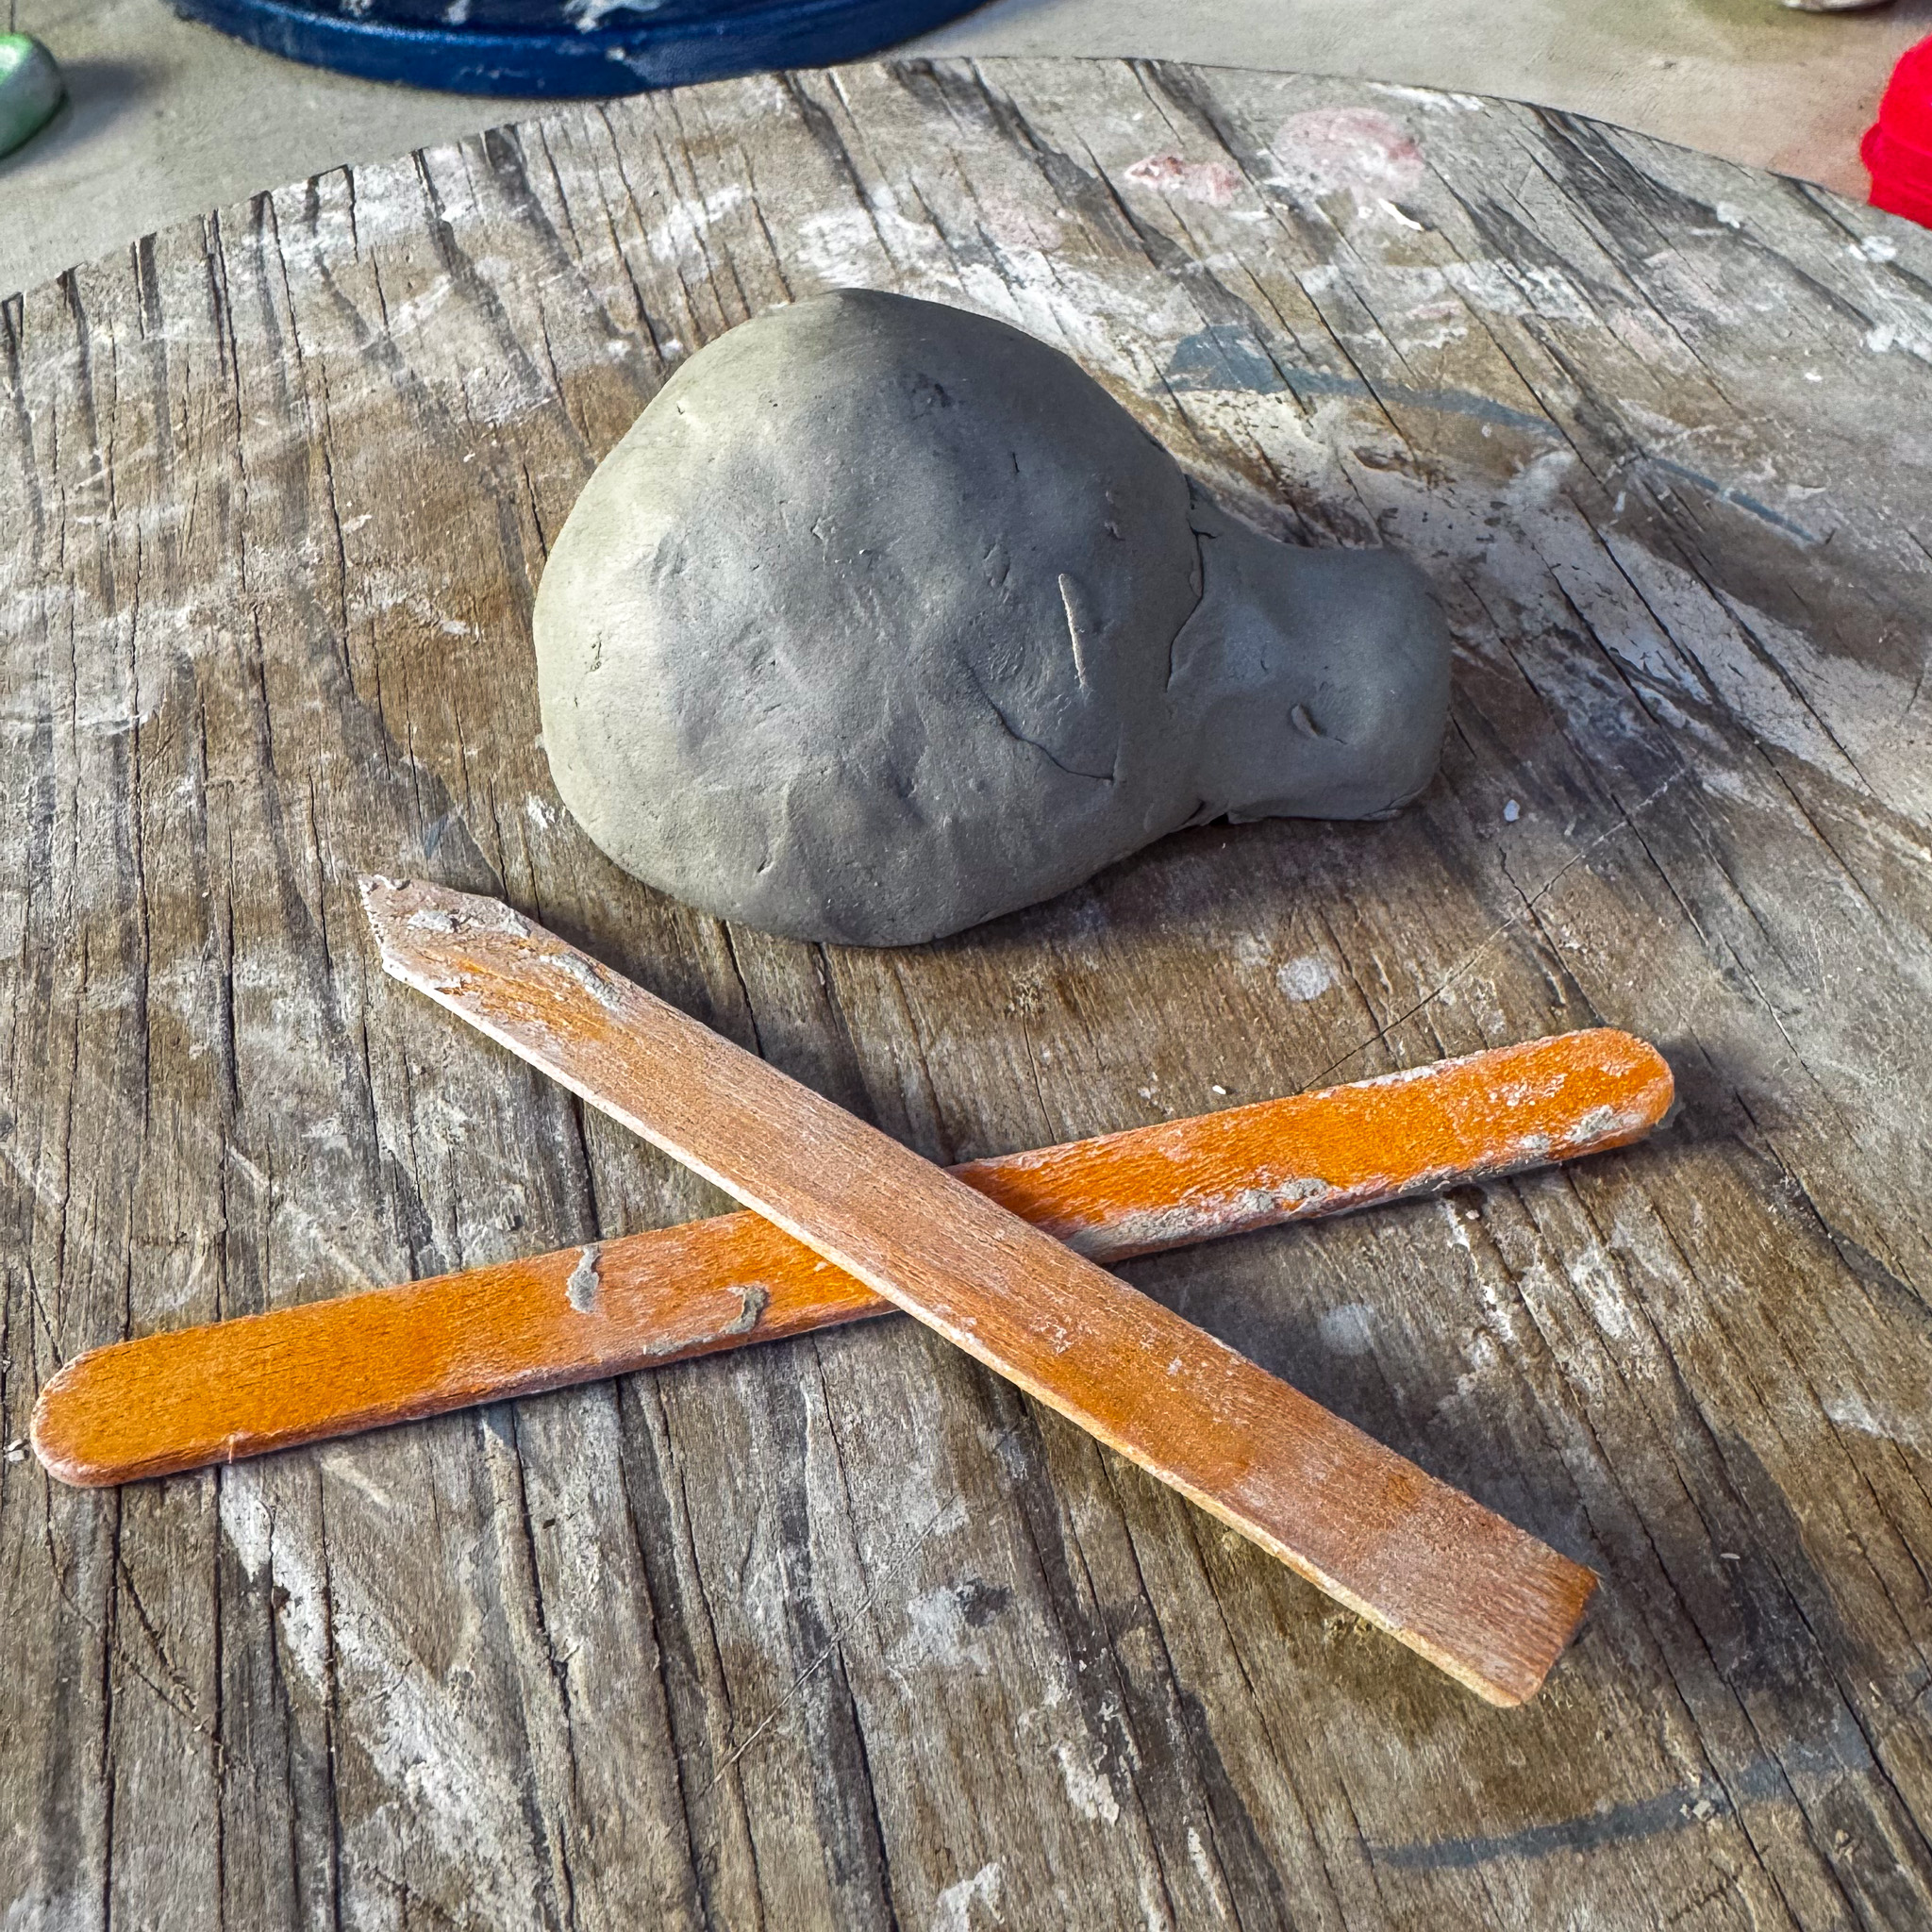
Score the surfaces and attach the mouthpiece to the bottom edge of the whistle.

Step 9
Insert the pointed end of the popsicle stick into the mouthpiece until you feel it reach the inside. Keep the stick parallel to the bottom of the whistle, ensuring it stays just above the bottom slab.
Step 10
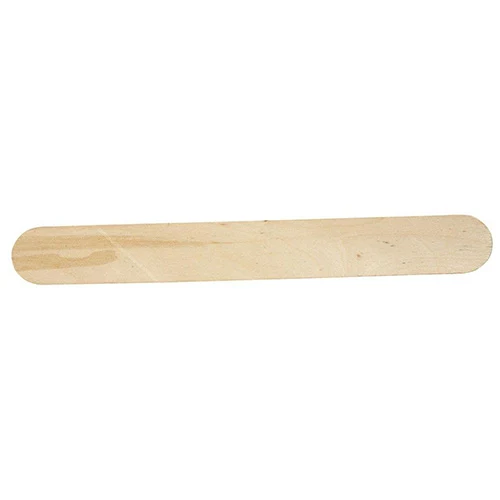
Remove the specially designed popsicle stick and replace it with a regular one.
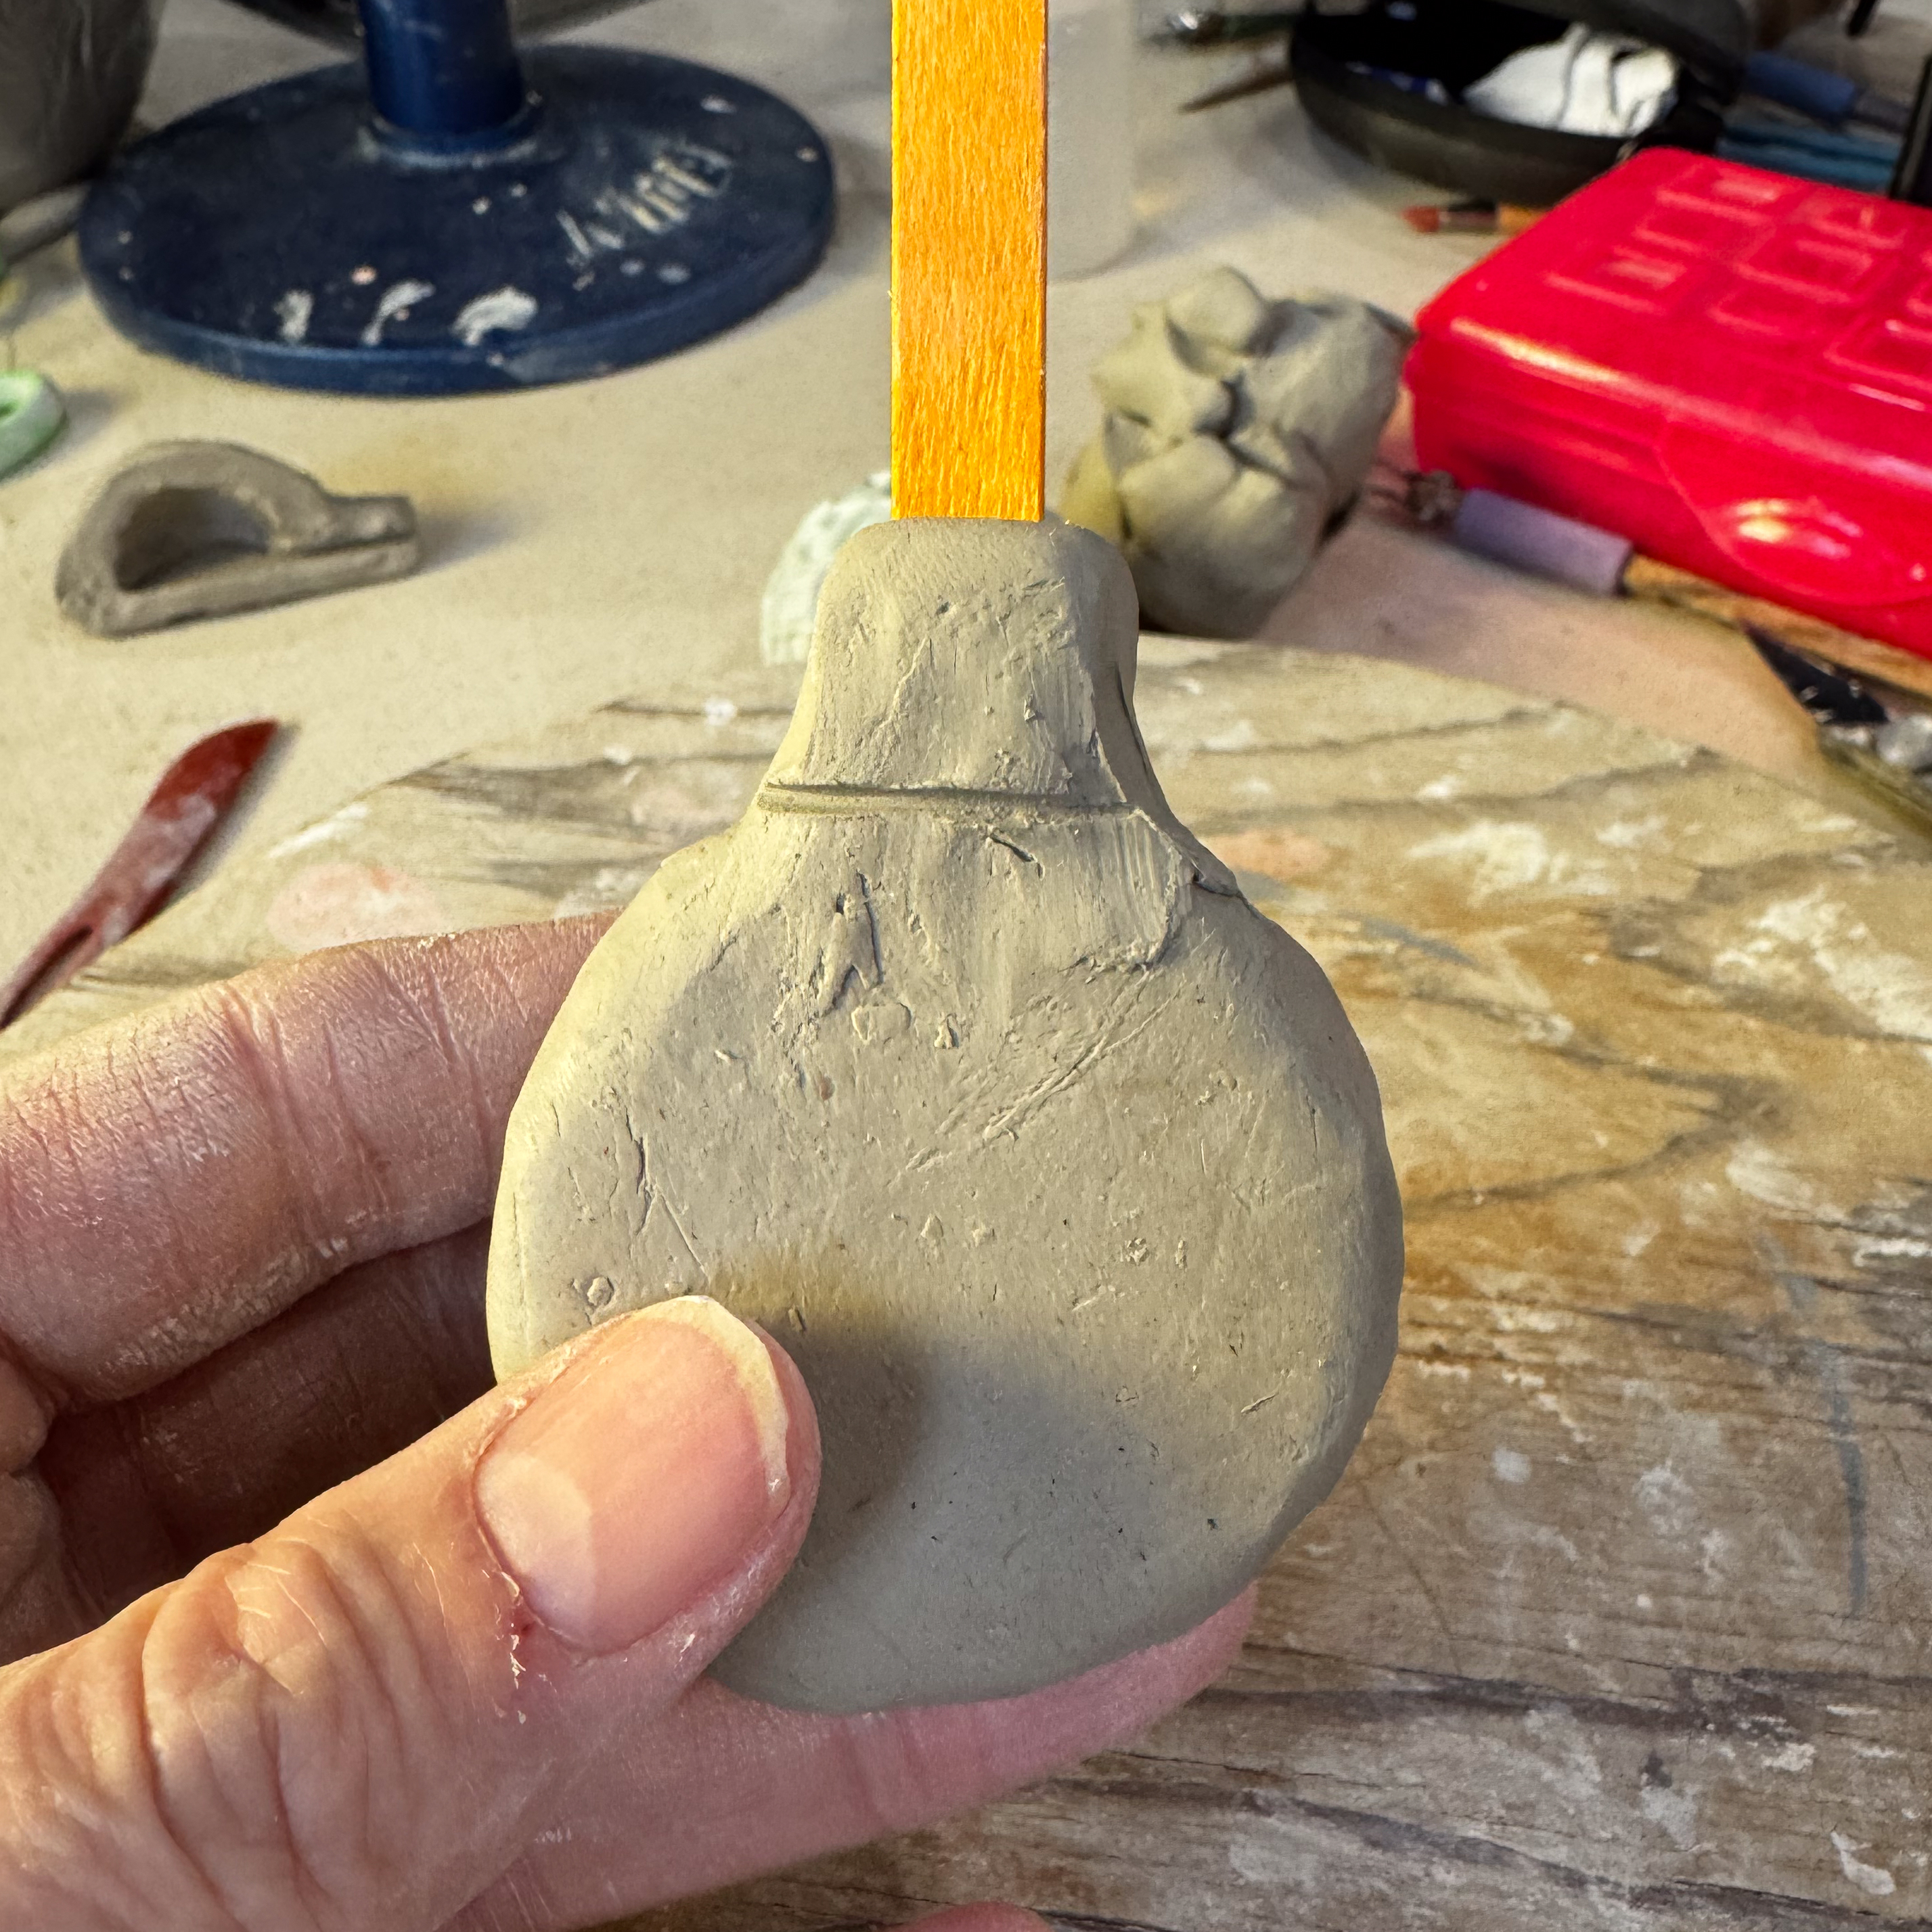
Step 11
Draw a line on the bottom of the whistle where the mouthpiece connects.
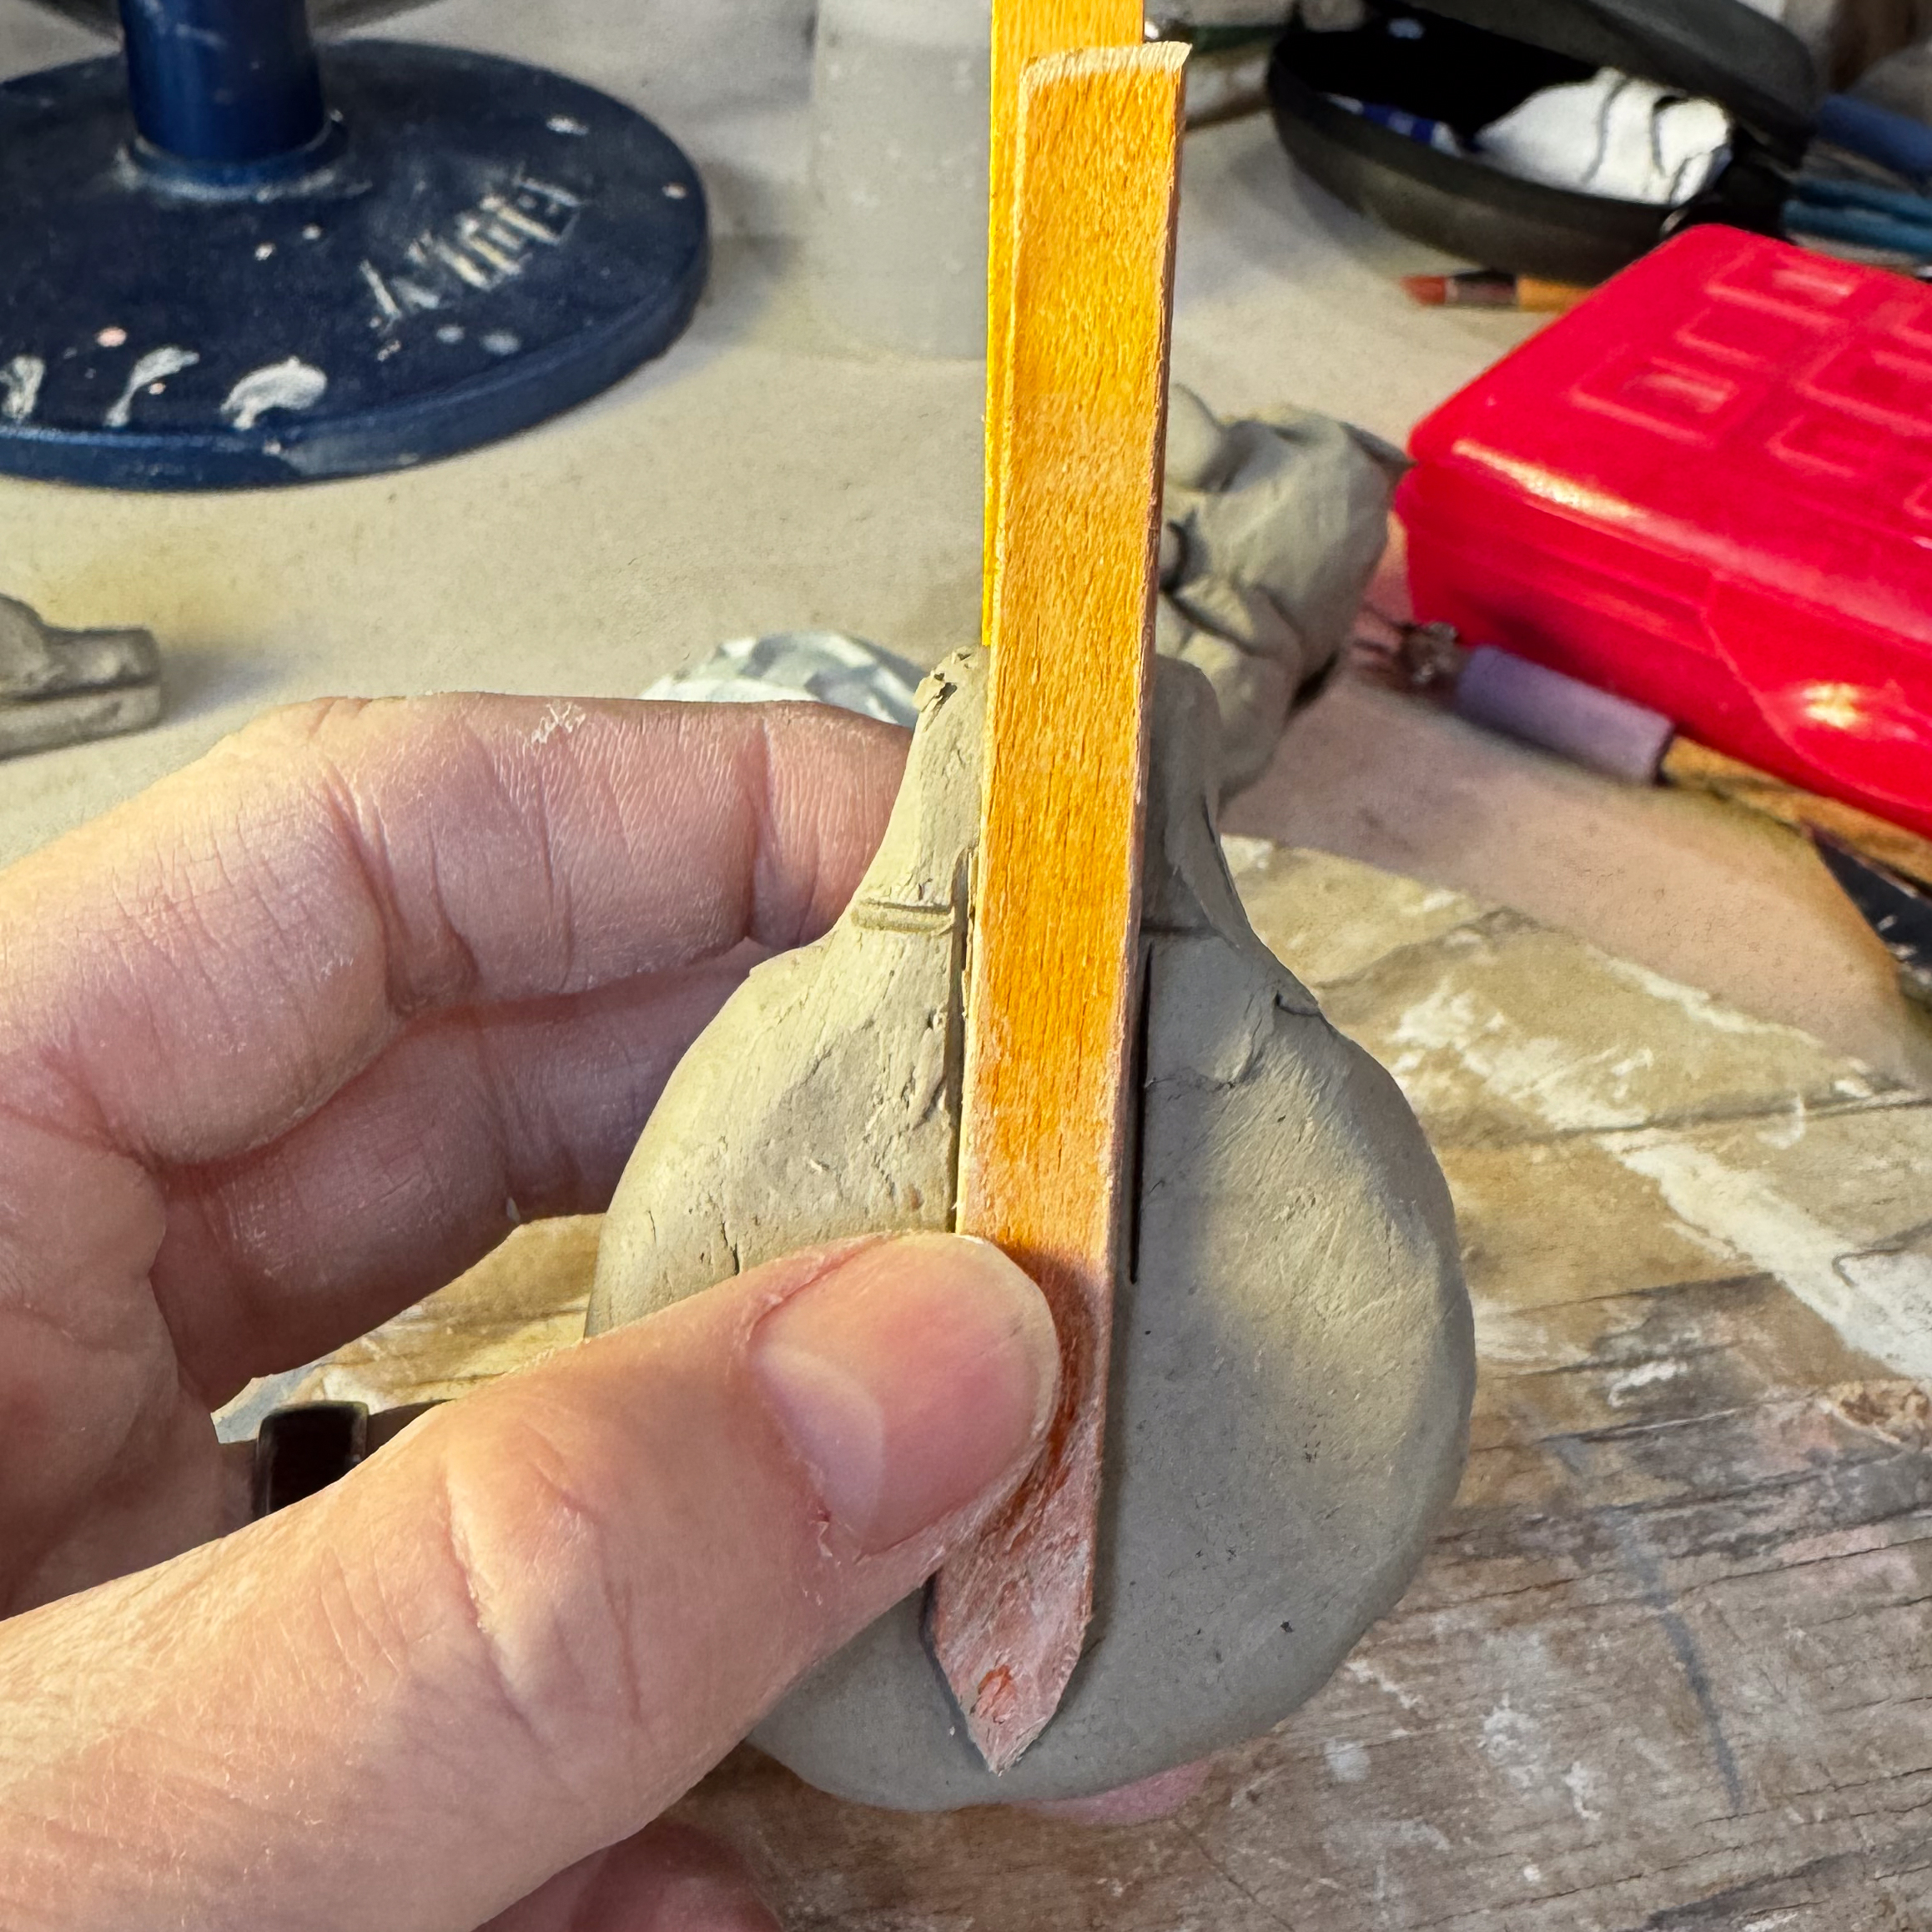
Step 12
Place the stick on the bottom of the whistle, parallel to the one in the mouthpiece, and draw a line on both sides of it.
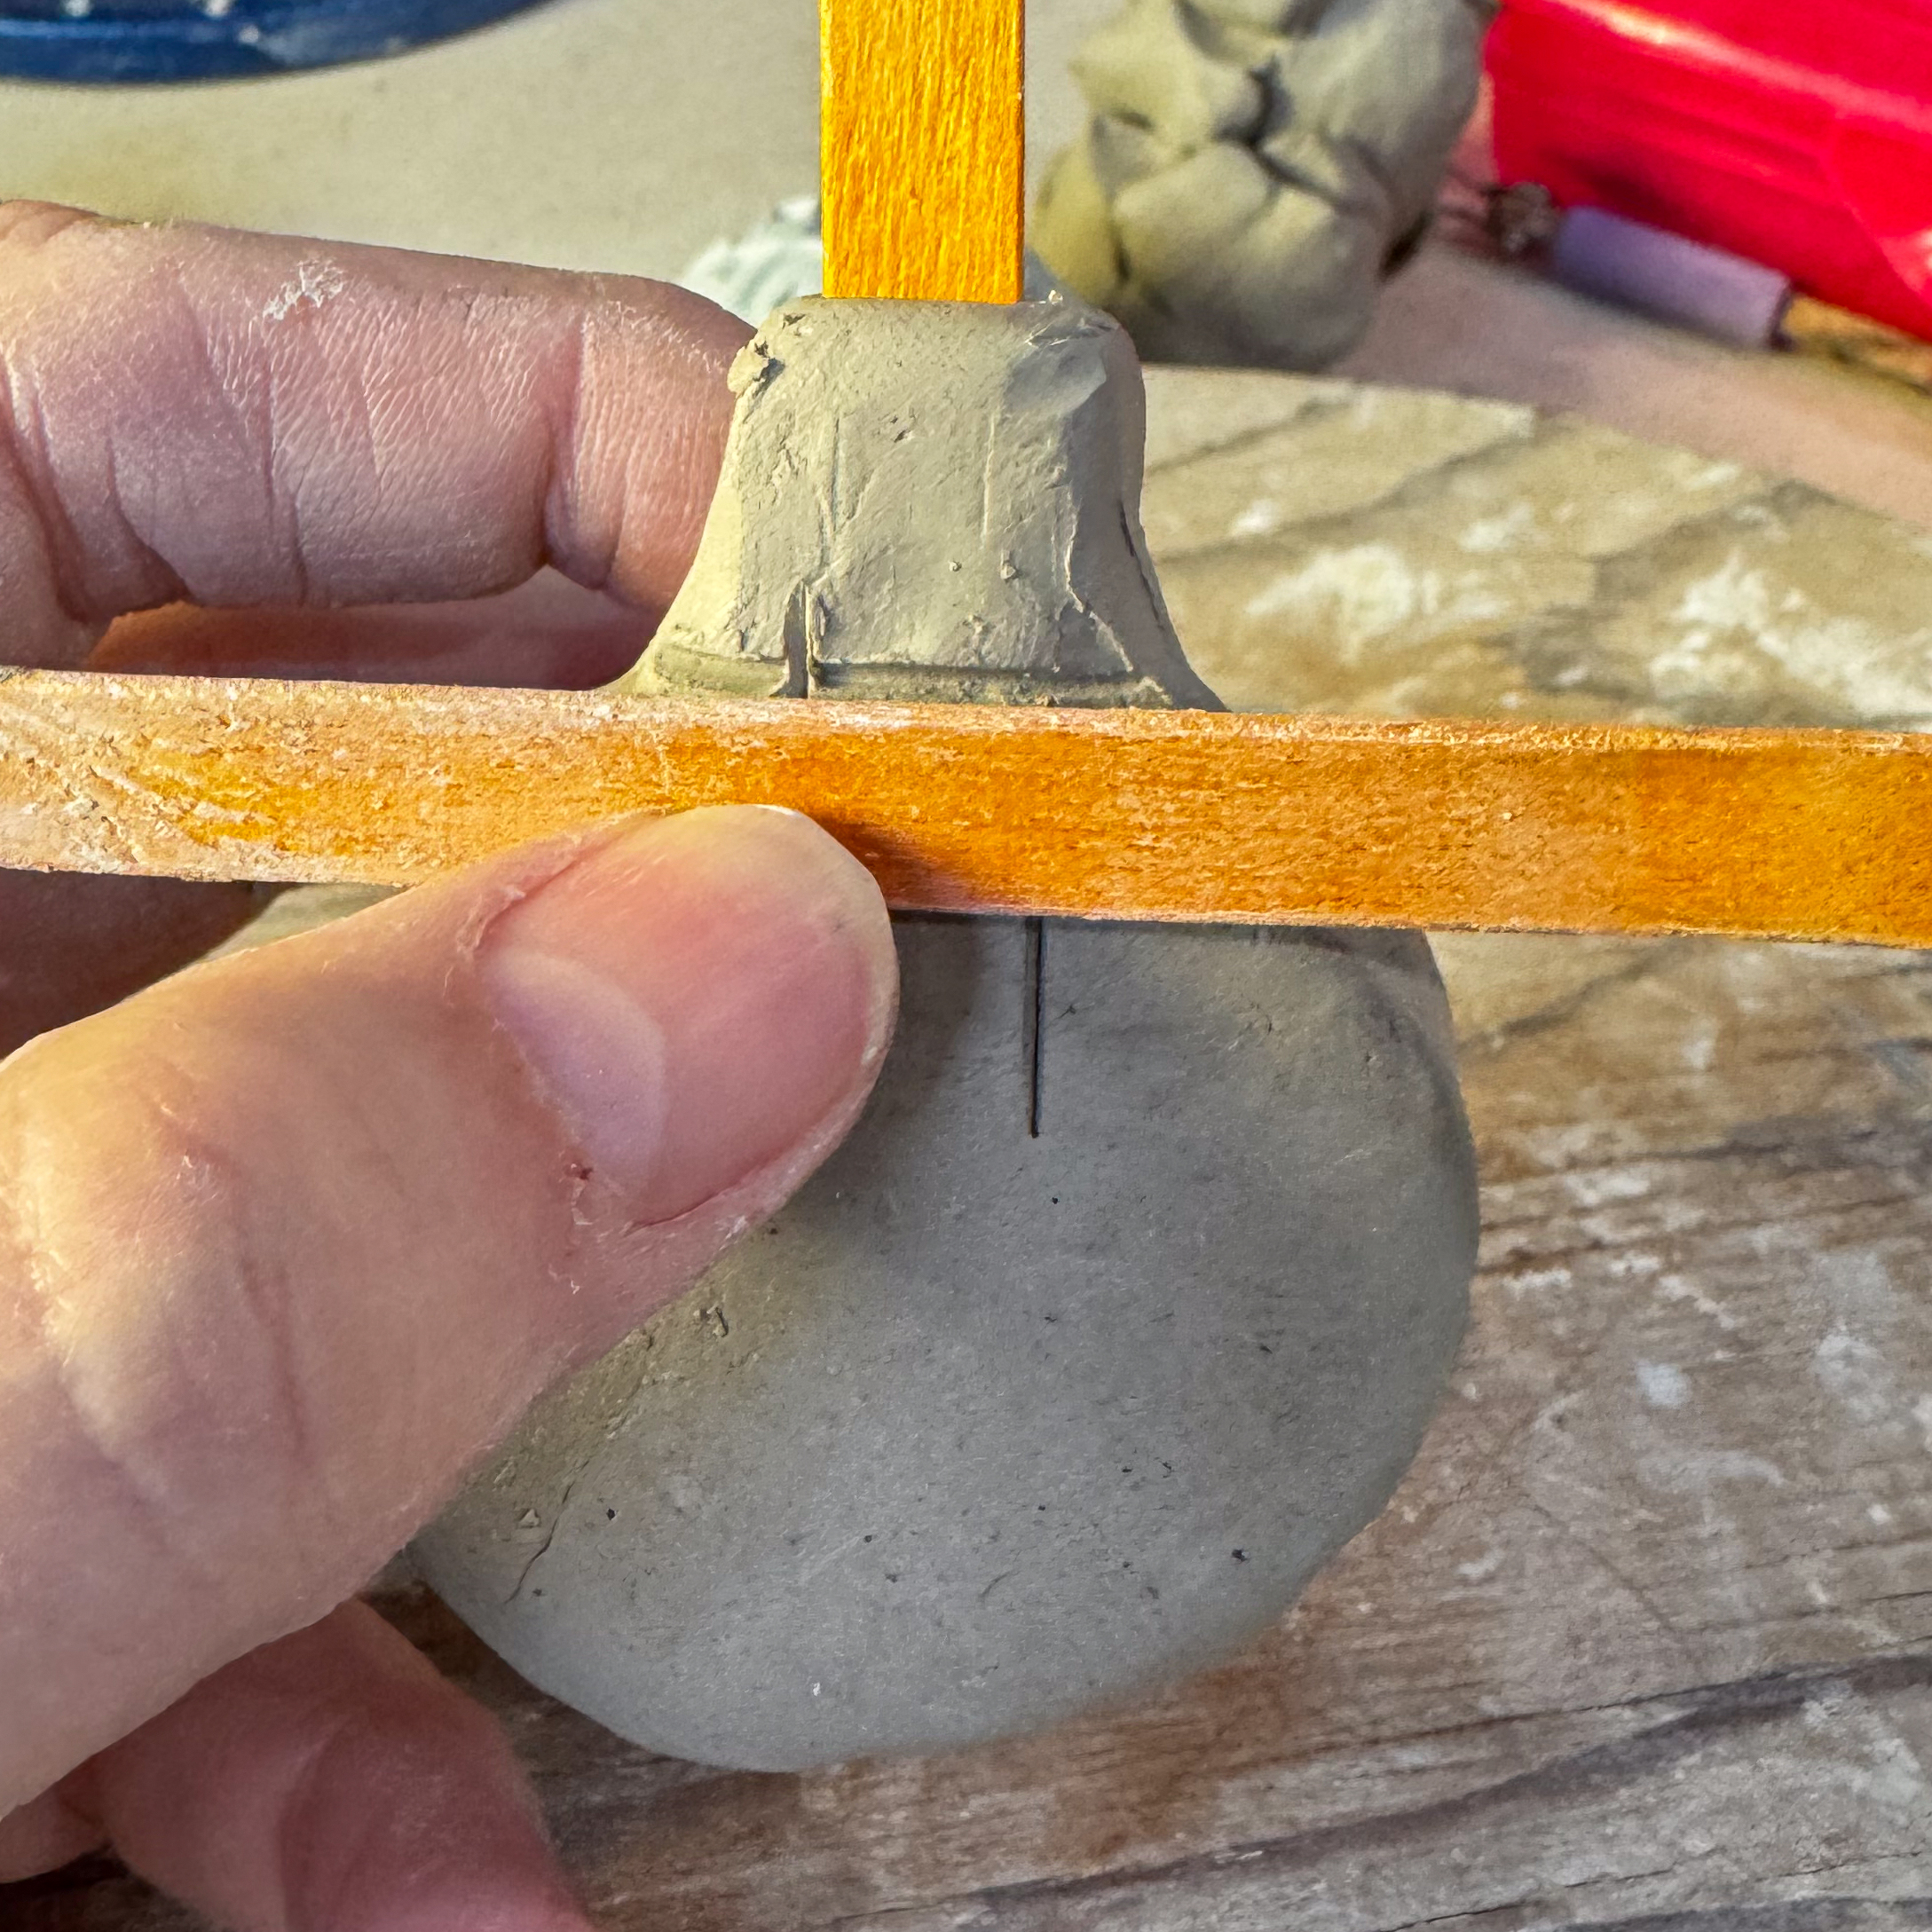
Step 13
Rotate the stick 90 degrees and draw lines on both sides to create a square about 1/8 inch behind the first line you drew.

Step 14
Carefully cut out the square of clay formed by the lines on the bottom of the whistle using the squared popsicle stick. Keep the edges clean and ensure the cut is just as wide as the popsicle stick. The stick should be visible through the opening with no gaps on the sides.
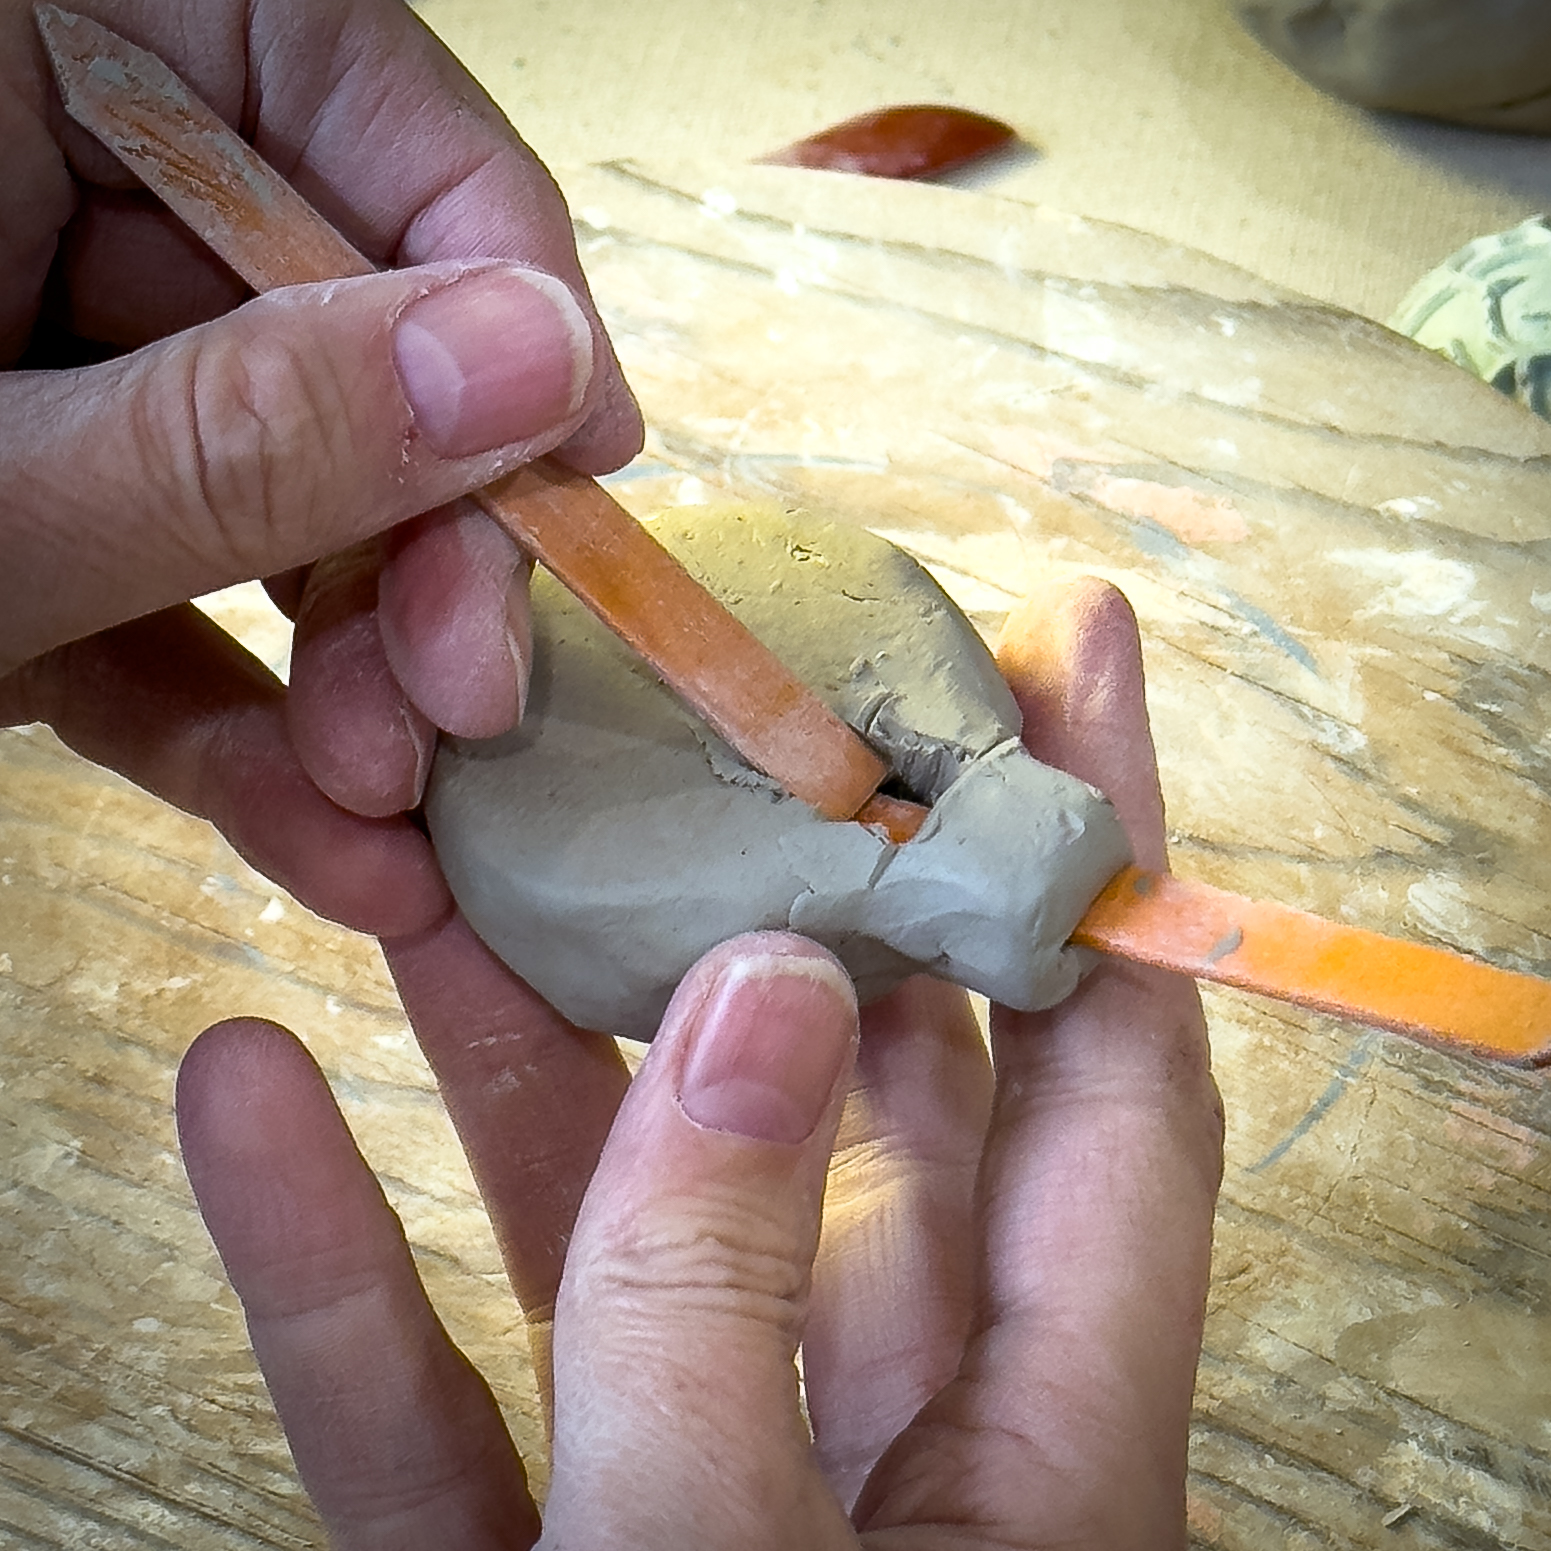
Step 15
Use the squared popsicle stick to press the back edge of the square downward at an angle toward the popsicle stick.
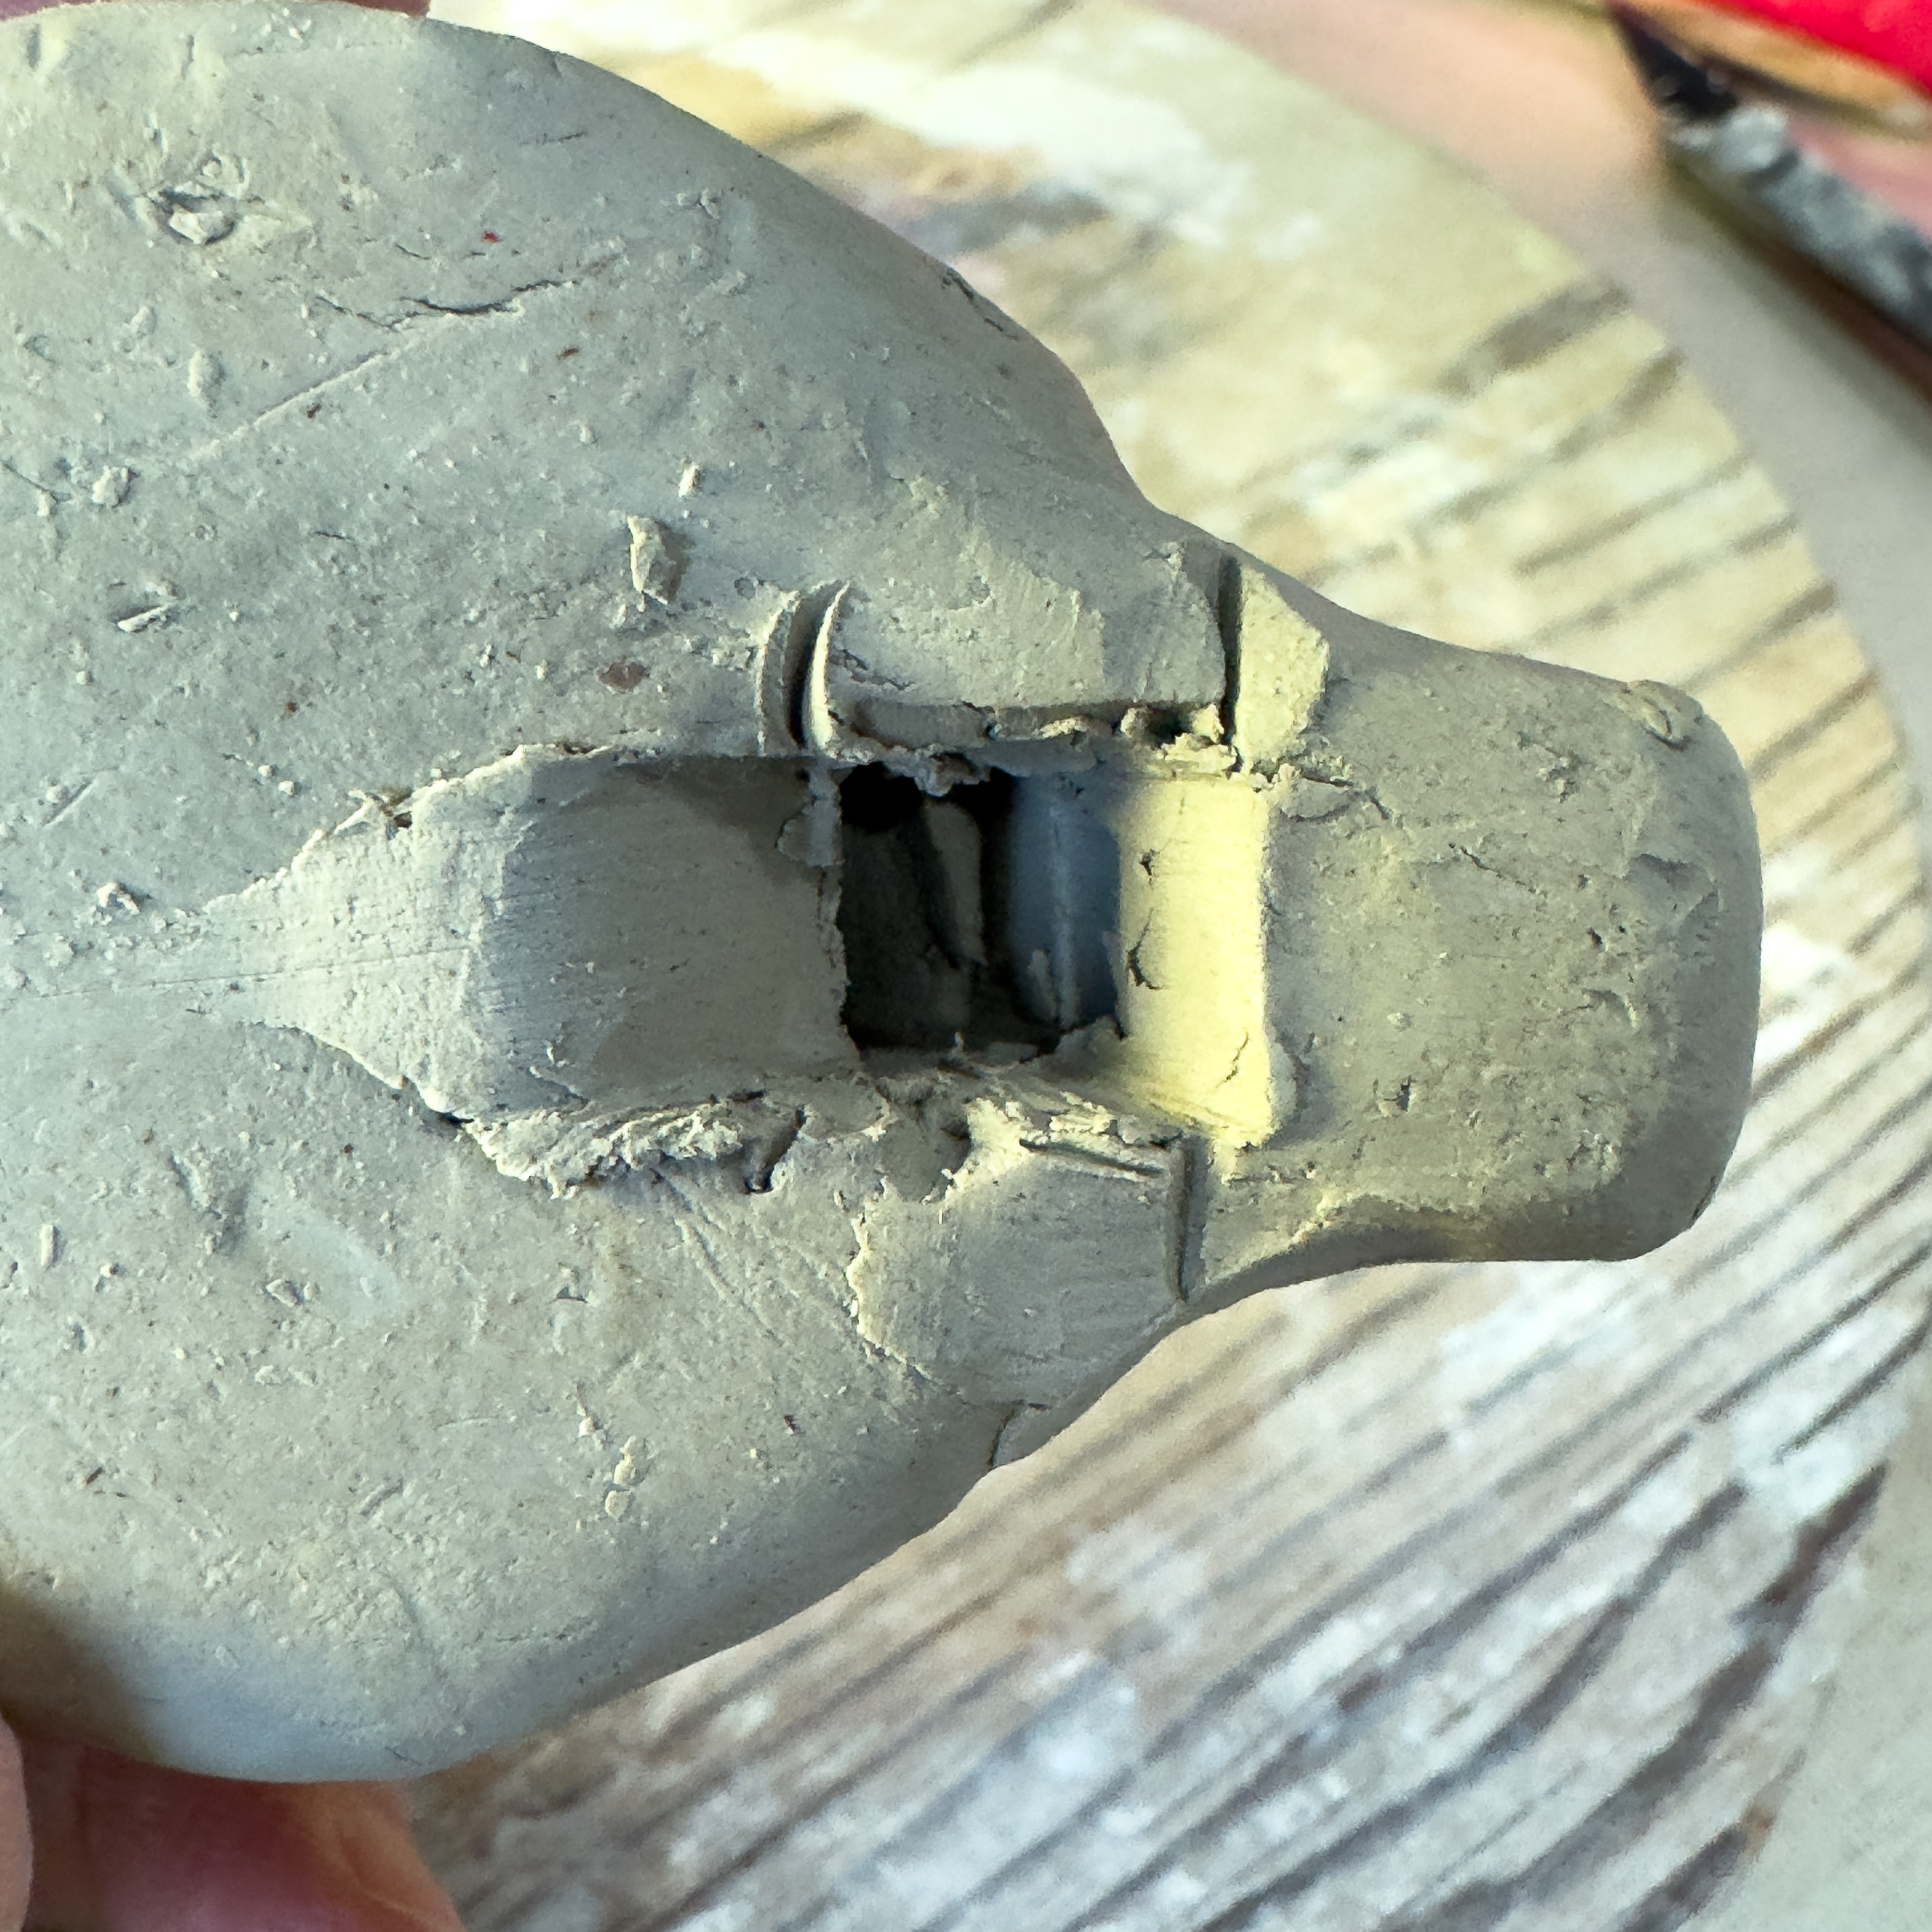
Step 16
Carefully remove the stick from the mouthpiece and ensure the airway is clear. Check that all sides are straight and that no clay is blocking the opening—the whistle should now work. If it doesn’t, inspect the sides of the square for gaps and ensure no clay is obstructing the openings
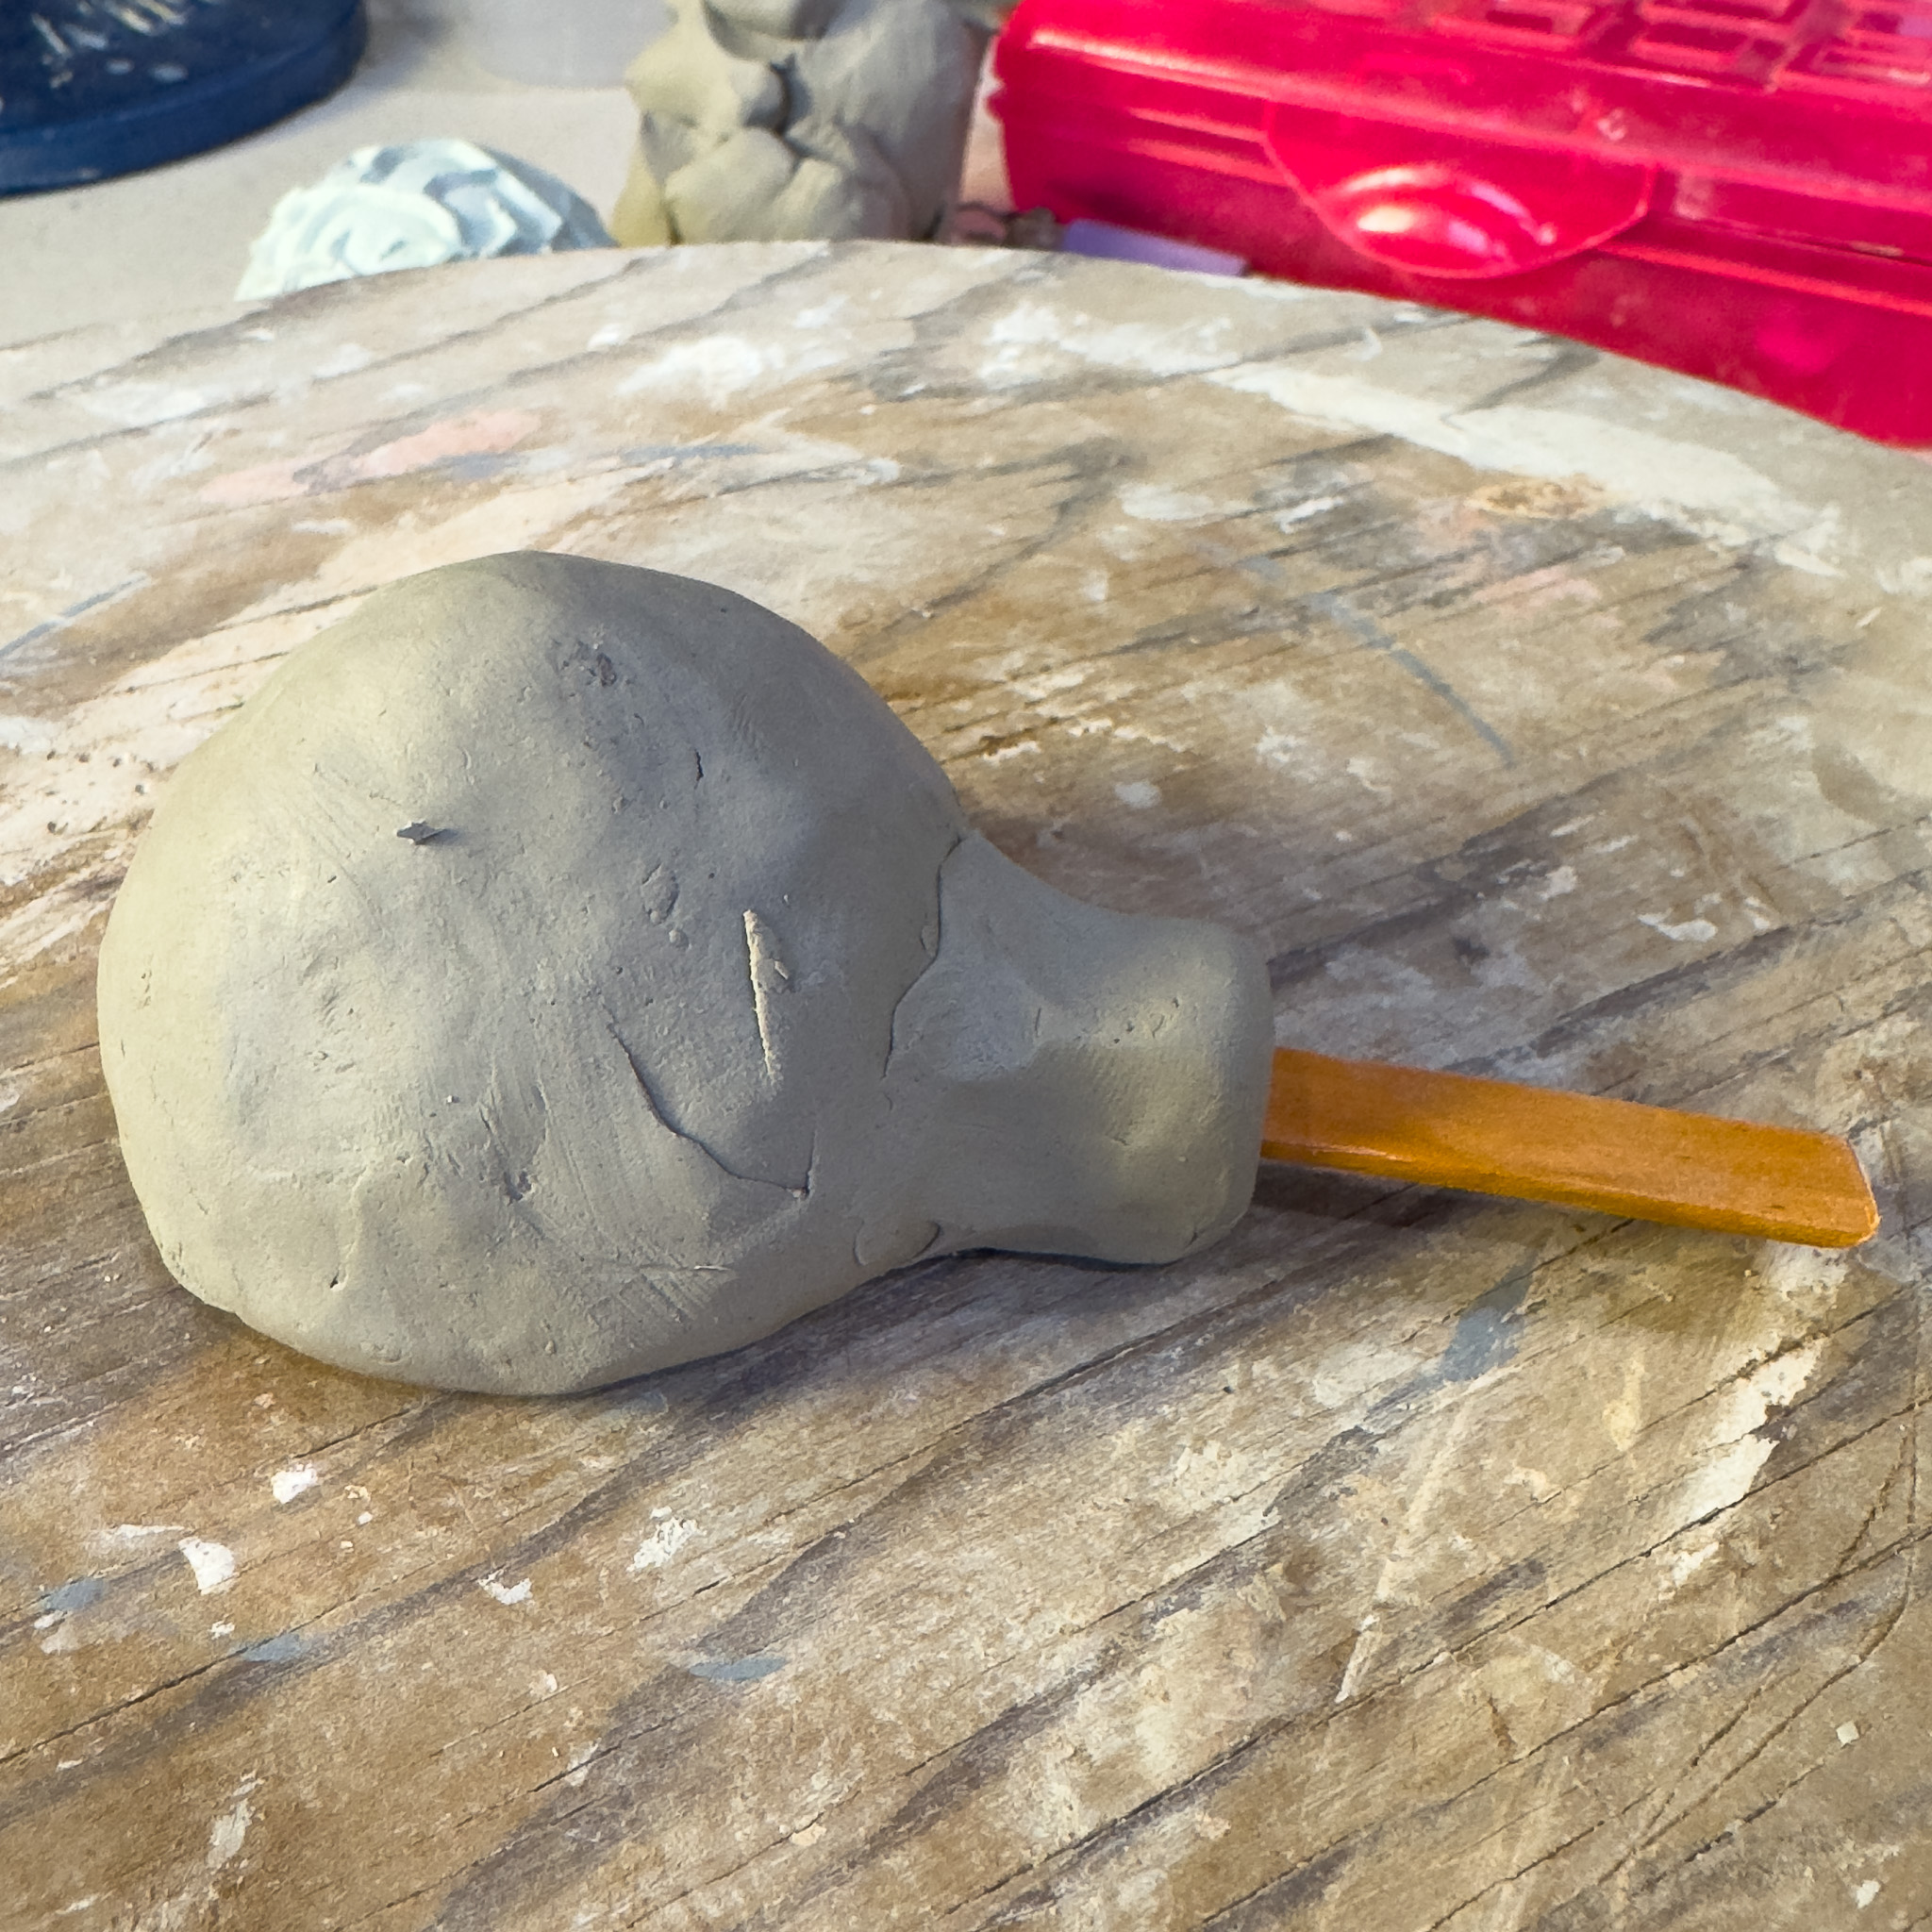
Step 17
Enjoy your handmade clay whistle! Decorate it however you like, and you can even add holes on top to play a tune. Keep the popsicle stick in place until you're done decorating. Once finished, check it one last time to ensure it works properly.

