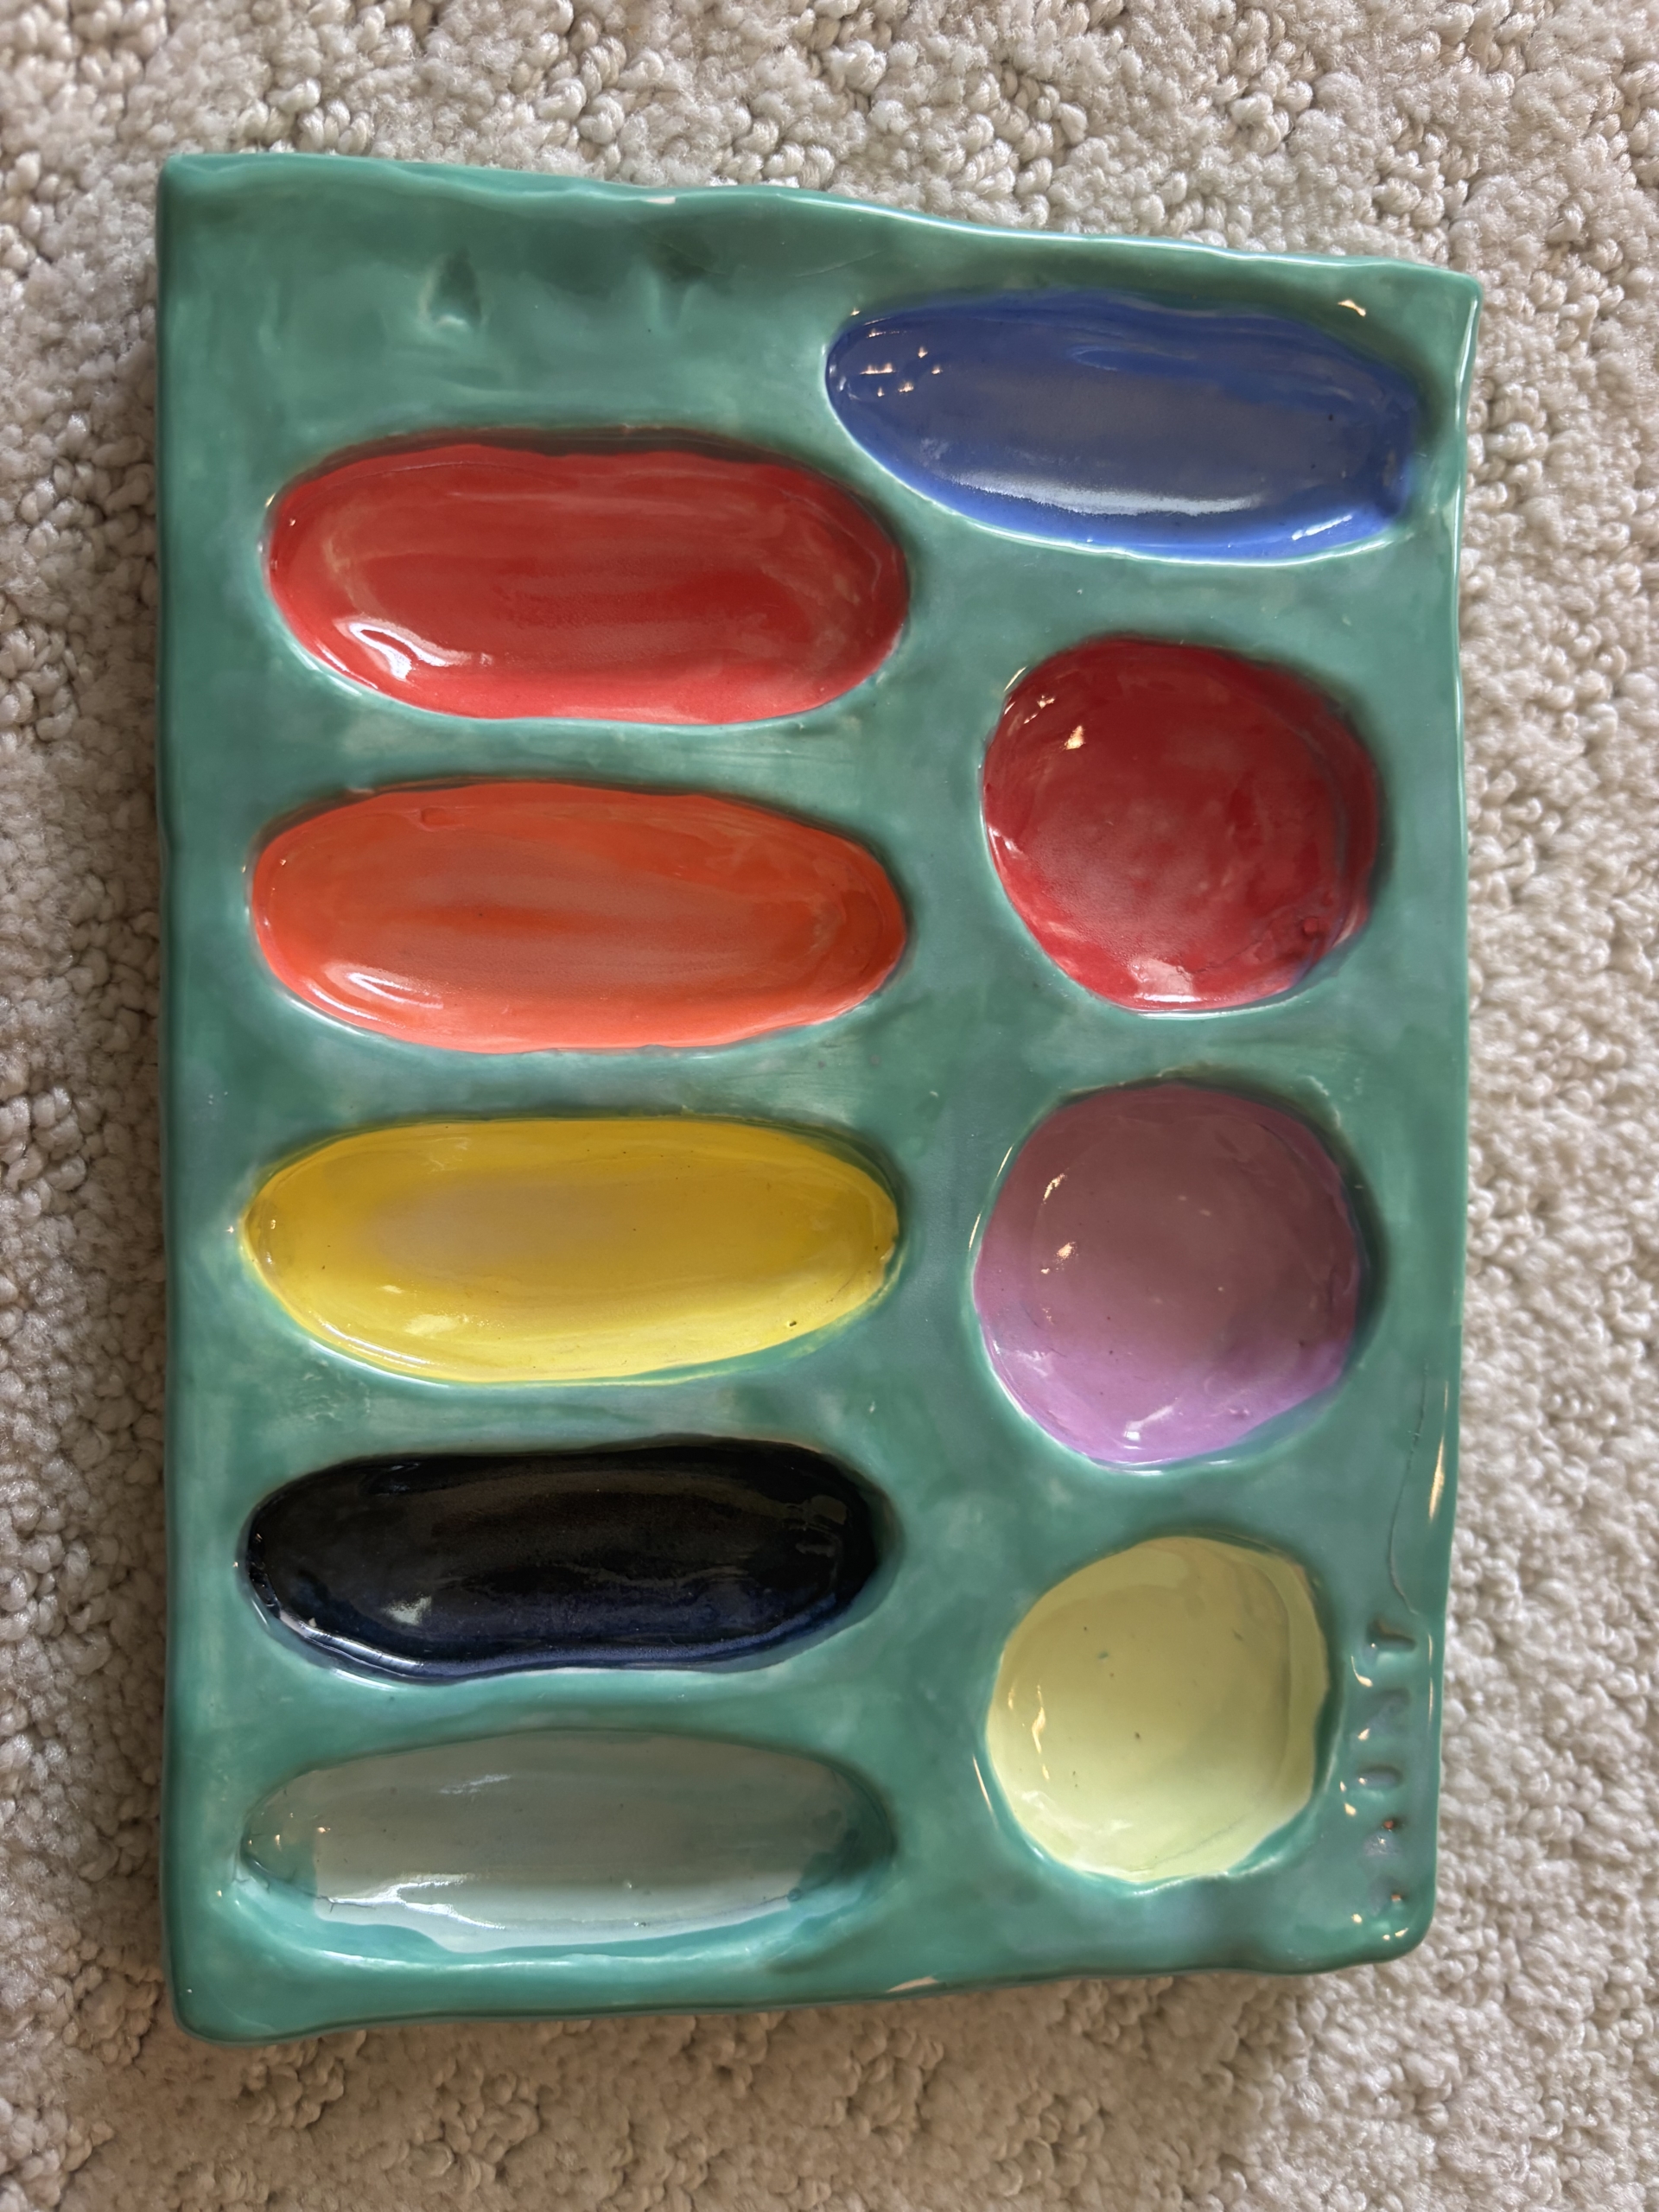
Clay Paint Palettes
Meet The Teacher: Tara Ayers
My name is Tara Ayers and I have been an art teacher for 15 years in a small school in East Texas, Mildred ISD. I am the only high school art teacher and I discovered clay when our school received a grant for a kiln in 2019. It has been an amazing journey of love and learning as I have pursued clay and have loved to share it with my students.
Project Description
My advanced classes (art 2, 3, 4) have had a brief experience with clay in art 1, but we make palettes in the spring as a fabulous skill refresher and to hone in on some valuable tools and skills needed for better handbuilding. We do this project just before learning about watercolor, and the palettes are used by students in the classroom.
Materials
- Clay - for this project we use reclaim
- Basic sculpting tools
- Rolling pin
- Basic colors of underglaze
- A few basic glazes including clear and 3 colors to choose from
Grade Level
High School
Difficulty
Easy
Student Hands-On Time
1 hour to discuss and plan, 2 hours to make, 2 hours to glaze
Teacher Prep Time
30 minutes - 1 hour
National Core Arts Standards - Visual Arts
- Creating - Generate and conceptualize artistic ideas.
- Creating - Organize and develop artistic work.
- Creating - Conceiving and developing new artistic ideas and work.
- Responding - Evaluate and critique based on aesthetic and technical qualities.
- Connecting - Relate artistic ideas to historical, cultural, and social contexts.
- Connecting - Connect personal experiences with artmaking and meaning.
21st Century Skills
- Critical Thinking & Problem-Solving
- Creativity & Innovation
- Flexibility & Adaptability
- Initiative & Self-Direction
- Productivity & Accountability
STEAM Education
- Arts
Differentiations and Accommodations
Differentiation
Struggling Learners
Accommodation
This project is so simple and we are all working together to make sure each step is complete, I am able to work one on one with students to make sure everyone is being successful.
Learning Objectives: Knowledge
1. How to evenly roll out a slab. 2. How to smooth out surfaces and edges. 3. How to use tools to dig out wells in the slab and smooth them. 4. How to plan a practical piece for use in painting. 5. An understanding of underglazes vs. regular glazes and how they are used.
Learning Objectives: Skills
Proper use of tools to accomplish a purpose. Sculpting tools such as a loop tool and scoop lifting tool. How to create an item that is both useful for purpose AND creative. How to smooth a surface well and how to roll out a nice, even slab. What underglazes are and how they are used.
Learning Objectives: Attitudes/Values
This project gives me a great opportunity to make sure everyone is clear on basic clay fundamentals. Some students have transferred in who might not have experience with clay. This project allows me to go step by step to make sure everyone understands what it take to use tools properly and make clay look smooth and properly finished. These students have not used underglazes before so we take time to understand what they are and how they differ from normal glazes.
Formative Assessment
1. Rough Draft - grade 1. 2. Walk around to check for completion and status - grade 2-3. 3. Finished project - grade 4. At all of these points I make sure we have had some one on one time to check and see how things are going.
Summative Assessment
Finished products are admired by faculty and staff and other classes. We do an art walk and discuss the things we appreciate about each piece. They LOVE using their own piece to watercolor in class.
Reflection and Discussion
As we are working we talk about the watercolor wells. The one pictured in the sample I tell the students was difficult to use because the colored wells made it hard to tell the true color of the watercolor paint. Question Will this well work well to hold paint for watercolor?
Lesson Activities
Palette Rough Drafts
We view a presentation about ceramic palettes and what they will be used for. We talk about the size of the wells and look at plastic palettes I have in my classroom, as well as samples and ceramic palettes from former students. Students then use copy paper to sketch out their ideas including labeling color choices for glazes. Remind students of the requirements for the assignment: The slab must be smooth and even, edges must be rounded and smooth, the palette must include seven wells for watercolor paint.
Clay formation Day
During this class period we all roll out our slabs together. I demonstrate and we take it slow, making sure slabs are even and a good thickness. I walk around and we discuss the depth of the wells and how thick each slab needs to be. When we all have good slabs, they are cut into the size or shape chosen for the project. After this we smooth everything well with a damp sponge. Next we begin placing and digging the wells that will eventually hold watercolor paint.
Clay smoothing and finishing
We dedicate one class period to carefully smoothing each well and edges, making sure everything is neatly finished. When done we will carve a name in the bottom of the piece and leave out for drying.
Glazing Day 1
Glazing day 1 we introduce underglazes and what they are and how they work. We use them for the fine details and decorations on the palettes.
Final Glaze Application
This step comes about a week or more later after the palettes have dried and been fired. Students apply 3 coats of traditional glaze over the entire top of their piece avoiding the bottom and bottom 1/8th of an inch. We use a pencil to draw a line on the bottom of the piece to ensure we all know where to avoid getting glaze.
Fit for purpose day
We do an art walk with the finished pieces and talk about the creative designs and if they will work well for watercolor.

