
The Basics
Preparing Your kiln
It is always good to do a few things to ensure a successful year of firing.
 Vacuum Out The Kiln
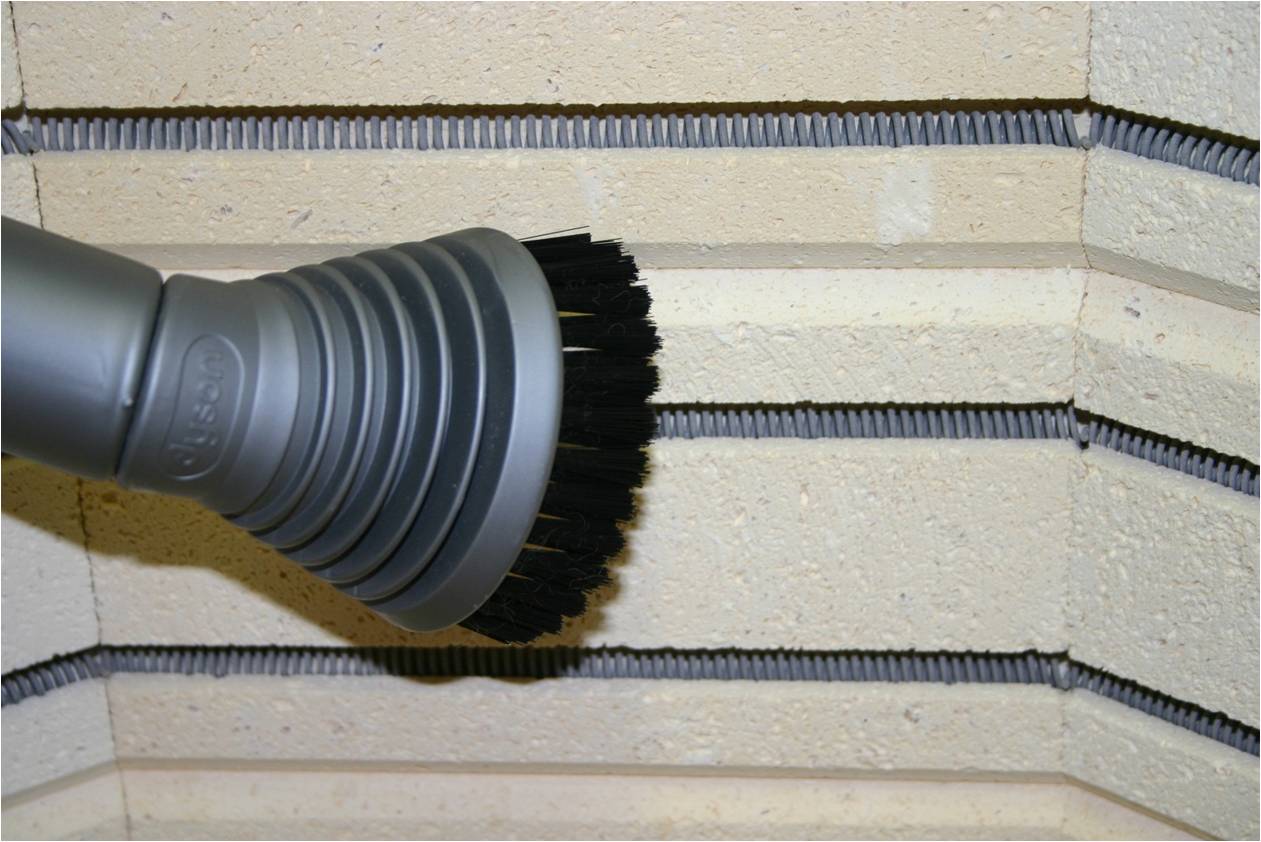
Throughout a year of firing your kiln gets loaded with brick dust and bits of clay and glaze. All this debris sitting on your elements can cause them to burn out early and cost you money you could have saved with just a little housekeeping.
If you are using a KM kiln don’t let the vacuum hose touch the thermocouple and leave the kiln plugged in to protect the computer from static electricity!
Quick Safety Inspection
It’s always a good idea to take a little walk around the kiln and look for obvious safety hazards like loose screws, flammable material around the kiln, power cords touching the kiln and damaged or missing hardware.
If you move into a new studio you will want to make sure that there is no sprinkler right above the kiln. If there is, you will want to notify your landlord to verify that it was installed properly with the knowledge that a kiln would be firing directly under it. Sprinkler heads can be fitted with high temperature fuses for these types of installations. If they are not fitted with the correct fuse, you could set them off.
Test Fire The Kiln
Wouldn’t it be great to find out if something was wrong with the kiln BEFORE it was too late to do something about it? Load the kiln with shelves just like you were loading it with ware, but without the ware. Place an 04 Self Supporting Witness Cone (available at any ceramic supply store) on each shelf 2 inches from the kiln wall. Be sure to place one next to the thermocouple also 2″ from the thermocouple and kiln wall.
Turn on your downdraft vent if you have one and make sure any additional room vent you have is operating. Program a Medium Speed 04 ConeFire program, press review to make sure you entered the program correctly and Press Start. Listen to the control box. You should here the relays clicking on and off and see the temperature on the display begin to rise. If you hear any strange noises or smell smoke, press stop and call a technician. (Note: Brand new kilns or kilns with freshly replaced elements will smoke a little from residual oil on the elements. This is normal and the smoke should clear after a few minutes).
After the kiln is done firing the display will flash CPLT (complete), alternately with the current temperature of the kiln, and the amount of time the kiln took to fire. Write this time down. It should be fairly close to 7.5 hours. If it is taking 8.5 hours or longer, you may need to call a technician to diagnose potential problems. If you come back to the kiln and there is an error message, write down the message and contact your technician.
Once the kiln has cooled to room temperature open the lid, remove your shelves, and inspect your cones. They should all be bent anywhere from 20 degrees to the tip just hanging above the shelf. If the cone next to the thermocouple is touching the shelf, it is a good indication that you need to change your thermocouple. If a cone does not bend at all , it may indicate the element or relay in that section is beginning to wear.
Loading the kiln
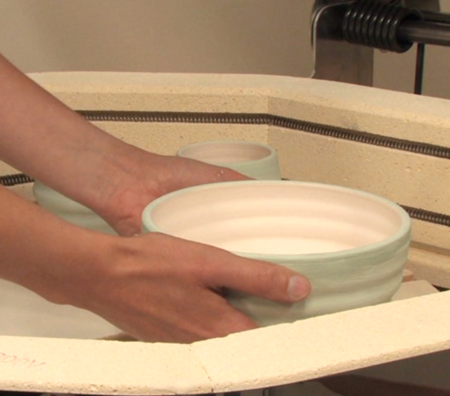
How you load your kiln can play a big part in the success of the firing. We have a great video which describes in detail all the things you need to consider when loading your kiln. Watch the video and let us know if you have any questions. Here is a list of some of the basics:
- Never load wet ware.
- Maintain proper clearances: 2″ from the lid, 1 inch from the kiln walls, at least 1″ from the bottom, and 2″ from the thermocouple.
- Spread the mass uniformly throughout the kiln.
- If certain areas of the kiln tend to fire cooler, load them less densely on future firings.
- Make sure you always have at least one element radiating between the shelves.
- When using half-shelves, leave a 1/4″ gap between them if they are side by side and stagger them whenever possible (see image).
- Use Self-Supporting Pyrometric Cones to monitor the results of the firing.
Programming ConeFire Mode
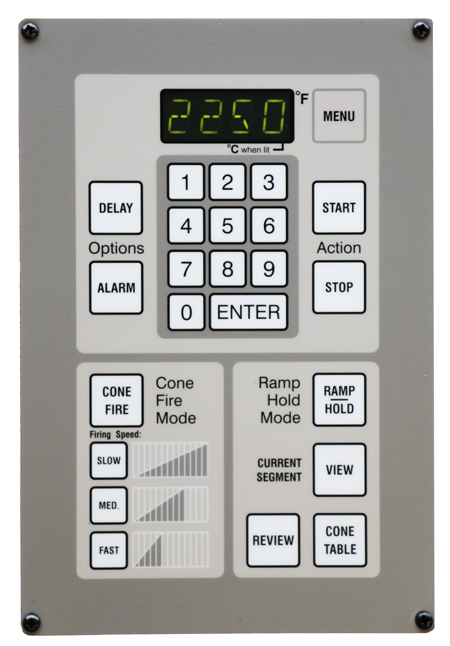 Your controller has two firing modes, ConeFire and Ramp/Hold. ConeFire is by far the easiest and most common firing mode used in Ceramics. Ramp/Hold is used primarily to fire specialty glazes or to fire non-ceramic pieces like glass or metal clay. Programming a kiln may seem intimidating, but once you do it a few times you will find that it is really quite easy.
We put together a video which takes you step by step through programming your kiln. If after watching the video you still have questions feel free to call us and we would be happy to walk you through your first firing.
Unloading the Kiln
 The number one rule in unloading your kiln is BE PATIENT. No matter how long you have been doing ceramics, opening the kiln after a glaze firing is always exciting. Too often people will get a little impatient and try to open it too soon. Wait until the kiln has cooled below 125°F before opening your lid. If you open it too soon, the glaze could craze and will no longer be food safe since bacteria can grow in the small cracks.
As you unload the kiln, make notes in your firing log regarding how the cones looked, how the kiln was loaded, how the ware looked and how long the firing took. This will help you make adjustments on your next firing.
Programming Ramp/Hold Mode
Your controller has two firing modes, ConeFire and Ramp/Hold. ConeFire is by far the easiest and most common firing mode used in Ceramics. Ramp/Hold is used primarily to fire specialty glazes or to fire non-ceramic pieces like glass or metal clay. Programming a kiln may seem intimidating, but once you do it a few times you will find that it is really quite easy.
We put together a video which takes you step by step through programming your kiln. If after watching the video you still have questions feel free to call us and we would be happy to walk you through your first firing.
Safety
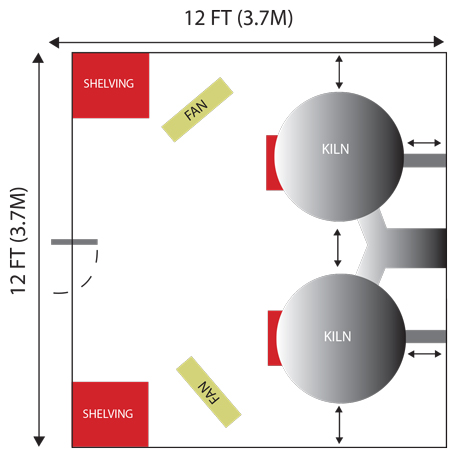 Kilns are used safely in 10’s of thousands of homes and schools all over the world everyday. With a little bit of common sense and good understanding of your kiln you can easily avoid any problems. Be sure to read your manual cover to cover before operating your kiln and pay special attention to the section in the beginning on safety. Click the links to access a copy of the manual and be sure to also watch the video on setting up your kiln room to create a safe and efficient studio.
Ceramics 101
You could spend a lifetime building your knowledge of ceramics, and many people do. It is a fascinating medium with infinite possibilities for exploration. This section contains the bare bone basics to help as a quick refresher. If you find that your need a little more than a refresher, then check out the Resources Pages on this web site for the full CERAMICS 101 experience. Additional information, training and classes in your area can be found by visiting www.kilnarts.org.
Choosing Your Clay and Glaze
There are many types and colors of clay and glaze. Most classrooms use what is called “Earthenware” clay. This is a clay body that is reasonably priced, easy to work with and fires to a lower temperature which means less wear and tear on your kiln. All clay and glazes have “Cone Ratings” associated with them. This refers to the temperature range to which they are to be fired. There are many choices of glaze types to use, but the important thing is to choose a glaze that is fired to the maturing temperature range of your clay. Generally you are looking for clay and glazes that are in the Cone 04 to Cone 06 range. The cone rating will be printed on the box of clay and jar of glaze.
Shaping the Clay
Most beginning ceramic classes don’t have the time necessary to teach the students how to throw on a potter’s wheel, so they generally make hand built pieces. These can be pinch pots (made by pinching the clay), coiled forms (made by joining rolled coils of clay), slab work (made by joining pieces of clay that have been rolled out flat) or simply by making free-form sculptures. What ever your project type, it is best to start small and make sure the clay is not too thick. This will help ensure the projects will make it through the kiln firing without damage.
Drying the Clay
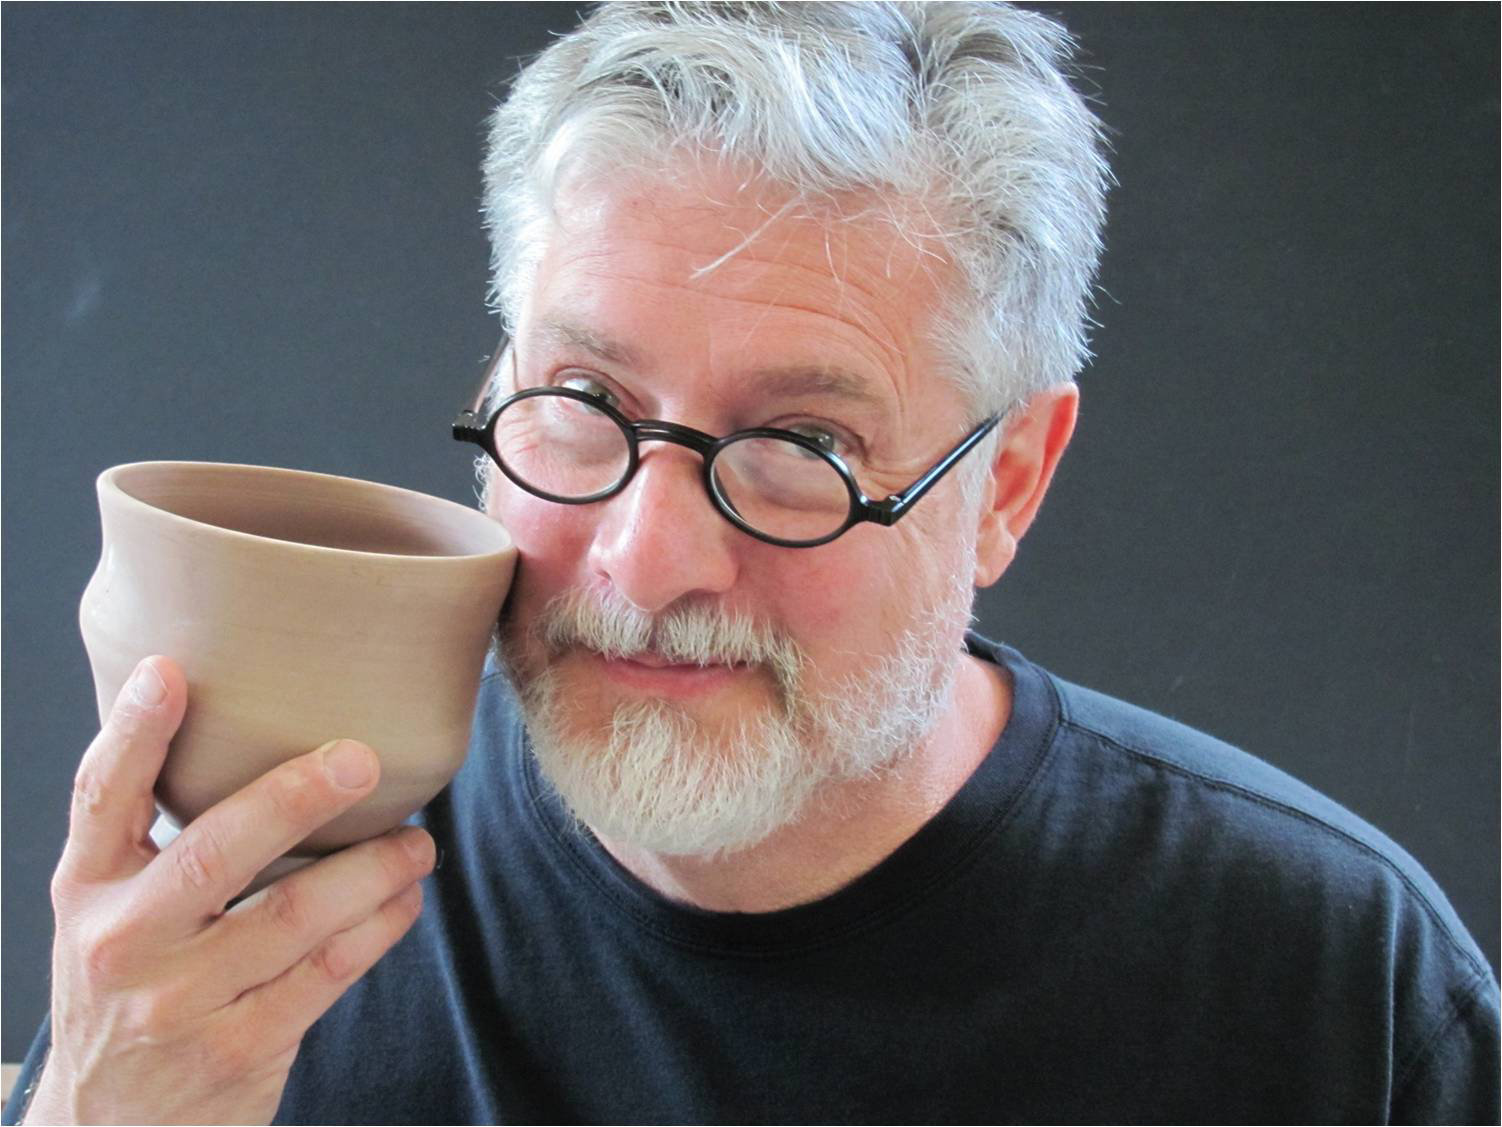
Place the greenware (unfired clay) on a drying rack in a well ventilated area. It is very important to make sure the clay is completely dry before you place it in the kiln. Water turns to steam at 212 °F and if enough moisture is left in the clay it can actually explode as the steam tries to escape. This is not dangerous but it can cause damage to the kiln and other pieces in the firing. Hold a piece up to your cheek to feel the temperature, if it is still cool to the touch it needs more drying time. Depending on your weather, a week is usually enough drying time.
The Bisque Firing
The bisque firing is where the projects transform from clay (greenware) to ceramics (bisque). Prior to this first firing they are very fragile so handle them with care while you are loading the kiln. Program the kiln to run a Cone 04, Slow Speed, ConeFire Program. if you have the option of “Preheat” on your controller, a 2 hour preheat is good insurance to prevent exploding pieces. This will take about 12 Hours to fire to temperature and another 12 hours to cool (depending on the size of your kiln).
Applying the Glaze
The number one rule in glazing is NO GREASY FINGERS! Make everyone wash their hands before they handle the bisque and never apply lotions before glazing. If the pieces sit around for awhile before you get a chance to glaze them you may want to sponge them off to make sure all the dust is removed. There are many different types and colors of glaze to choose from. Some are specially formulated to look relatively the same color as the fired glaze but many look completely different after they are fired. It is helpful to download a color chart from the manufacturer so you can have a clear idea of how it will look after it is fired. The amount of glaze you brush onto a piece can be very important, too much and it looks washed out and too much and it runs all over your kiln shelf. Again, the manufacturers website should give tips on application.
The Glaze Firing
The glaze firing is the most exciting part of the process for a lot of people. Take a good look at the loaded kiln before the firing and then again when you open the lid. This is where the magic happens. When loading the kiln, it is important to handle the pieces carefully so the glaze does not come loose and be sure to wipe off any excessive glaze that may touch the shelf or be applied to thick. If your items have glaze on the bottoms you will need to place them on special stilts designed to hold ceramics while they are fired. Program the kiln to run a Cone 06, Medium Speed, ConeFire Program. This will take about 8 Hours to fire to temperature and another 12 hours to cool (depending on the size of your kiln).