|
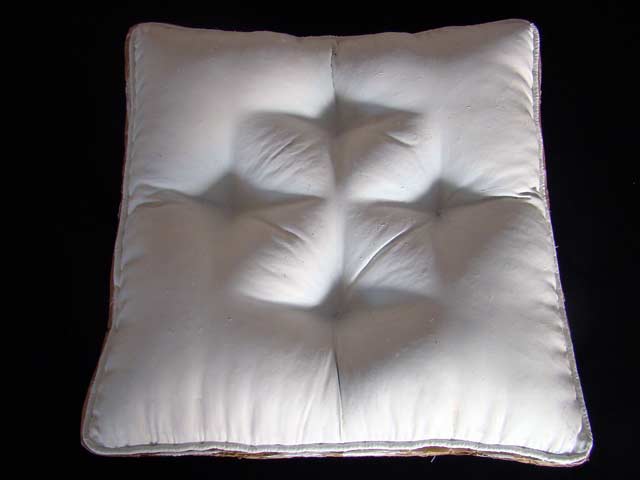
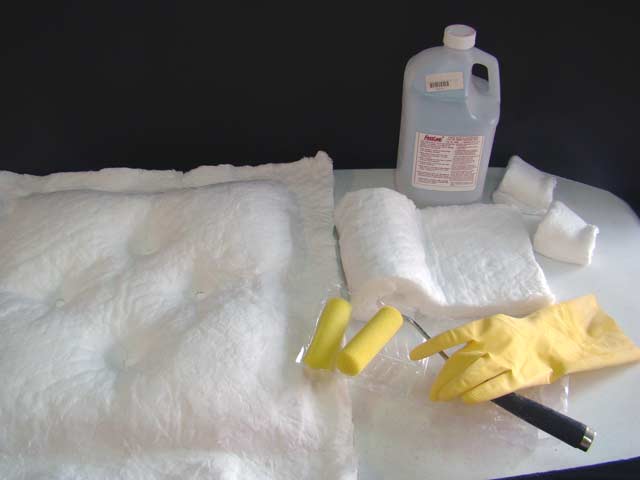
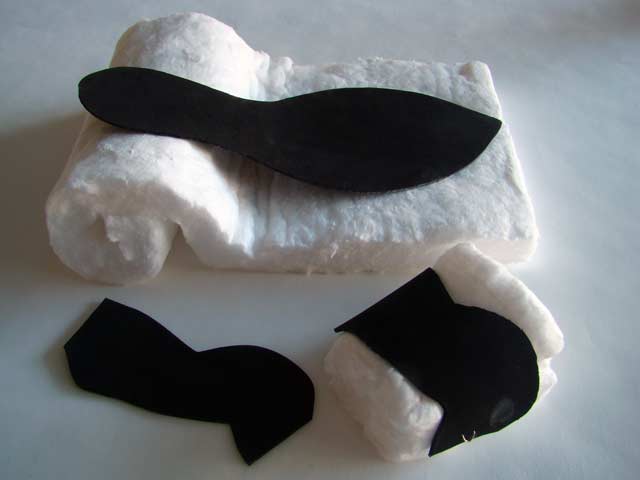
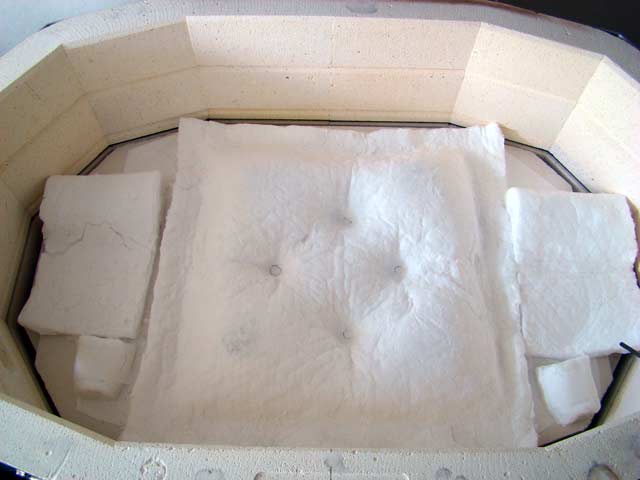
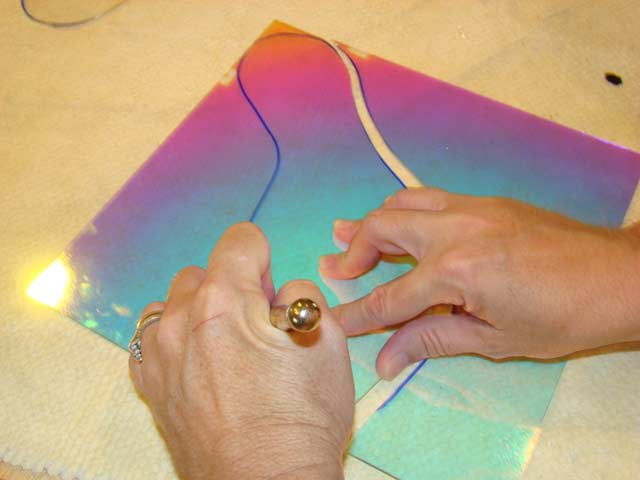
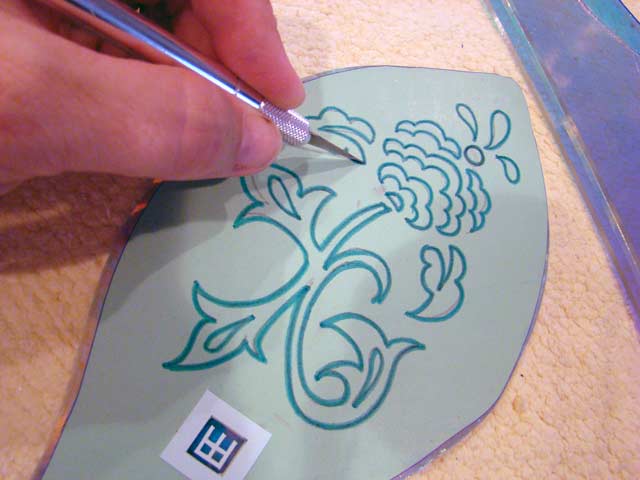
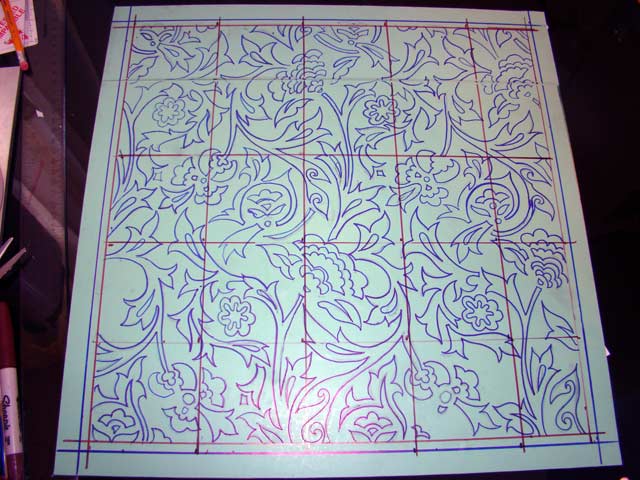
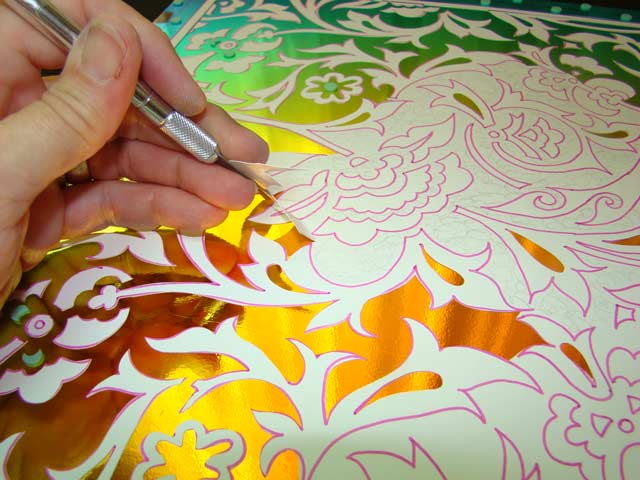
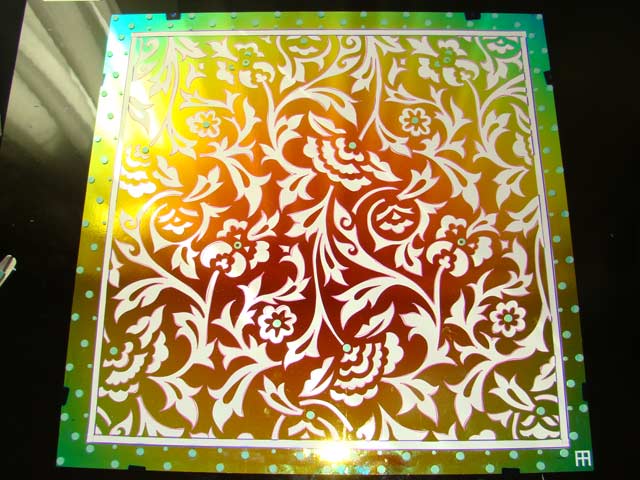
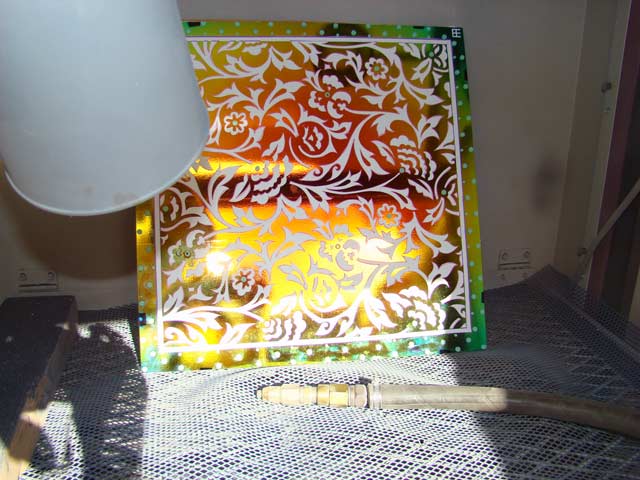
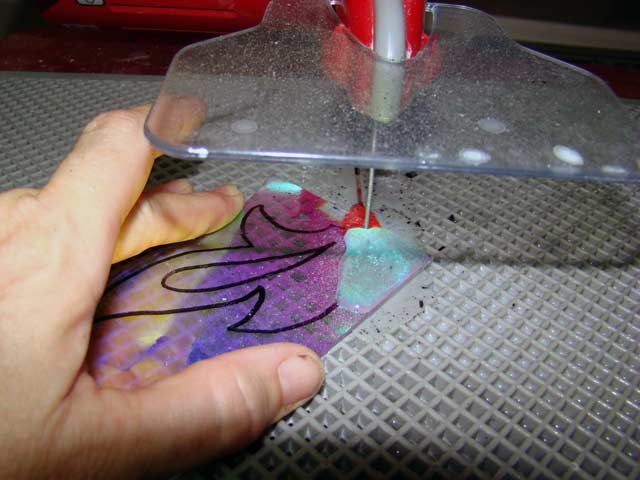
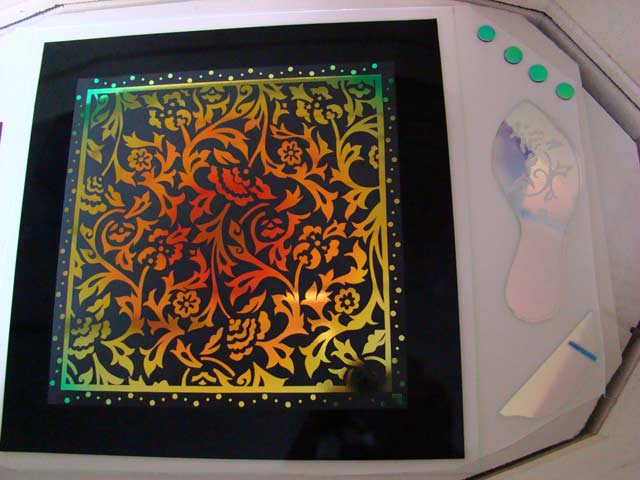
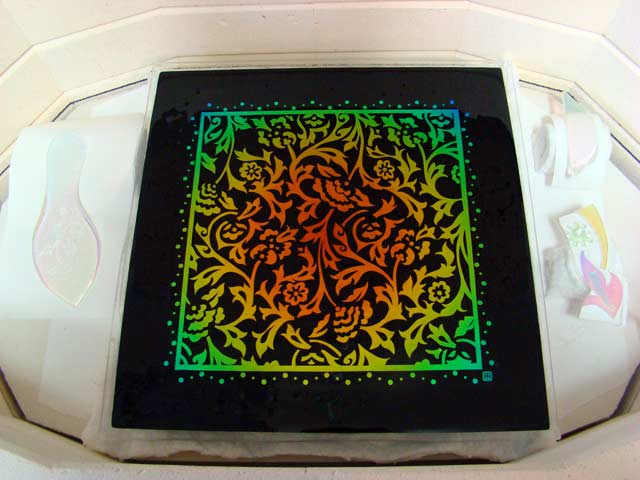
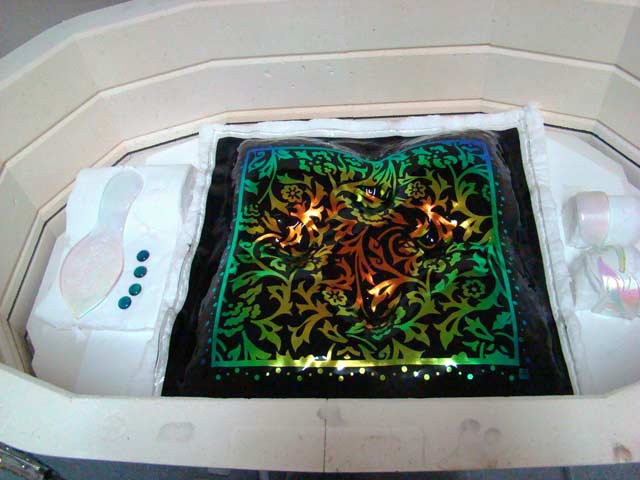
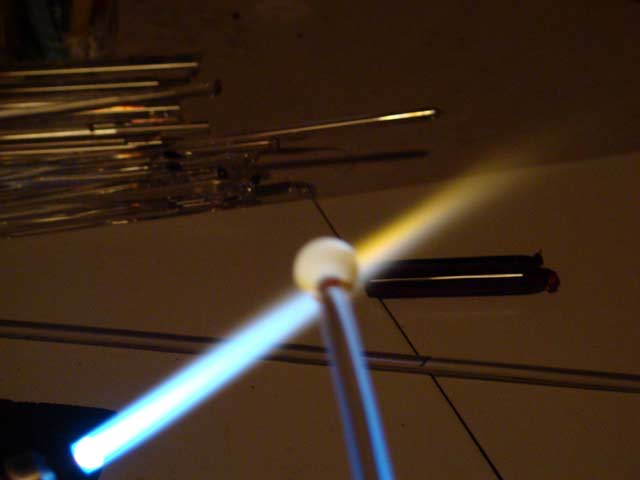
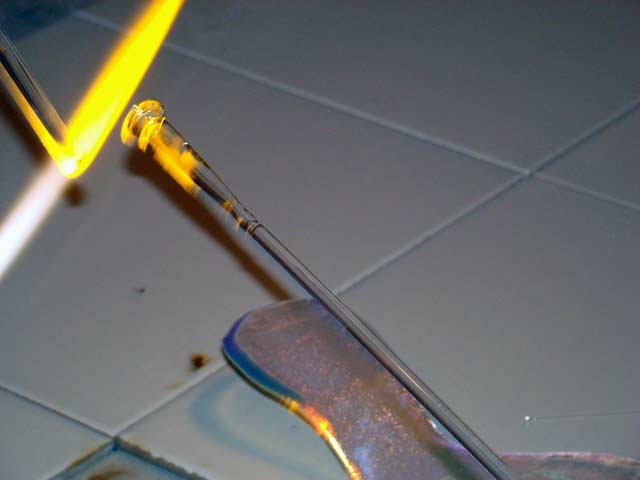
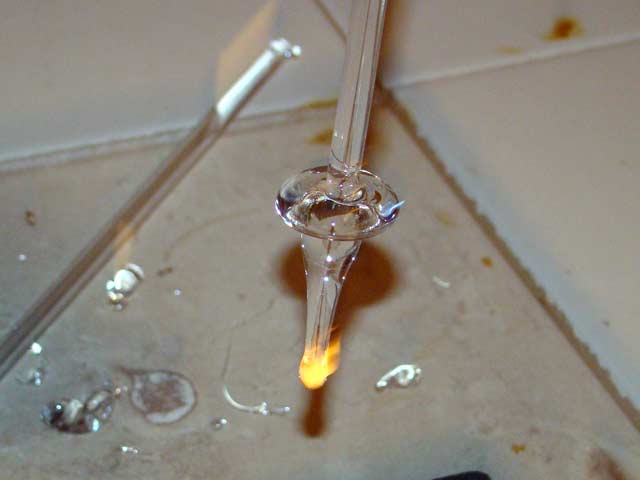
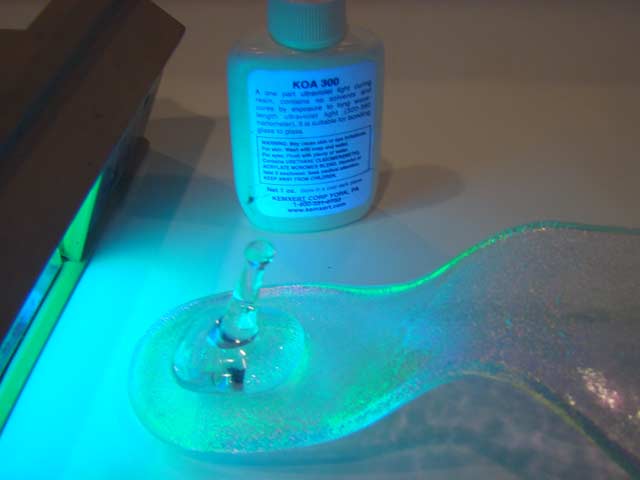
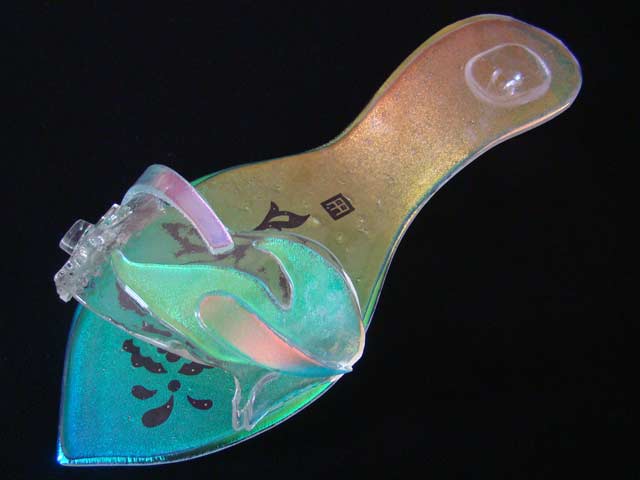
TECHNIQUE: If the shoe fits series "Last seen running from the prince" In this art glass series the theme is "If the shoe fits". Can I blame it on a shoe faddish or having high heel feet . I always question why as an artist I feel the need to start my next series. In some way this may be to fulfill the need to step out of my comfort zone. Step up to a challenge and walk you through the warm, cold and hot processes along with making a form and mold to attain the desired shape. So kick up your heels, step over to the edge and jump in feet first. Seeing how the theme is "If the shoe fits" the first shoe that comes to mind is the GLASS SLIPPER. No less than Austin Thin Films Dichrolux rainbow will be used for this princess's shoe and pillow. Start with the form for the pillow. I have used a standard throw pillow 17"x17" and tacked the pillow on to the same size piece of card board using quilting thread and heavy needle. Shortcut: This can be done using hot glue gun for faster results. You will need to secure the button tucks with strong thread. After tacking pillow down to flat surface, cover pillow top with two or more coats of latex paint. Allow to dry between coats. (pic A) Pillow form Thinking ahead to all the fiber molds to be made for this project. Thick fiber blanket will be used Pillow form - 22"x 22" _ Shoe sole shape - 6"wide x 14" long _ Shoe top.- 4" wide x 6" long - Shortcut : Fiber blanket can be bought presoaked. (pic B) Fiber molds with fiber mold hardener, sponge roller, and gloves. Caution: For this process wear safety glasses, Gloves and dust fume mask in well ventilated area. After cutting fiber blanket to the sizes needed, pour hardener in plastic container saturate completely with Hotline mold hardener. I use a sponge roller or sponge. Lay pillow blanket on form and apply pressure with hands to shape into pillow form. Don't be afraid to make fiber form fall into extreme shape. The glass will be slumped over this shape and will soften the final look. Before you make the shoe form you may want to make a cardboard pattern the size and shape of the shoe you want to make. (pic C) For my shoe sole I decided on the size I wanted my shoe to be. I used my shoe as a pattern after all I wanted this shoe to fit. I rolled one edge of the fiber blanket flatting the top of roll for heel of shoe to rest on. Leave enough length for the front of the shoe. The height of the heel will depend on the height of the roll of the fiber form.For the top of this shoe I rolled the fiber blanket tightly pressing down the toe of the shoe top to give it some shape. You will want this mold no wider than the width if the sole. This can be tricky .It may help to cut a paper pattern to lay across this mold to see how the glass will fall when slumped. If you make it too long there will be some grinding to do to make it fit the shoe .Don't be afraid to do one for a prototype this may save time in the long run. It's a good thing this is a multiple stage process. If you had nothing to do while you wait for this to dry you may go mad, crazy or insane. There is something to be said for the Arizona hot dry heat. Even with that working for you it may take a day or two to dry completely. Shortcut: When almost completely dry it can be kiln fired below 175 deg.F. slowly Warning: All firing of fiber blanket and mold hardener must be done in well ventilated area. Firing Schedule: 500 degrees F per hour to 1300 degrees F. Fire out binders (VENT KILN ) It will give off fumes from 400 degrees F to 1000 degrees F. after firing blanket should be somewhat hard. Remove from kiln. (pic-D) Time for the glass Draw pattern for pillow top and shoe sole to be transferred onto resist after resist is applied to dichroic glass . Next cut two shoe sole shapes one in clear dichroic and one in clear. (pic E) Shoe design is drawn and resist is cut then removed for sandblasting. (pic F) Clean 16"x16" Austin Thin Films Dichrolux thin black glass. Apply resist and transfer pattern. Carbon paper works for this (pic G) Cut pattern with x-acto knife and remove resist.(pic H) exposing what is to be sand blasted.(pic I) Sandblast pillow top and shoe sole with 60 lbs of pressure. (pic J) Make sure all dichroic is blasted off before removing resist. Pillow top finished look after blasting with resist.(pic K) Remove resist and clean glass. Shortcut: Buy one of Austin Thin Films patterned dichroic glass and skip this part. Not everyone has a sand blaster or likes to play with razor blades. Cut glass 20"x20" Uroboros Black Thin. 22"x22" Uroboros standard clear. Clean all three pieces of glass and layer in kiln. Clear on bottom, black then dichroic on top. (pic L) Clean both pieces of shoe sole and place in kiln sandwich the dichroic coating between clear glass and place in kiln. SKUTT KILN: The GM1414 with Lid Lifter At this time I cut shoe top from clear 96 glass and shoe top design from clear dichroic 96 glass. (pic M) I place design elements on top of clear glass and tack fire. SKUTT KILN: The GM10F kiln While the kiln is slumping slowly ,its time to play with the flame for a little while. Using Systems96clear glass rod I start by making a gather .(pic-P) attach glass rod and pull heel. (pic-Q) High heel shape is taking shape. (pic-R) Heel is pulled.(pic-S). UV Glue and light are used to secure heel on to sole of shoe. (pic-T)
Artist Statement Contact Email: [email protected] |
|||||||||||||||||||||||||||||||||||||||||||||||||||||||||||||||||||||||||||||||||||||||||||||||